
>>

Soft sugar cookie cups with a homemade creamy caramel center and a milk chocolate top — all the Twix bar flavors in a fun, bite-sized bake.
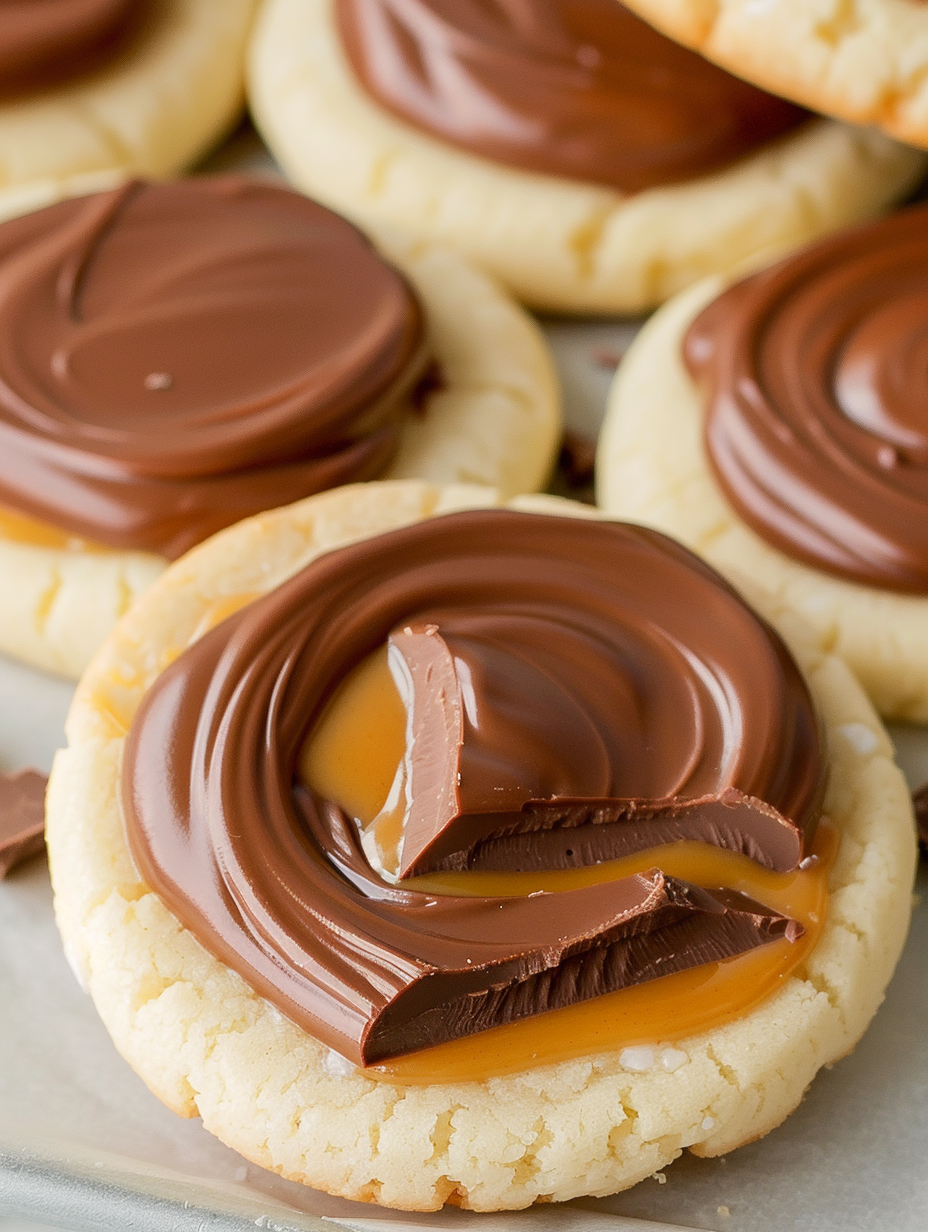
This recipe is the ultimate shortcut to get all the candy-bar nostalgia of a Twix without unwrapping a single store-bought bar. I discovered these when I wanted a portable, bakery-style treat that still tasted like the caramel-and-chocolate duo our family reaches for at movie nights. The base is a soft sugar cookie pressed into a little cup so it crisps slightly at the edges and stays tender in the center. A warm, creamy caramel layer follows, and the whole thing is finished with a silky milk chocolate glaze that sets with a satisfying snap.
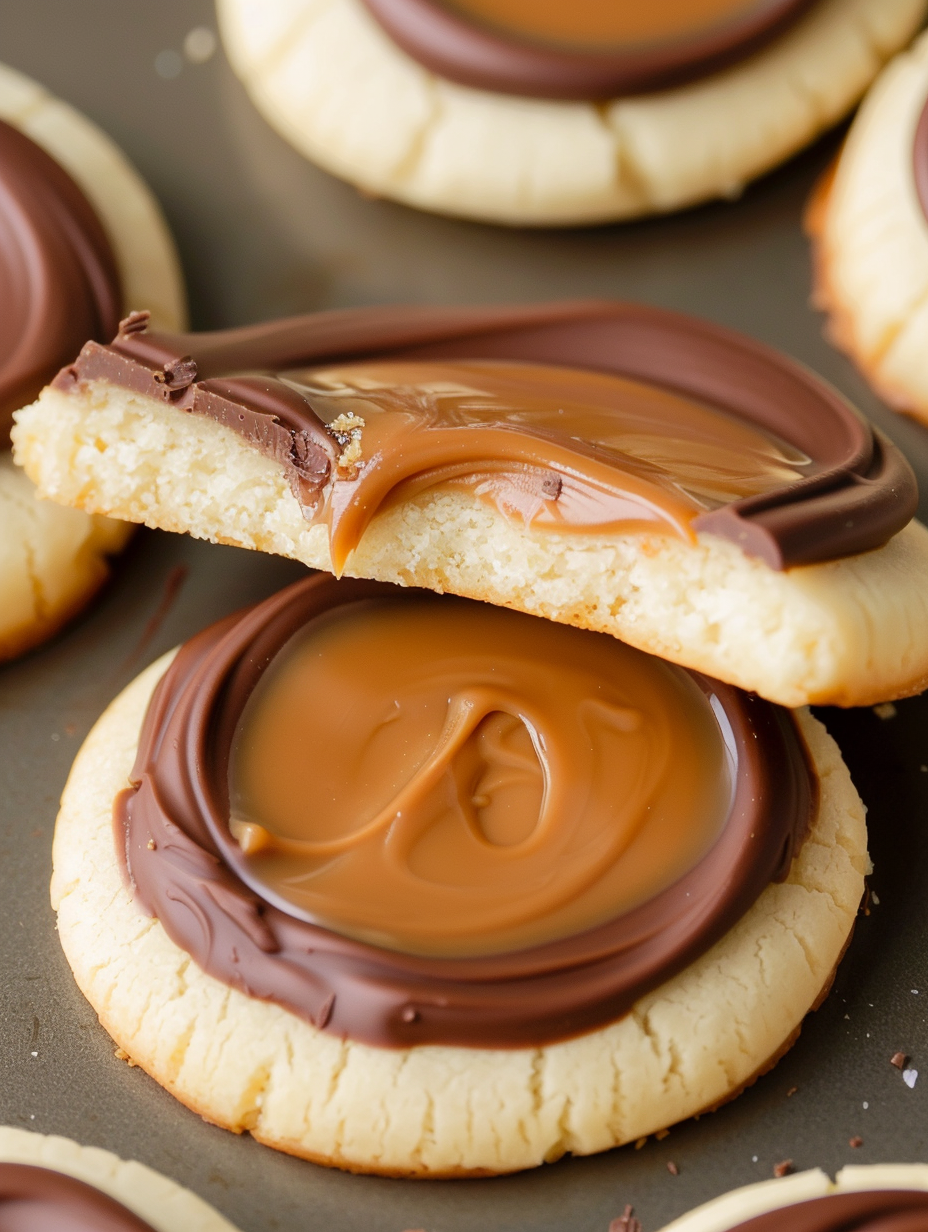
I love how each bite combines tender cookie, gooey caramel, and a chocolate top — the textures play together like a perfectly composed dessert. I first made these for a holiday cookie swap, and people asked if I’d used a candy bar in the recipe. When I told them it was all homemade, I watched a few jaws drop and many take notes. They’re easy to assemble, forgiving to variations, and lend themselves well to make-ahead planning, which makes them a regular in my baking rotation.
In my experience, the simplest tweaks make the biggest difference: using room-temperature butter and chilling the filled cups before adding chocolate leads to neater layers and fewer meltdowns. My partner declared these superior to store-bought Twix bars because the cookie is softer and fresher. I also love that they travel well — once set, they stack in a container neatly and still taste bakery-fresh the next day.
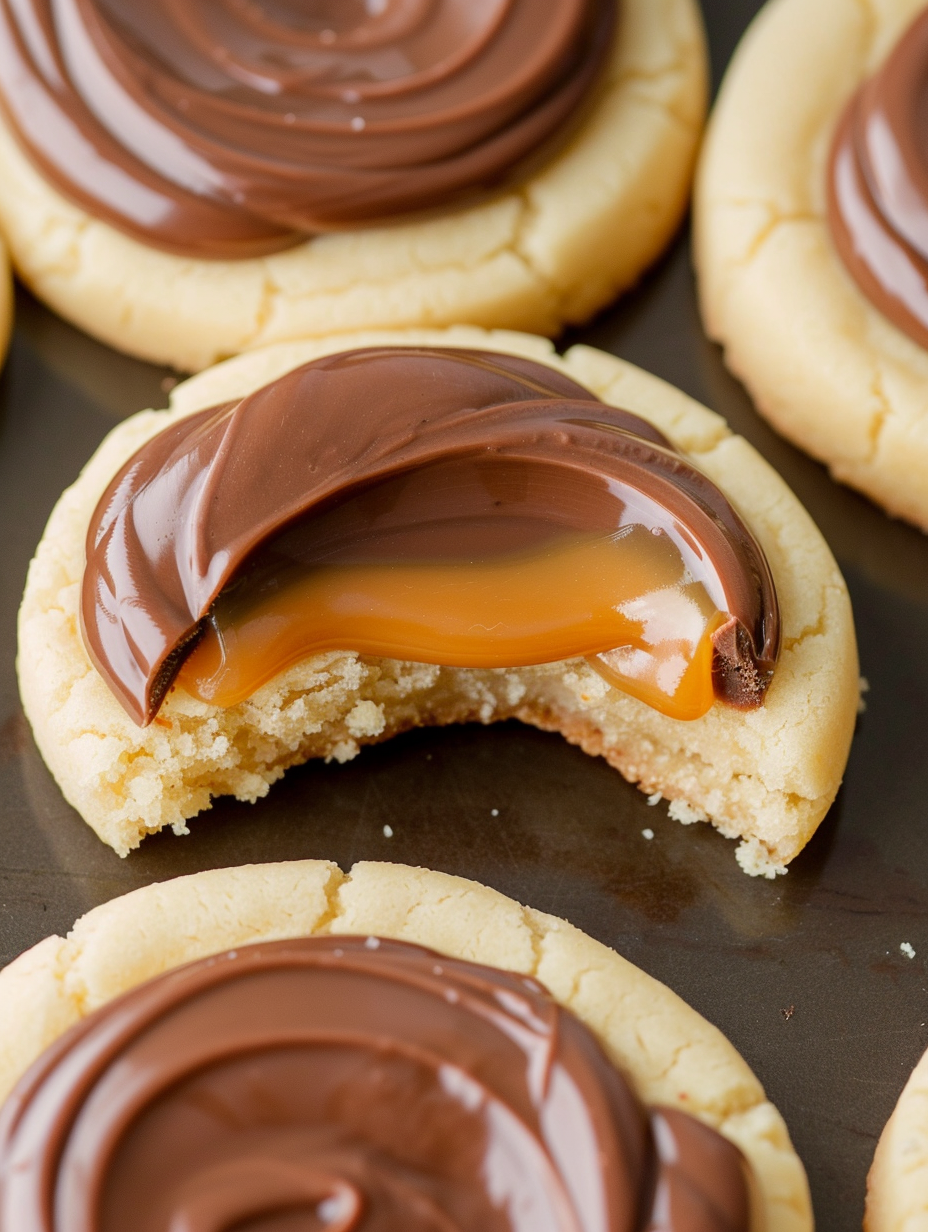
My favorite part of this recipe is how adaptable it is: swap the milk chocolate for dark, add a pinch of sea salt to the top of each cup, or pipe a little extra caramel for a dramatic drizzle. Guests often tell me the texture — a yielding cookie base with a thick, chewy caramel and a snap of chocolate — is what makes these feel special. When I brought them to a picnic, someone described them as “portable little moments of joy,” and that phrase has stuck with me ever since.
Store finished cups in a single layer or separated with parchment in an airtight container in the refrigerator for up to 5 days. If you need longer storage, freeze cooled, caramel-filled (but not chocolate-topped) cookie cups in a single layer on a baking sheet, then transfer to a freezer-safe container for up to 3 months. Thaw in the refrigerator, then add chocolate topping and allow it to set before serving. For best texture, bring refrigerated cups to room temperature for 10 to 20 minutes before serving so the caramel softens slightly.
If you need a dairy-free version, use a dairy-free margarine or vegan butter and swap in dairy-free chocolate chips; look for coconut-based caramels or make a quick date-and-coconut caramel to mimic the texture. For a gluten-free option, use a 1-to-1 gluten-free flour blend and reduce the rolling pressure slightly to prevent cracking. To make them richer, use brown butter in place of regular butter for a nutty, caramelized flavor; cool the brown butter before creaming so it keeps the dough texture consistent.
Serve these small cups on a dessert platter with fresh berries and espresso for an adult gathering, or pack a few in a lunchbox for an afternoon treat. Garnish with a light sprinkle of flaky sea salt right after the chocolate is added for a salt-and-sweet contrast, or press a few crushed shortbread crumbs on top for extra texture. They also pair beautifully with warm beverages like hot chocolate or cold-brew coffee.
While not a traditional recipe from any single cuisine, these cups are inspired by the layers found in classic European confectionery and the American love for portable candy bars. The combination of cookie, caramel, and chocolate has been popularized by mass-market bars, but recreating that interplay at home lets you celebrate the layered-dessert technique often used in patisseries where contrasts of texture and flavor are prized.
For autumn, add a pinch of cinnamon and a tablespoon of pumpkin puree to the dough and increase baking time slightly for a spiced variation. For the holidays, swap milk chocolate for white chocolate and top with crushed candy canes or toasted nuts. In summer, keep them chilled and garnish with a tiny piece of candied orange for a citrus lift. These small swaps change the mood of the treat without altering the basic, reliable method.
Make the dough two days ahead and keep it wrapped in the refrigerator; roll and cut on the day you plan to bake to ensure freshness. Caramel can be prepared and kept covered at room temperature for a day; rewarm gently if it firms up. If you’re preparing for an event, bake and fill the cookies with caramel a few hours ahead, refrigerate until ready, then add the chocolate top right before serving for the cleanest presentation.
These Twix-style cups have become a favorite because they are deceptively simple to make yet deliver layered flavors that feel indulgent. If you enjoy hands-on baking with a big payoff, these little treats will become a regular go-to for special occasions and everyday celebrations alike.
Use room-temperature butter for even creaming and a tender crumb.
Chill caramel-filled cookies before adding melted chocolate to prevent bleeding.
Measure flour by spooning into the measuring cup and leveling for consistent texture.
If chocolate thickens while melting, add a teaspoon of neutral oil and stir until smooth.
This nourishing twix cookie cups recipe is sure to be a staple in your kitchen. Enjoy every moist, high protein slice — it is perfect for breakfast or as a wholesome snack any time.
This Twix Cookie Cups recipe makes perfectly juicy, tender, and flavorful steak every time! Serve with potatoes and a side salad for an unforgettable dinner in under 30 minutes.
Preheat oven to 350°F. Line a baking sheet with parchment or leave ungreased per preference. Prepare a rolling surface and a 2 1/2-inch round cutter so the workflow is smooth.
Beat 1/2 cup softened salted butter with 1/2 cup granulated sugar until light and fluffy, about 2 minutes. Scrape down the bowl to ensure even texture.
Add 1 egg white and 1 teaspoon vanilla extract to the creamed butter and mix until fully incorporated. Avoid overmixing once dry ingredients are added.
Whisk together 1 1/2 cups all-purpose flour and 1 teaspoon baking powder. Add to the wet mixture on low speed until just combined and no streaks of flour remain.
Roll dough to 1/4 to 1/2 inch thickness. Use a round cutter to cut circles and transfer to an ungreased baking sheet; spacing about 1 inch apart.
Bake at 350°F for 6–8 minutes, remove when cookies are puffy and no longer glossy. Transfer to a wire rack to cool completely before adding caramel.
Microwave 20 unwrapped caramels with 1 tablespoon milk in 30-second intervals, stirring at each break until smooth and glossy. Add a teaspoon more milk if necessary.
Spoon a few teaspoons of caramel onto each cooled cookie, spreading toward the edges. Refrigerate for 10–15 minutes until the caramel firms.
Melt 2 cups milk chocolate chips in 30-second bursts, stirring to a smooth consistency. Spread a thin layer over the caramel on each cookie and allow to set.
Last Step: Please leave a rating and comment letting us know how you liked this recipe! This helps our business to thrive and continue providing free, high-quality recipes for you.
Leave a comment & rating below or tag
@platemint on social media!

Saucy, cheesy baked ziti with ricotta and basil tastes like lasagna in half the effort, perfect for weeknights or crowds.

Quick, crowd-pleasing cheeseburger sliders baked golden with melty cheddar and savory beef. Ready in 30 minutes, great for parties and easy meal prep.

Crispy air fryer sweet potato fries with tender centers, fast-food flavor without deep frying. Ready in minutes and irresistibly snackable.
Leave a comment & rating below or tag @platemint on social media!
Enjoyed this recipe? Share it with friends and family, and don't forget to leave a review!
This recipe looks amazing! Can't wait to try it.
Comments are stored locally in your browser. Server comments are displayed alongside your local comments.

Join to receive our email series which contains a round-up of some of our quick and easy family favorite recipes.
