
>>

A nostalgic, three-ingredient Snow Ice Cream you can make after the first snowfall — creamy, sweet, and ready in minutes. Kid-approved and endlessly adaptable.
This simple Snow Ice Cream is one of those recipes that transports me back to childhood the moment I scoop it. The recipe was born on a brisk winter afternoon when a fresh, fluffy snowfall interrupted our plans and the kids begged to play outside. I remembered my grandmother stirring sweetened condensed milk into a bowl of clean snow and handing us paper cups of near-instant dessert. That afternoon I refined the proportions, added a touch of vanilla, and discovered how the cold changes texture: the snow aerates the condensed milk into something light and scoopable, with tiny crystalline pockets that melt on the tongue.
I make this whenever a snow day coincides with a lazy afternoon. It’s special because the base is just three ingredients — snow, sweetened condensed milk, and vanilla — which means flavor depends on balance and technique. The finished texture is creamy but slightly crystalline, with a clean, bright chill that homemade freezer ice cream rarely captures. We’ve topped it with sprinkles, cocoa nibs, chopped nuts, or a drizzle of chocolate sauce when company comes by. It’s fast, playful, and always a hit with kids and grown-ups who remember how magical snow tasted as dessert.
On the first cold afternoon we tried this version, my kids lined up at the window watching snowflakes fall while we measured and mixed in the kitchen. Their faces when they tasted the first spoonful — cold, sweet, a little crunchy — are the reason this keeps coming back to our winter rotation. I love how quickly it brings the whole family together; everyone adds a topping and shares a laugh about who can make the prettiest cup.
When shopping, look for a can of sweetened condensed milk labeled for baking; those are typically thicker and richer. Measure snow by lightly scooping it into a dry measuring cup without packing — the airy volume matters. If the snow compacts, add more until you reach the creamy, scoopable consistency described in the instructions.
My favorite thing about this treat is how it turns an ordinary snowfall into a small celebration. I remember laughing as the kids compared who had the most colorful sprinkles, and a neighbor offered maple syrup over hers for a surprisingly delicious twist. Those quick, shared moments are what make this dessert more than a recipe — it’s a winter ritual.
Because this dessert is essentially a fresh confection made with snow, the window for ideal quality is short. Serve immediately for the best texture. If you must store leftovers, transfer them to an airtight, freezer-safe container and freeze for up to one week; the texture will become firmer and a bit more crystalline. To re-enjoy frozen leftovers, place the container in the refrigerator for 10–15 minutes to soften slightly, then stir briefly to restore scoopable texture before serving. Do not leave portions at room temperature for extended periods.
For a dairy-free option, replace sweetened condensed milk with a commercially available coconut condensed milk or simmer full-fat coconut milk with sweetener until thickened (this is a longer process). Use 1 can (13–14 oz) of canned coconut condensed milk as a one-to-one swap. For a lower-sugar version, mix evaporated milk with a sugar substitute and a touch of cream to mimic the richness — but expect a thinner texture. Vanilla can be swapped for almond extract (use half the amount) for a nutty note.
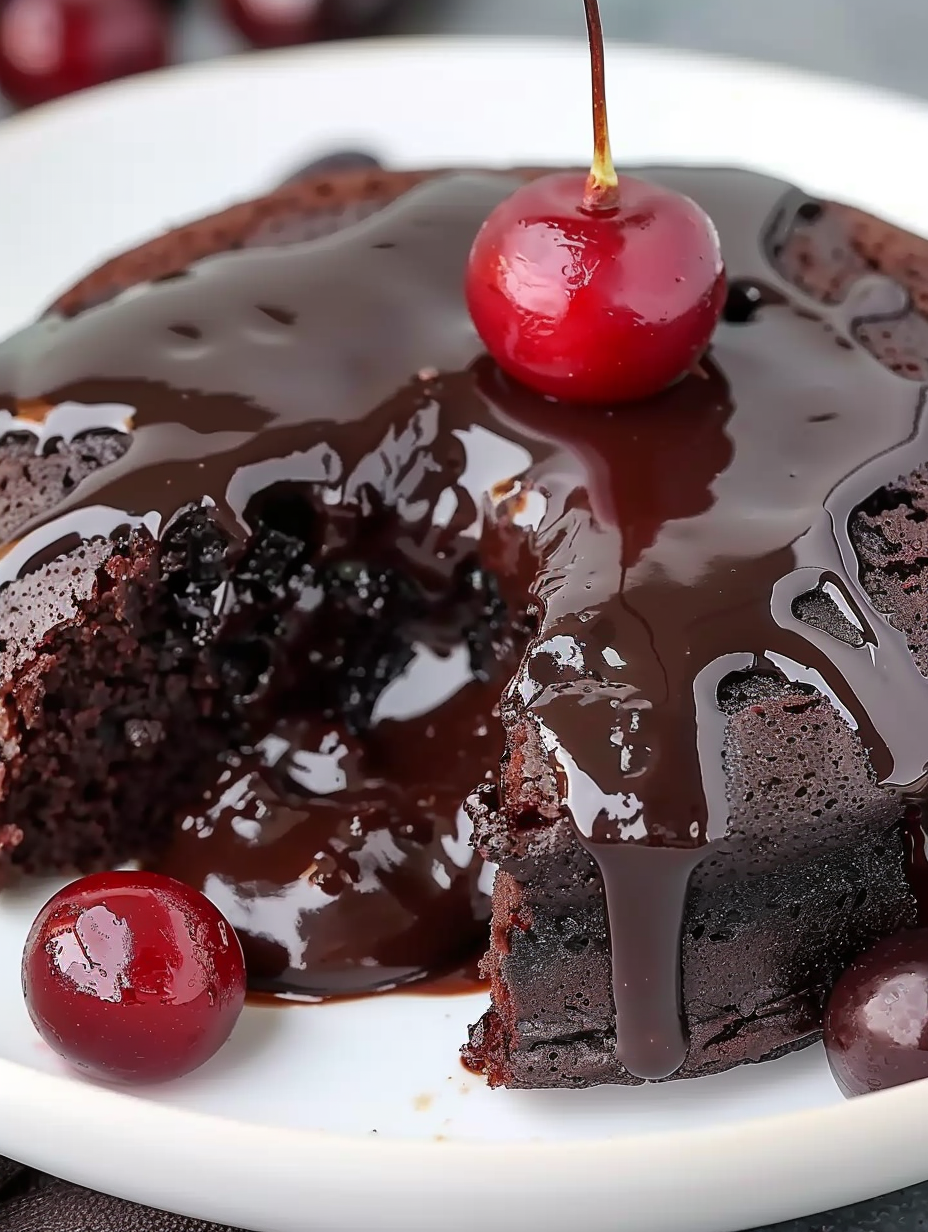
Serve in small bowls, paper cups, or edible waffle cones for fun presentation. Garnish with festive sprinkles for kids, chopped toasted nuts for adults, or a dusting of cocoa powder. For a grown-up version, add a teaspoon of instant espresso or a swirl of bourbon to the condensed milk before folding in snow. Pair with warm beverages — hot chocolate or mulled cider — to create contrast between warm and cold elements on a winter afternoon.
Simple snow-based desserts appear across cultures; historical versions used naturally falling snow mixed with sweeteners and flavorings long before mechanical refrigeration. In North America, snow ice cream is a nostalgic childhood treat passed down through families. Variations exist worldwide: from Japanese kakigori, which uses shaved ice with syrups, to Scandinavian snow confections flavored with berry syrups. This particular three-ingredient American version emphasizes speed and accessibility.
In early winter use pure, powdery snow for the best texture. Late-season snow tends to be wetter; reduce the amount slightly and fold gently to avoid slush. For festive holidays, fold in finely crushed candy canes for peppermint flavor or stir in a spoonful of pureed roasted squash and a pinch of cinnamon for a seasonal twist. For summer, replicate the texture using crushed ice and a base of sweetened condensed milk chilled and whipped — it won’t be quite the same, but it captures the spirit.
Prep the flavor base ahead: stir sweetened condensed milk with vanilla and keep chilled in the fridge up to 24 hours. Right before serving, move the can and base outside, measure fresh snow, and fold quickly to maintain cold. Portion into labeled freezer-safe containers if you want single-serve frozen treats, but note that results differ from freshly mixed snow ice cream. Use insulated bowls and serving cups to slow melting during longer outdoor gatherings.
This little recipe is a reminder that the best memories often come from the simplest combinations. Next time snow falls, gather the family, measure the snow carefully, and let each person choose a topping. It’s fast, playful, and a sure way to make a snow day unforgettable.
Use fresh, powdery snow collected away from roads and roofs to avoid contaminants.
Chill the mixing bowl briefly on a cold surface if your kitchen is warm to prevent premature melting.
If the mixture becomes too soft, add small amounts of snow until it firms up to scoopable texture.
This nourishing snow ice cream (+video) recipe is sure to be a staple in your kitchen. Enjoy every moist, high protein slice — it is perfect for breakfast or as a wholesome snack any time.
Recipe data validation failed
Please check the recipe data format. See console for details.

Saucy, cheesy baked ziti with ricotta and basil tastes like lasagna in half the effort, perfect for weeknights or crowds.

Quick, crowd-pleasing cheeseburger sliders baked golden with melty cheddar and savory beef. Ready in 30 minutes, great for parties and easy meal prep.

Crispy air fryer sweet potato fries with tender centers, fast-food flavor without deep frying. Ready in minutes and irresistibly snackable.
Leave a comment & rating below or tag @platemint on social media!
Enjoyed this recipe? Share it with friends and family, and don't forget to leave a review!
This recipe looks amazing! Can't wait to try it.
Comments are stored locally in your browser. Server comments are displayed alongside your local comments.

Join to receive our email series which contains a round-up of some of our quick and easy family favorite recipes.
