
>>

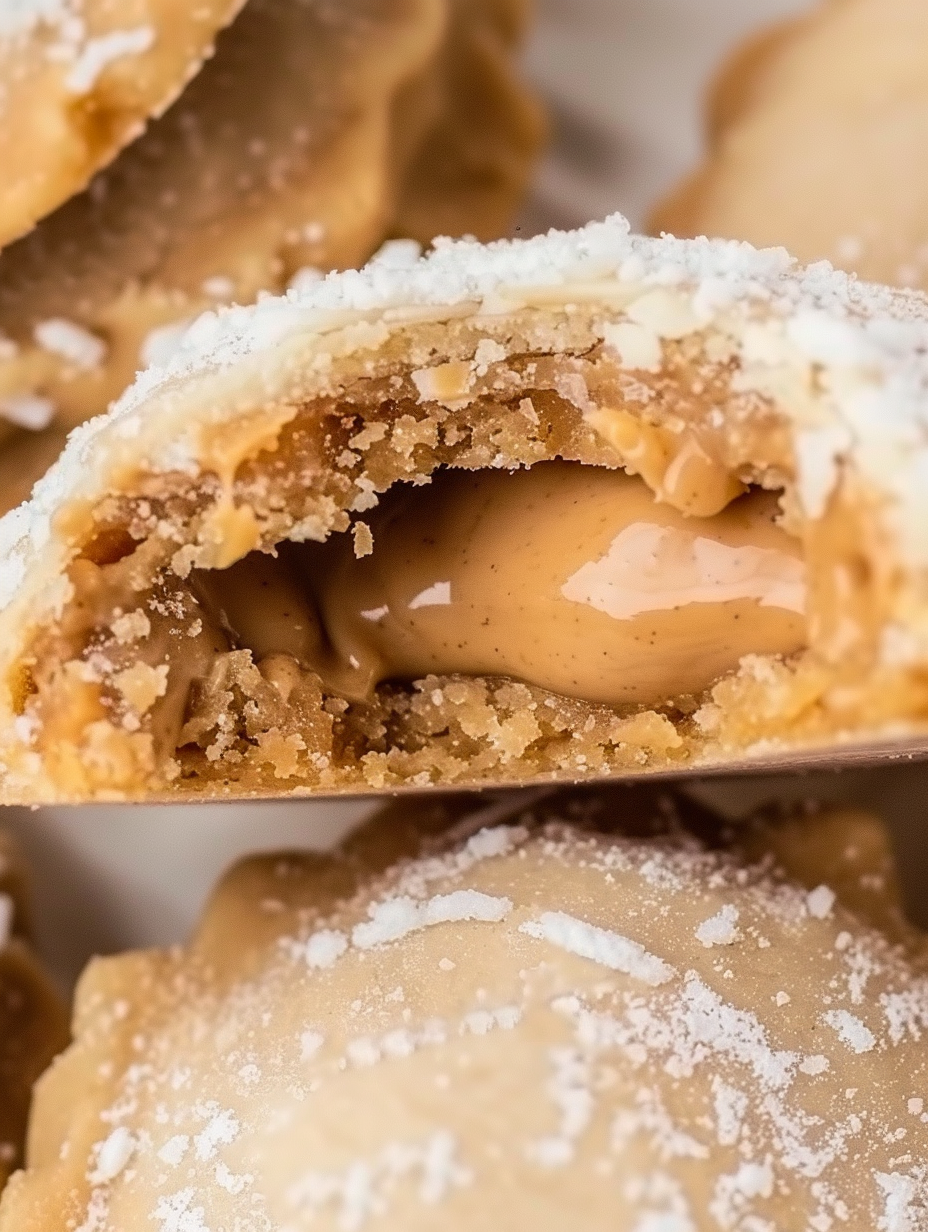
Warm, flaky pockets of pie crust filled with molten peanut butter — simple to make and irresistibly gooey.

This recipe began as a late-night experiment the first winter I discovered how magical pantry staples can be when paired with a little patience. I wanted a dessert that felt indulgent but didn’t require a long list of ingredients or a full day of baking. These peanut butter lava cookies fit the bill: flaky refrigerated pie crust wrapped around a molten spoonful of peanut butter. The first time I pulled a tray from the oven and saw the golden edges and slightly puffed centers, my partner and I could hardly wait. Biting into one revealed a warm, silky center that reminded me of molten chocolate lava cakes—except these use household ingredients and come together in under half an hour.
What makes these especially memorable is the contrast of textures: the thin, crisped pie shell that flakes with each bite and the hot, flowing peanut butter inside. I discovered the trick of keeping the sugar only on the peanut butter to prevent sealing problems by accident—one batch failed spectacularly and taught me to be precise. Since then these have become my go-to for last-minute guests, kids’ bake sales, and cozy evenings when I want the comfort of something sweet without fuss. They’re forgiving, fast, and shockingly addictive while still being easy to scale up for a crowd.
When I first served these at a small holiday gathering, guests kept returning to the platter. Several people asked if I’d secretly added chocolate—nope, just classic creamy peanut butter warmed to a lush center. My niece pronounced them "magic cookies," and the name stuck. I often make a double batch now when friends drop by, because they disappear faster than I can box them.
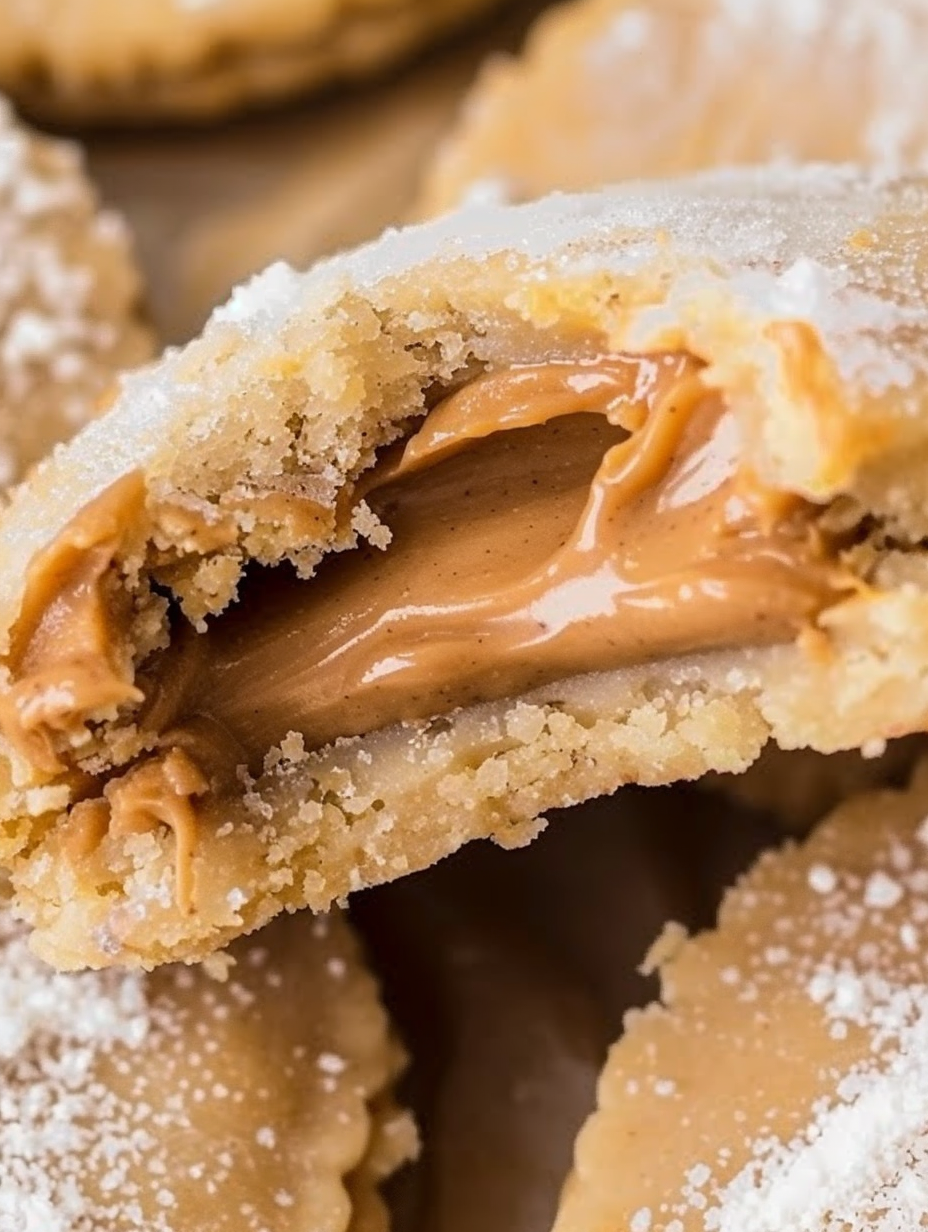
My favorite part is watching guests’ faces when they break one open and the warm peanut butter spills out. It’s a simple pleasure: no tempering, no ganache—just good peanut butter and flaky crust. The recipe’s small details—pinching the seal, sugar on the center, short baking time—are what create that dramatic contrast between exterior and molten interior.
Store cooled cookies in an airtight container at room temperature for up to 2 days. If you need longer storage, refrigerate for up to 5 days; note the centers will firm up and lose the molten quality when cold. For longer keeps, freeze fully sealed unbaked sandwiches on a tray, then transfer to a freezer bag for up to 3 months. Bake from frozen, adding a couple minutes to the baking time and watching carefully so the crust browns but the center remains molten. Reheat baked cookies briefly in a 300°F oven for 5 minutes to restore warmth, but allow 1–2 minutes of rest before biting.
Swap creamy peanut butter for almond or cashew butter at a 1:1 ratio for a different nutty profile; however, expect slight textural differences—almond butter can be a bit thinner when hot. Use natural peanut butter, but stir to reincorporate oils and reduce the amount by a teaspoon if it seems very oily. For a chocolate twist, place a teaspoon of chocolate hazelnut spread under the peanut butter instead of sugar—this creates a molten chocolate center. Gluten-free pie crusts are an option but check brand melting and sealing behavior; you may need to chill assembled cookies before baking to prevent leaks.
Serve warm with a small scoop of vanilla ice cream or a dollop of whipped cream for contrast. A light dusting of powdered sugar or a sprinkle of flaky sea salt over the hot centers elevates the flavor—salt highlights the peanut butter’s richness. These make an elegant plate when paired with fresh berries for color and acidity. For casual gatherings, stack on a low platter and provide napkins—expect sticky fingers and delighted smiles. They’re excellent as after-school treats or party hors d’oeuvres at a casual get-together.
While not a traditional regional pastry, these cookies riff on two familiar American textures: refrigerated pie crust is a convenience staple in many home kitchens, and peanut butter is an iconic American pantry item. Combining the two creates a quick hybrid that nods to pocket pies and filled cookies from various traditions. The idea of a molten center draws inspiration from the dramatic "lava cake" phenomenon but translates it into a no-fuss, nostalgic American flavor profile dominated by peanut butter.
In winter, add a pinch of cinnamon or a dash of pumpkin pie spice to the peanut butter for warmth. For summer gatherings, top the still-warm cookies with a small scoop of cold sorbet for contrast. At holiday time, press a toasted chopped pecan into the top before baking or use brown sugar in place of some granulated sugar for a deeper caramel note. For Valentine’s Day, press a few mini chocolate chips into the filling or use a heart-shaped cutter for a seasonal presentation.
Assemble all sandwiches on a single tray and freeze in a single layer. Once frozen solid, move them to a resealable bag and label with the date. Bake straight from the freezer, adding 2–3 minutes if necessary. If you prefer to bake ahead for a party, reheat at 300°F for 4–6 minutes to bring back warmth without overbrowning. For portion control, these are perfect: one cookie is satisfyingly rich, so a small plate with two plus a fruit garnish feels like an upscale dessert.
These cookies prove that spectacular desserts don’t need complicated techniques. With a few simple moves and a bit of attention to sealing and timing, you’ll have warm, gooey-centered treats that steal the show. Make them for friends, family, or a quiet evening when you want one truly delicious bite.
Keep the 1/8 teaspoon of sugar concentrated on the peanut butter to prevent the top crust from sticking to the bottom.
Chill assembled, unbaked sandwiches for 5–10 minutes if the dough feels too warm before baking to reduce leakage.
If using natural peanut butter, stir thoroughly and blot excess oil on a paper towel before measuring to avoid runniness.
This nourishing peanut butter lava cookies recipe is sure to be a staple in your kitchen. Enjoy every moist, high protein slice — it is perfect for breakfast or as a wholesome snack any time.
Yes. Assemble and freeze unbaked cookies on a tray, then transfer to a freezer bag for up to 3 months. Bake from frozen, adding 2–3 minutes to the bake time.
Allow cookies to rest 2 minutes after baking. The peanut butter center will be molten and extremely hot—let them cool briefly to avoid burns.
This Peanut Butter Lava Cookies recipe makes perfectly juicy, tender, and flavorful steak every time! Serve with potatoes and a side salad for an unforgettable dinner in under 30 minutes.
Preheat oven to 400°F. Remove pie crusts from refrigerator and let them sit until pliable, usually 20–30 minutes depending on packaging.
On parchment, unroll one crust and roll lightly to thin to about 1/16–1/8 inch. Cut 3-inch rounds with a cutter or glass, reroll scraps once for more rounds.
Place 1 tablespoon of peanut butter in the center of each round. Sprinkle 1/8 teaspoon granulated sugar onto the peanut butter only to aid release during sealing.
Place a second round on top and firmly pinch edges to seal completely; crimp with a fork if desired. Gently roll each sealed cookie in granulated sugar and place on a parchment-lined sheet.
Bake at 400°F for 12 minutes, until edges just begin to brown. Remove and let rest on the baking sheet for 2 minutes before transferring to a cooling rack. Centers will be molten and very hot.
Last Step: Please leave a rating and comment letting us know how you liked this recipe! This helps our business to thrive and continue providing free, high-quality recipes for you.
Leave a comment & rating below or tag
@platemint on social media!

Saucy, cheesy baked ziti with ricotta and basil tastes like lasagna in half the effort, perfect for weeknights or crowds.

Quick, crowd-pleasing cheeseburger sliders baked golden with melty cheddar and savory beef. Ready in 30 minutes, great for parties and easy meal prep.

Crispy air fryer sweet potato fries with tender centers, fast-food flavor without deep frying. Ready in minutes and irresistibly snackable.
Leave a comment & rating below or tag @platemint on social media!
Enjoyed this recipe? Share it with friends and family, and don't forget to leave a review!
This recipe looks amazing! Can't wait to try it.
Comments are stored locally in your browser. Server comments are displayed alongside your local comments.

Join to receive our email series which contains a round-up of some of our quick and easy family favorite recipes.
