
>>

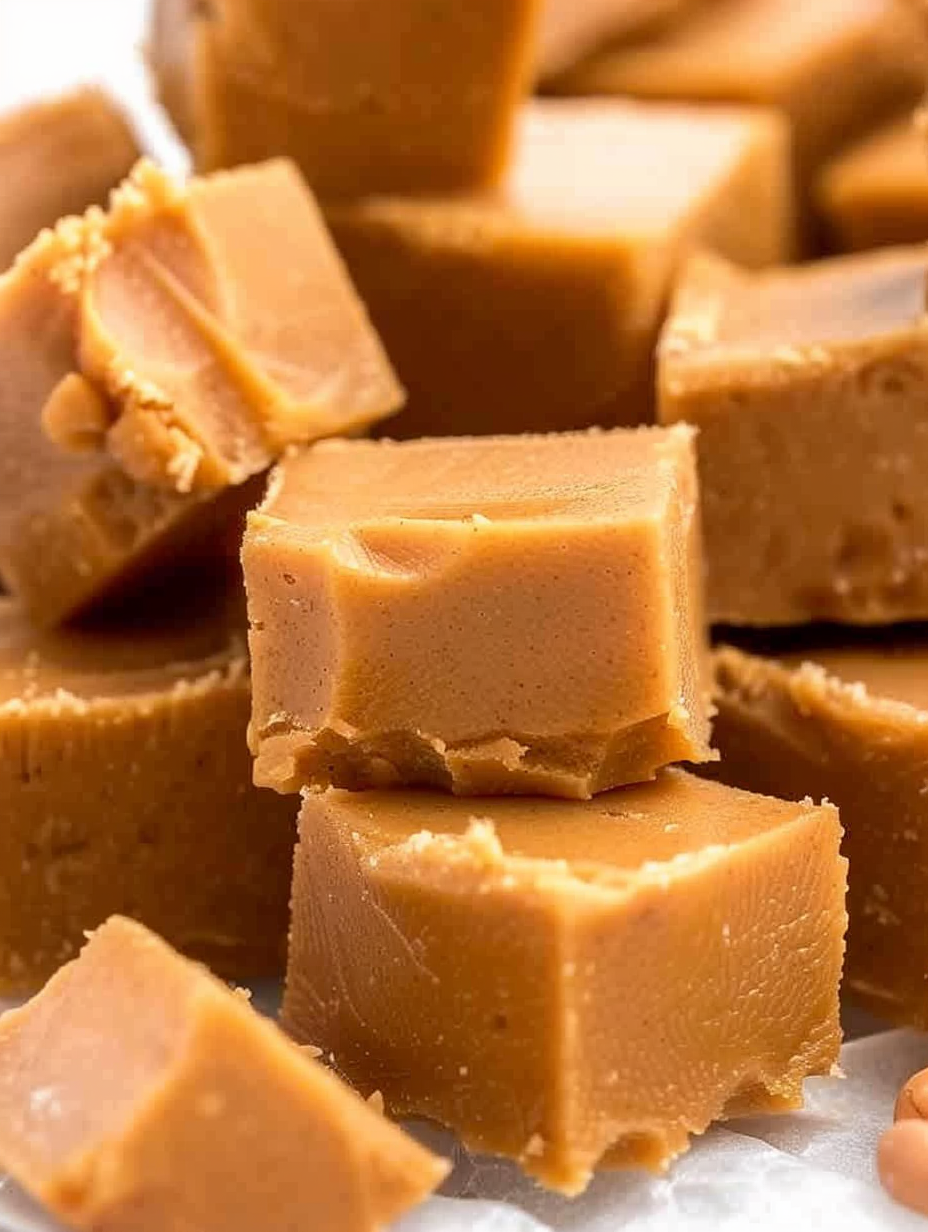
A creamy, rich peanut butter fudge that is quick to make, perfect for gifts and holiday parties — smooth, nutty, and delightfully indulgent.
I remember bringing a tray of these to a potluck and watching them disappear faster than any other dessert. People asked for the recipe and later texted photos of their own gift boxes. It is the kind of sweet that sparks little daily joys and holiday memories.
My favorite aspect of this confection is how reliably it brings people together. I have wrapped these in waxed paper and tied them with simple twine for gifts. Guests often tell me the texture reminds them of old-fashioned confections from their childhoods. It is a simple recipe that yields a nostalgic, crowd-pleasing result.
Store squares in a single layer or separated by parchment in an airtight container in the refrigerator to maintain firmness and prevent stickiness. Refrigerated, the confection keeps well for up to two weeks. For longer storage, freeze squares in a freezer-safe container or zipper freezer bag with layers separated by parchment; they will keep up to six months. To serve from frozen, thaw overnight in the refrigerator or for a few hours at room temperature. If the pieces are slightly chalky after freezing, allow them to rest at room temperature for 30 minutes before serving to regain a creamier mouthfeel.
If you need to change ingredients, understand how substitutions affect outcome. Do not use all-natural peanut butter that separates; it contains less stabilizer and yields a greasy or grainy set. For a richer flavor, substitute half the brown sugar with dark brown sugar which adds molasses notes. If dairy is a concern, this particular method does not translate well to plant milks; for a dairy-free version seek recipes designed around condensed coconut milk or coconut cream which alter texture and flavor significantly. You can swap regular butter for dairy-free butter, but you will need a tested dairy-free method to ensure proper set.
Serve small squares alongside coffee or tea for an afternoon treat, or arrange on a holiday cookie tray with assorted truffles and bark for a festive spread. Garnish each square with a light sprinkle of flaky sea salt for a modern twist, or press a few whole roasted peanuts or a drizzle of melted chocolate on top before cooling for added texture and visual appeal. For gift boxes, layer squares between parchment and pack in a decorative tin with a ribbon for a charming homemade present.
For winter holidays add a teaspoon of cinnamon and a pinch of nutmeg to the sugar mixture to give a warm spice note. In spring or summer, fold in colorful candy pieces or use white chocolate chips for a lighter presentation. For Valentine-themed treats, press a small heart-shaped candy into each square before it sets. The base is versatile and accepts seasonal flavors easily, so small swaps transform the mood without changing technique.
Make a double batch and freeze half for later; slice one batch for immediate use and freeze the rest uncut for space-saving storage. Use a sharp knife warmed under hot water and dried between cuts to get clean edges when slicing. Label containers with the date so you rotate stock. If you are transporting to an event, keep the container chilled until the last moment to prevent stickiness, and pack squares on parchment to prevent them from adhering to one another.
One Christmas I sent tins of these treats to my sister and she called in tears because the flavor reminded her of a confection her grandmother made. At a neighborhood party, a neighbor who rarely eats sweets asked for seconds and later requested the recipe. Little moments like that are why I keep this recipe in my regular rotation. It is simple, dependable, and full of warm memories.
Whether you are gift-giving, preparing for a gathering, or simply craving a nostalgic sweet, this peanut butter fudge is a reliable and heartwarming choice. Try the basic version first, then experiment with add-ins and presentation to make it your own.
Warm and dry your knife between cuts for neat squares and minimal crumbling.
Line the pan with parchment with an overhang for easy removal and clean edges.
Avoid low-fat or plant-based milks in this method; whole milk gives the best texture.
Pack light brown sugar into the cup gently for accurate measurement.
Chill the pan at room temperature first then refrigerate to avoid sudden condensation.
This nourishing creamy peanut butter fudge recipe is sure to be a staple in your kitchen. Enjoy every moist, high protein slice — it is perfect for breakfast or as a wholesome snack any time.
Yes. Store in an airtight container in the refrigerator for up to two weeks or freeze for up to six months.
Use a sharp knife warmed in hot water and wiped dry between slices for clean edges.
No. Use classic commercial creamy peanut butter rather than all-natural varieties to ensure the fudge sets correctly.
This Creamy Peanut Butter Fudge recipe makes perfectly juicy, tender, and flavorful steak every time! Serve with potatoes and a side salad for an unforgettable dinner in under 30 minutes.
Lightly grease a 9 x 9 inch glass pan with butter or line with parchment for easy removal. Have all ingredients measured and ready before you begin.
In a medium saucepan combine powdered sugar, light brown sugar, butter, and whole milk. Stir over low heat until the sugars dissolve and the mixture is smooth.
Bring mixture to a gentle boil over medium heat and slowly boil for 5 minutes while stirring constantly to prevent scorching and develop a glossy texture.
Remove pan from heat, stir in creamy peanut butter and vanilla until completely smooth and uniform in texture.
Pour the mixture into the prepared pan, smooth the top, cool to room temperature, then refrigerate for at least 4 hours until firm. Cut into 20 squares to serve.
Last Step: Please leave a rating and comment letting us know how you liked this recipe! This helps our business to thrive and continue providing free, high-quality recipes for you.
Leave a comment & rating below or tag
@platemint on social media!

Saucy, cheesy baked ziti with ricotta and basil tastes like lasagna in half the effort, perfect for weeknights or crowds.

Quick, crowd-pleasing cheeseburger sliders baked golden with melty cheddar and savory beef. Ready in 30 minutes, great for parties and easy meal prep.

Crispy air fryer sweet potato fries with tender centers, fast-food flavor without deep frying. Ready in minutes and irresistibly snackable.
Leave a comment & rating below or tag @platemint on social media!
Enjoyed this recipe? Share it with friends and family, and don't forget to leave a review!
This recipe looks amazing! Can't wait to try it.
Comments are stored locally in your browser. Server comments are displayed alongside your local comments.

Join to receive our email series which contains a round-up of some of our quick and easy family favorite recipes.
