
>>

Make a double batch and share one — creamy peanut butter centers dipped in glossy chocolate for an old-fashioned candy everyone loves.
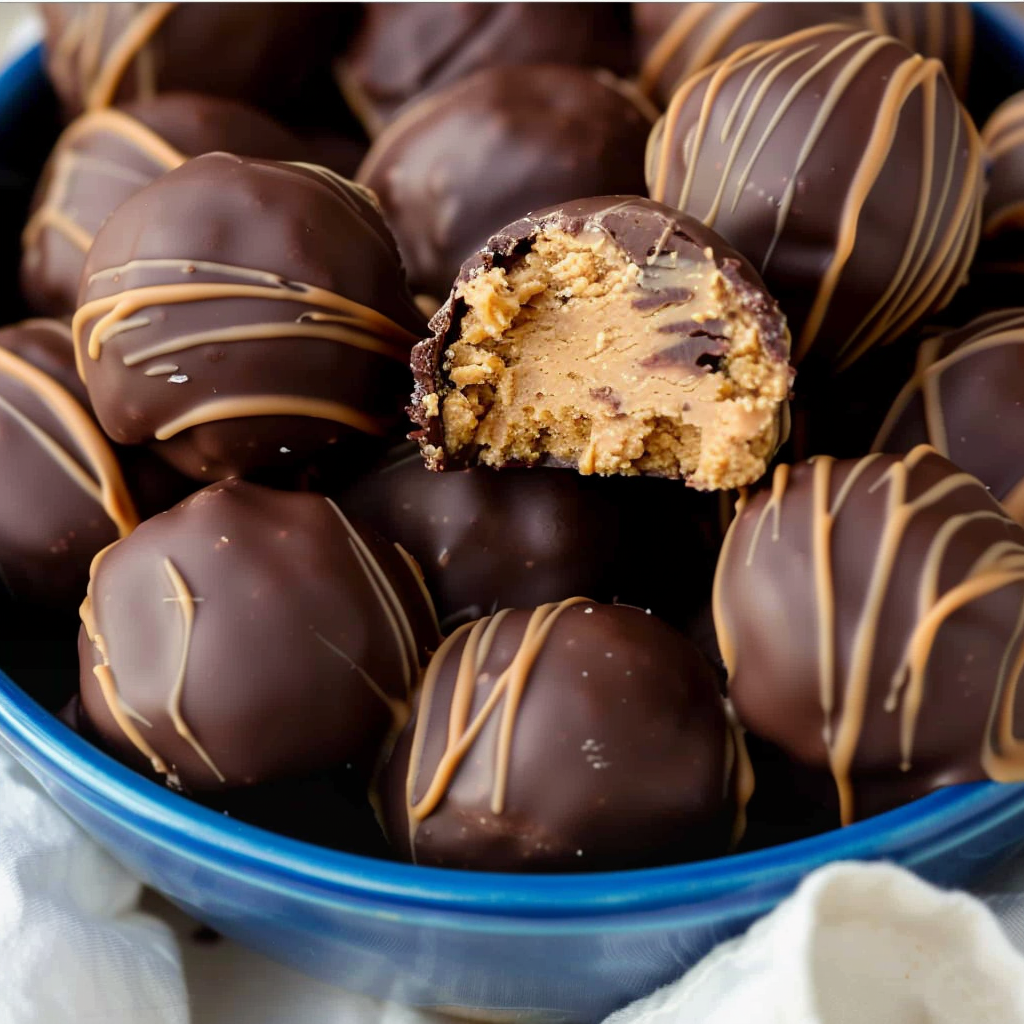
This recipe for Peanut Butter Balls has been a holiday and weeknight treat in my kitchen for as long as I can remember. I first made these on a chilly December afternoon, determined to recreate the simple candies my grandmother used to bring to family gatherings. The result was an irresistibly creamy peanut butter center coated in a thin shell of chocolate: a balance of sweet and salty with a tender, melt-in-your-mouth texture. I learned to double the batch the second time because they disappear faster than I can line the cookie sheets.
What makes these candies special is their nostalgic simplicity and the comfort of familiar ingredients: creamy peanut butter, butter, and powdered sugar, finished in high-quality melting wafers. The mixture comes together quickly and can be shaped by hand into bite-sized balls, chilled, and dipped. They are sturdy enough to transport to potlucks yet delicate enough to feel like a homemade confection. I often bring a box to friends and leave another at home for my family to enjoy — consider this your permission to make two pans and share one.
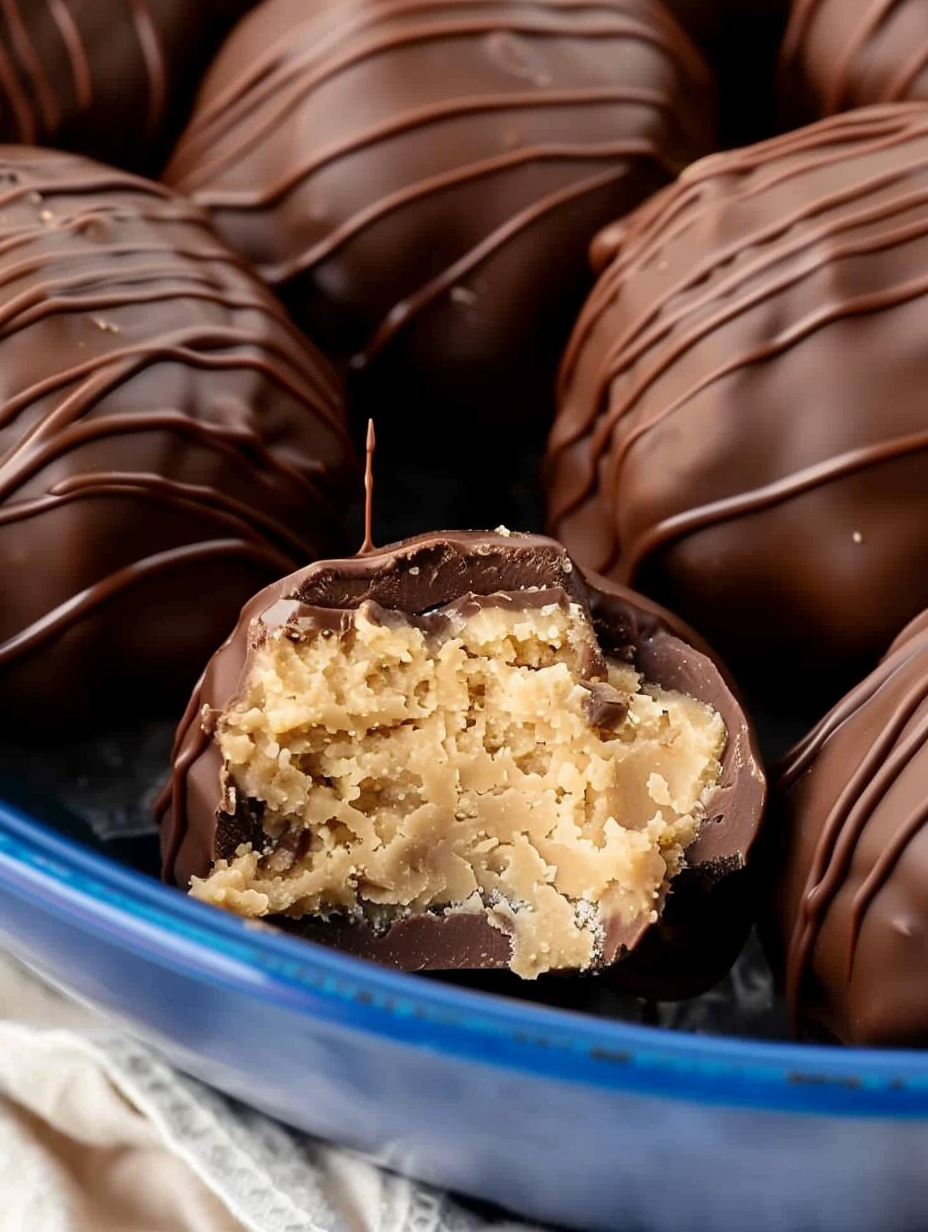
My family always asks for seconds; the texture — creamy interior with a thin crisp chocolate shell — brings back childhood memories for many of us. Over the years I discovered small technique tweaks that improve consistency, like using salted butter and chilling the centers thoroughly before dipping. These little changes turned a good recipe into a dependable favorite.
My favorite thing about this recipe is how forgiving it is. A few times I mismeasured powdered sugar or used a softer peanut butter, and with a little extra chilling and patience the dough still came together. Friends and neighbors often ask for the recipe after tasting them, and a double batch nearly always leaves someone smiling at the door with a handful to go.
Store the candies in a single layer or separated by parchment between layers inside an airtight container. At room temperature the texture softens and the coating can become tacky, so refrigeration is recommended for climates above 70 degrees Fahrenheit. For gifting, pack them in a small box with wax paper liners and include an ice pack if transporting in warm weather. When freezing, flash-freeze on a lined sheet for 30 minutes before transferring to a freezer bag to prevent sticking; thaw in the refrigerator for best texture.
If you want a different nut profile, swap peanut butter for almond butter or cashew butter at a 1:1 ratio; keep in mind the flavor and texture will change slightly. Natural or oil-separated peanut butter works but may require extra chilling and stirring to recombine oils. If you prefer darker chocolate, use dark melting wafers or finely chopped semisweet chocolate — higher cocoa solids make the coating firmer. For a lower-sugar version, experiment with powdered erythritol blends, though texture and sweetness will differ.
Serve chilled on a platter lined with parchment and garnish with a light dusting of flaky sea salt for a contrast. Pair with strong coffee, espresso, or a robust black tea to balance sweetness. These candies make lovely edible gifts when wrapped individually in small candy cups or cellophane bags tied with ribbon. For a dessert board, include them alongside shortbread cookies and dried fruit for contrast.
Homemade nut butter candies are a staple in many American households, especially during holidays. They are the candy equivalent of cookie exchanges — quick to make in large quantities and easy to personalize. This style of candy likely evolved from simple pantry-based sweets made mid-century when candy molds and chocolate-dipping became household-friendly, offering a homemade alternative to commercial peanut butter confections.
For holidays, press a small piece of holiday sprinkles onto the wet chocolate before it sets, or drizzle white melting chocolate for a festive look. In warmer months, consider using dark chocolate for a less sweet finish and store chilled. For Valentine’s Day, roll centers in freeze-dried raspberry powder before dipping for a tart twist that complements the chocolate.
Prepare the filling and form balls up to 2 days ahead; keep them covered and refrigerated. Melt chocolate and dip shortly before serving for best shine. When making a double batch, use two baking sheets and work in stages: chill one sheet while you form the second to maintain efficiency. Use a small cookie scoop for uniform sizing and to speed up shaping.
These candies are a satisfying, simple project that rewards patience and yields a crowd-pleasing result. Make a double batch and share one — you will be asked for the recipe.
Chill the formed centers for at least 20 minutes before dipping to prevent melting and cracking.
If using a hand mixer, reduce powdered sugar to 2 1/2 cups for easier mixing and less sweetness.
Use a small cookie scoop for uniform balls and faster shaping; flash-freeze on a tray before transferring to containers when freezing.
This nourishing peanut butter balls recipe is sure to be a staple in your kitchen. Enjoy every moist, high protein slice — it is perfect for breakfast or as a wholesome snack any time.
Yes. Chill the centers thoroughly for at least 20 minutes so they hold their shape while dipping. If centers are warm, the chocolate can become uneven or crack.
Use salted butter or add 1/4 teaspoon salt if using unsalted butter. Salt balances sweetness and enhances peanut flavor.
This Peanut Butter Balls recipe makes perfectly juicy, tender, and flavorful steak every time! Serve with potatoes and a side salad for an unforgettable dinner in under 30 minutes.
In a mixing bowl, beat 1 cup creamy peanut butter with 6 tablespoons room-temperature salted butter until smooth and fully combined.
With the mixer on low, gradually add 2 3/4 cups powdered sugar until the mixture forms a dough. Stir in 1 teaspoon vanilla. If using a hand mixer and dough resists, reduce sugar to 2 1/2 cups.
Line a baking sheet with parchment. Scoop 1-inch portions and roll into tight balls with your hands, placing them on the sheet about 1 inch apart.
Refrigerate the formed balls for 20 minutes so they firm up before dipping, which prevents shape loss and excess chocolate pooling.
Melt the 10-ounce package of melting wafers in a microwave-safe bowl: 30 seconds, stir, then heat in 10-second intervals until smooth. Follow package directions to avoid burning.
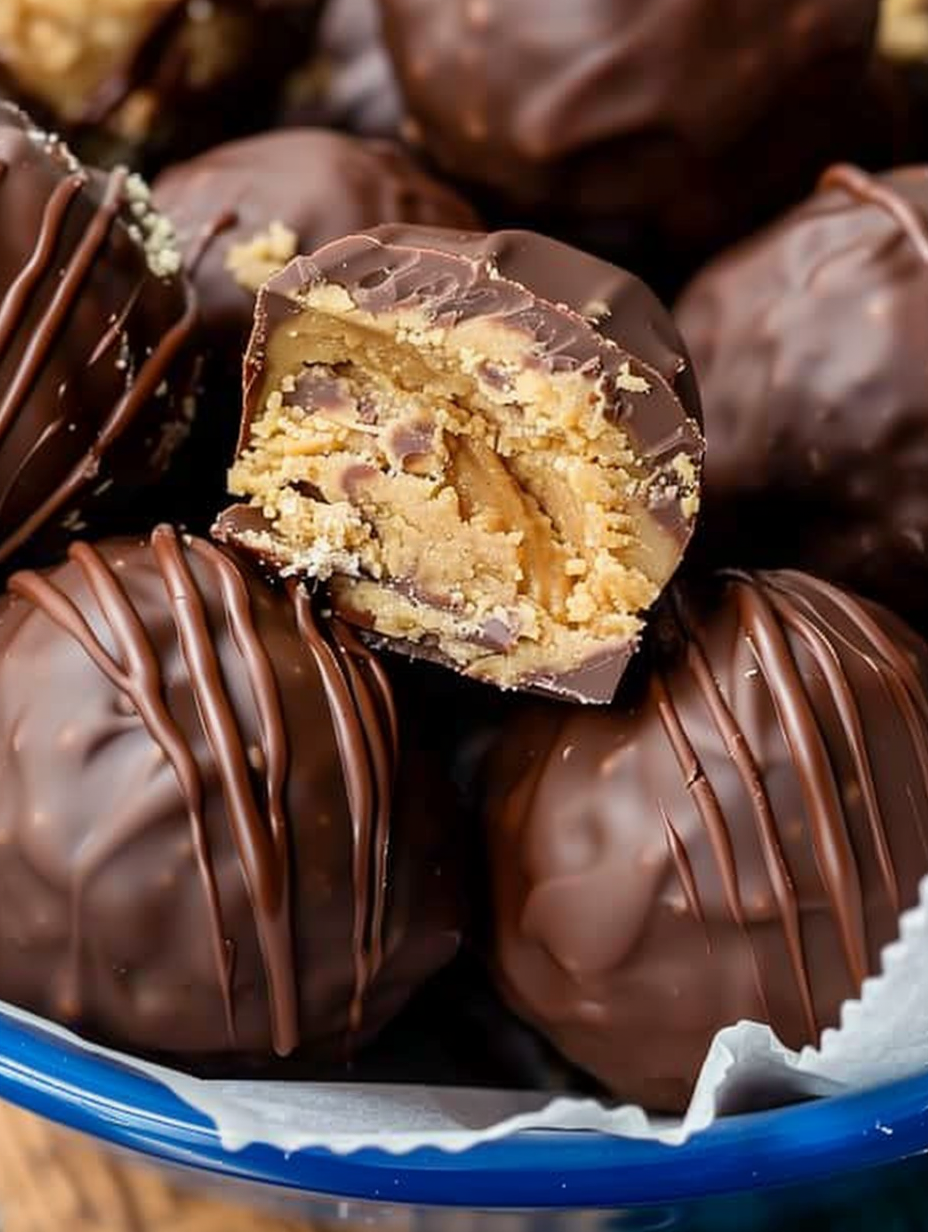
Skewer each ball with a toothpick, dip into melted chocolate, tap off excess, and place back on the lined sheet. Repeat until all balls are coated.
Allow chocolate to set at room temperature or in the refrigerator for 10-15 minutes. Store finished candies in an airtight container in the refrigerator up to 5 days or freeze up to 3 months.
Last Step: Please leave a rating and comment letting us know how you liked this recipe! This helps our business to thrive and continue providing free, high-quality recipes for you.
Leave a comment & rating below or tag
@platemint on social media!

Saucy, cheesy baked ziti with ricotta and basil tastes like lasagna in half the effort, perfect for weeknights or crowds.

Quick, crowd-pleasing cheeseburger sliders baked golden with melty cheddar and savory beef. Ready in 30 minutes, great for parties and easy meal prep.

Crispy air fryer sweet potato fries with tender centers, fast-food flavor without deep frying. Ready in minutes and irresistibly snackable.
Leave a comment & rating below or tag @platemint on social media!
Enjoyed this recipe? Share it with friends and family, and don't forget to leave a review!
This recipe looks amazing! Can't wait to try it.
Comments are stored locally in your browser. Server comments are displayed alongside your local comments.

Join to receive our email series which contains a round-up of some of our quick and easy family favorite recipes.
