
>>

Thick, fudgy, no-bake brownie truffles made with just a few pantry staples—cream cheese, brownie mix, and chocolate coating. Easy, rich, and perfect for gifting.
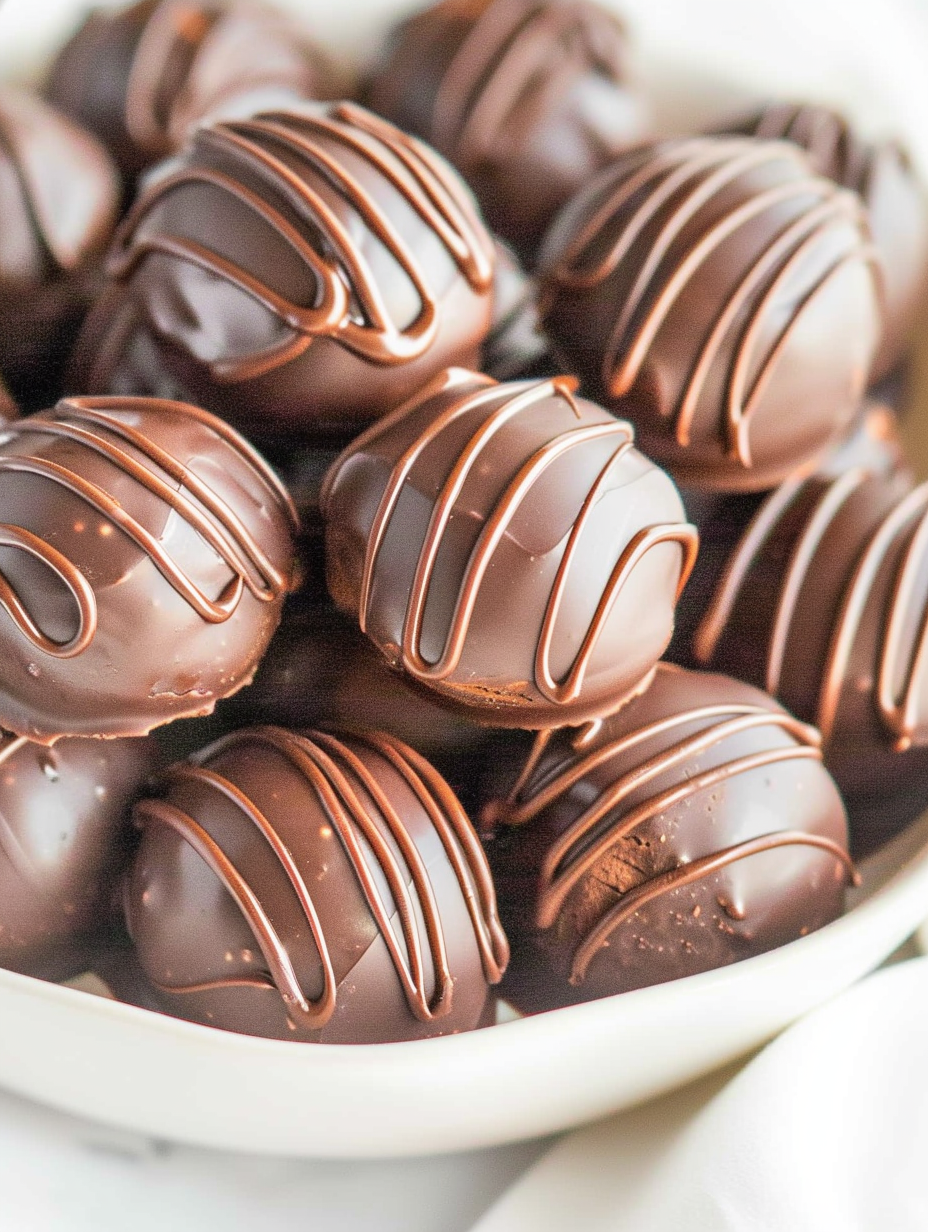
My family treats these like little treasures. I brought them to a potluck once with a simple drizzle of white chocolate and they disappeared first. These bites are also my go-to when I need a quick edible gift — a tin lined with parchment and a ribbon turns them into something special. Over the years I learned to heat-treat the dry mix and chill thoroughly for firmer shaping, and that small technique change made all the difference in texture and longevity.

My favorite part of this recipe is how forgiving it is. I've experimented with different coatings and drizzles and still come back to the original method because it consistently produces that dense, fudgy interior everyone raves about. I once made a rainbow-coated version for a school bake sale and parents asked for my recipe — proof that these little bites cross generations and palates. The method scales well for larger trays, and a simple garnish like flaky sea salt or crushed peppermint elevates them for holidays.

Store the finished truffles in an airtight container layered with parchment to prevent sticking. Keep them refrigerated and use within 7 days for peak flavor and texture. For longer storage, freeze flat on a parchment-lined sheet for 1 hour, then transfer to a freezer-safe container with parchment between layers; frozen truffles keep up to 3 months. To thaw, move them to the refrigerator overnight and bring to room temperature for 10 to 15 minutes before serving. Avoid leaving them at ambient temperature for extended periods, as the cream cheese centers can soften too much and lose structure.
If you need to adapt ingredients, try dairy-free cream cheese alternatives to make a dairy-free version — choose a thicker, full-fat style to maintain texture. For a gluten-free option, use a certified gluten-free brownie mix and ensure your chocolate wafers are gluten-free. Swap shortening for neutral coconut oil if you prefer a slightly coconut-scented glaze, though the setting properties may be a touch softer. For a richer interior, fold in 1 to 2 tablespoons of cocoa powder or instant espresso powder to intensify depth without altering texture significantly.
Arrange the truffles on a decorative platter with paper liners or place them in small confection boxes for gifting. They pair beautifully with strong coffee, espresso, or a lightly sweetened dessert wine. Garnish with flaky sea salt, toasted chopped nuts, cocoa nibs, or a tiny dusting of powdered sugar for a festive look. For a party, create an assortment with dark, milk, and white chocolate coatings to offer visual variety and let guests choose their favorite profile.
These are incredibly adaptable for seasons and holidays. During winter, mix finely crushed peppermint into the reserved drizzle or sprinkle crushed candy cane on top for a holiday twist. In summer, make a tropical version with white chocolate coating and a touch of freeze-dried mango powder in the center. For autumn, incorporate 1 teaspoon pumpkin spice into the base and finish with a cinnamon-sugar dusting. Small changes in toppings and drizzle color make these appropriate for any celebration.
Make a double batch and portion into 20-piece boxes for grab-and-go snacks or gifts. Chill the shaped centers overnight and coat them the day you plan to serve for the freshest appearance. Use clear plastic treat boxes or tin containers with parchment liners for transport. If packing in lunchboxes, place in an insulated container with an ice pack to maintain structure. Label containers with date made and suggested best-by date to keep track of freshness.
I gave a tray of these to a neighbor after a long week and she told me they were the best thing she'd tasted in months — she ate three before dinner. At a family reunion, they were requested again and again, and someone even asked if I could make them for wedding favors. One cooking club member replicated them with salted caramel centers and called it a showstopper. These truffles have a way of becoming the memory of an event, whether it’s a small gathering or a large celebration.
These brownie truffles are simple, indulgent, and endlessly adaptable. They reward a little patience with chilling and careful coating, and the result is a bite that tastes like pure chocolate comfort. Try them once and I promise they’ll become a reliable favorite for gifts, parties, and quiet weeknight treats.
Soften the cream cheese completely to room temperature for a smooth, lump-free mixture.
Chill the shaped centers thoroughly before dipping to prevent the chocolate from melting through.
Reserve a small portion of melted wafers for decoration so you can drizzle clean lines without interrupting the main coating.
If the melted coating thickens while you work, return it briefly to the double boiler to loosen up; avoid adding water.
This nourishing no-bake brownie truffles recipe is sure to be a staple in your kitchen. Enjoy every moist, high protein slice — it is perfect for breakfast or as a wholesome snack any time.
Yes. To heat-treat the dry brownie mix, spread it on a baking sheet and bake at 300 F for about 5 minutes or microwave in 30-second bursts while stirring until it reaches at least 160 F. This reduces risk when consuming raw mix.
Store in the refrigerator for up to 7 days in an airtight container, or freeze up to 3 months layered with parchment.
This No-Bake Brownie Truffles recipe makes perfectly juicy, tender, and flavorful steak every time! Serve with potatoes and a side salad for an unforgettable dinner in under 30 minutes.
Line a large cookie sheet with parchment paper. Gather a medium mixing bowl, rubber spatula, cookie scoop, forks or dipping tools, and a double boiler setup.
In a medium bowl, cream together the heat-treated brownie mix, softened cream cheese, and vanilla until fully combined and dough-like. The mixture should hold together when pressed.
Use a 1-1/2 inch scoop to portion the mixture and roll into smooth 1 to 1-1/2 inch balls with your palms. Place each ball on the prepared sheet.
Refrigerate the sheet of formed balls for 1 hour to firm up the centers before dipping.
Set a heatproof bowl over a pot of simmering water, add the wafers (reserving 1/4 cup), and stir until melted and smooth. Add 1 tablespoon shortening and remove from heat.
Using two forks or dipping tools, submerge each chilled ball in the melted chocolate, roll to coat fully, and transfer back to parchment. Repeat for all truffles.
Refrigerate the coated truffles for 30 minutes to set the shell.
Remelt the reserved wafers with a bit more shortening if needed, place in a piping bag, and drizzle decorative lines over each truffle.
Chill the decorated truffles for another 30 minutes before serving. Store chilled up to 7 days or freeze up to 3 months.
Last Step: Please leave a rating and comment letting us know how you liked this recipe! This helps our business to thrive and continue providing free, high-quality recipes for you.
Leave a comment & rating below or tag
@platemint on social media!

Saucy, cheesy baked ziti with ricotta and basil tastes like lasagna in half the effort, perfect for weeknights or crowds.

Quick, crowd-pleasing cheeseburger sliders baked golden with melty cheddar and savory beef. Ready in 30 minutes, great for parties and easy meal prep.

Crispy air fryer sweet potato fries with tender centers, fast-food flavor without deep frying. Ready in minutes and irresistibly snackable.
Leave a comment & rating below or tag @platemint on social media!
Enjoyed this recipe? Share it with friends and family, and don't forget to leave a review!
This recipe looks amazing! Can't wait to try it.
Comments are stored locally in your browser. Server comments are displayed alongside your local comments.

Join to receive our email series which contains a round-up of some of our quick and easy family favorite recipes.
