
>>

A nostalgic, egg-free chocolate cake baked over a layer of sweet cherry pie filling — simple to make and wonderfully moist. Perfect for family gatherings and weeknight treats.
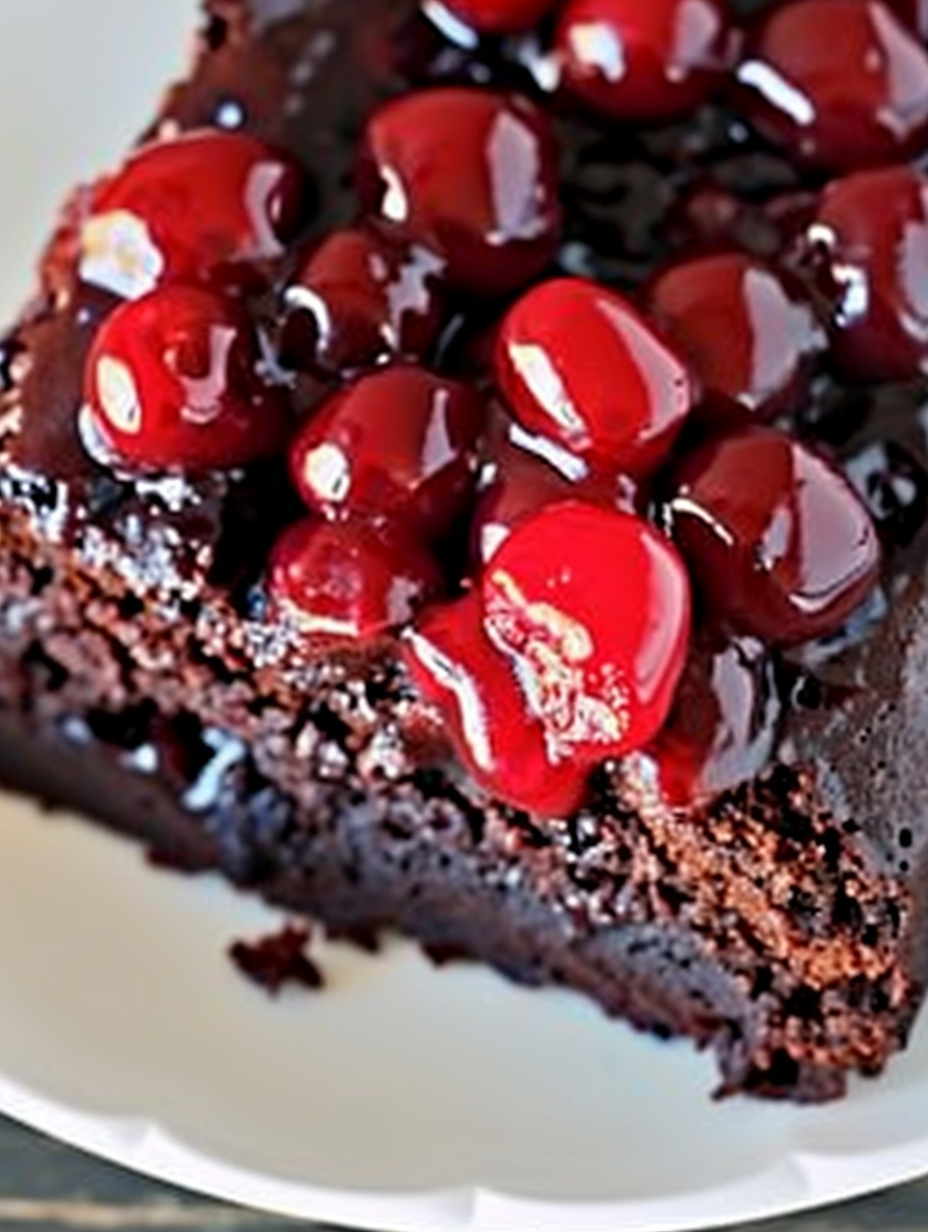
This chocolate cherry upside-down cake has been a part of my family for as long as I can remember. I found this version as a kid on a folded recipe card tucked inside a church cookbook, labeled simply as "Mom's Cake." The first time I made it as an adult I was surprised: no eggs, no fuss, and yet it produced a moist, tender crumb with a rich cocoa flavor and a glossy layer of cherries on the bottom that becomes an irresistible topping when inverted. The flavor is a nostalgic mix of deep chocolate and bright cherry, and the texture balances a soft cake with the syrupy fruit topping.
I still make this for birthdays, potlucks, and rainy Sunday afternoons. It was the centerpiece of my mother’s kitchen on more than one occasion, and the memory of the house filling with cocoa-scented steam is one I love to recreate. This cake is forgiving, quick to assemble, and uses pantry staples, which makes it perfect for an impromptu dessert. Every time I slice into it, the cherries glisten and the chocolate aroma brings everyone running — even my picky aunt asks for seconds.
In my experience, the best reactions come when the cake is still slightly warm and the cherry glaze is glossy. My mother used to serve it with a small scoop of vanilla ice cream, and that contrast of hot and cold is what made this dessert a house favorite. Over the years I have learned a few small tricks to keep the topping even and the crumb tender, and I include them below to help you succeed the first time.
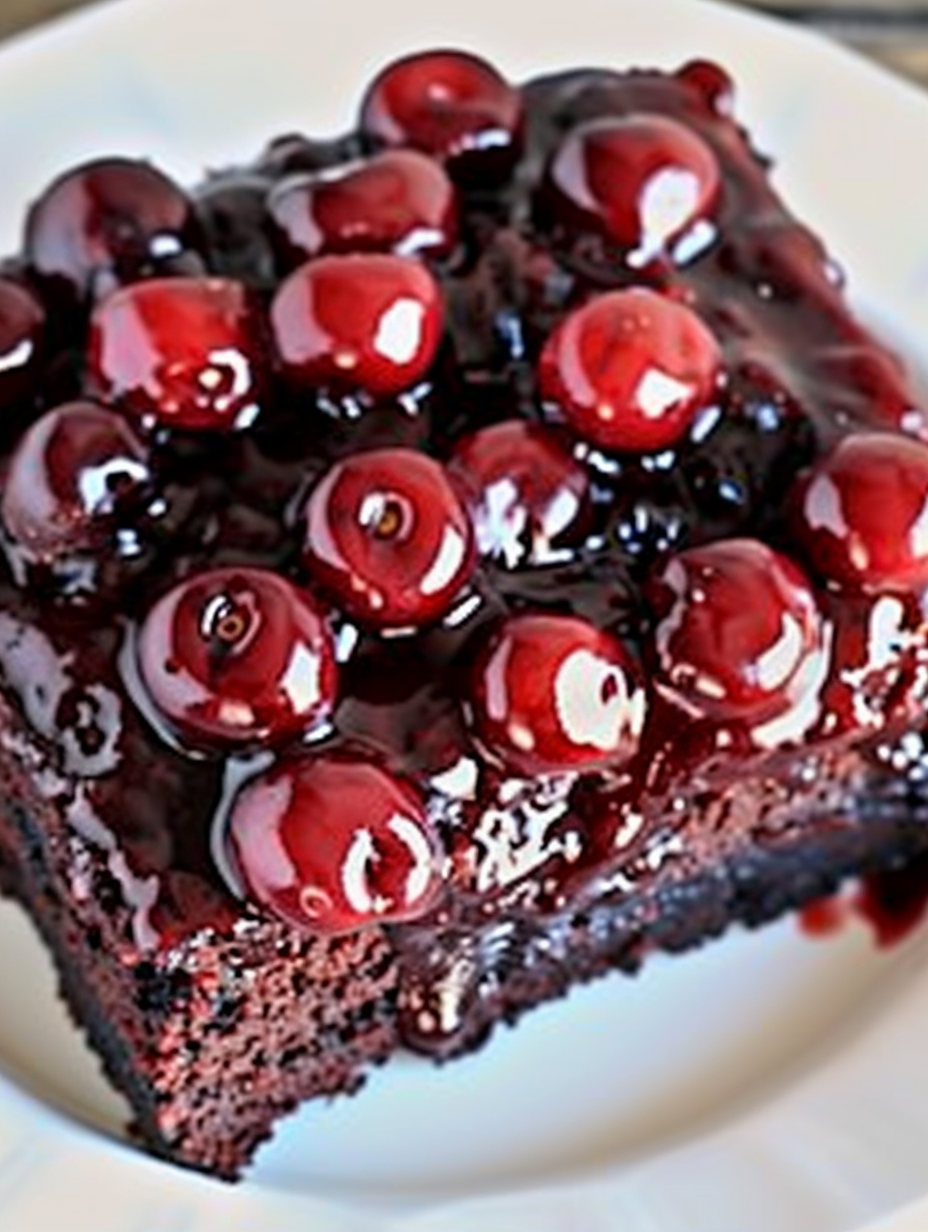
My favorite part of this cake is how the cherries caramelize slightly against the chocolate, creating a glossy, jewel-like topping. Family members have taken to calling the leftovers “midnight cake” because it is the dessert most likely to be eaten straight from the pan after everyone thinks the kitchen is empty. Little adjustments over the years — like tenting with foil if the top browns too fast — have made this fail-safe in my kitchen.

Allow the cake to cool completely before covering to avoid sogginess. Store in an airtight container or cover the inverted cake loosely with plastic wrap and keep refrigerated for up to four days. For longer storage, slice or wrap individual portions in plastic wrap followed by foil, then place in a freezer-safe bag for up to three months. Reheat single slices in a microwave for 20 to 30 seconds or in a 325°F oven for 8 to 10 minutes until warmed through. If frozen, thaw overnight in the refrigerator before reheating to preserve texture.
To reduce sugar slightly, replace 1/4 cup of granulated sugar with an equal amount of erythritol or use one cup less sugar and add a tablespoon of light corn syrup for moisture. Swap canola with melted coconut oil for a subtle nutty note; remember coconut oil is solid below about 76°F, so keep it liquid. For a gluten-free option, substitute a 1-to-1 gluten-free flour blend and add 1/4 teaspoon xanthan gum if the blend lacks it; texture may be slightly denser. If you prefer fresh cherries, macerate 2 cups of pitted cherries with 1/3 cup sugar and a tablespoon of lemon juice and scatter them over the pan, but the fresh fruit will yield more juice and a looser topping.
Serve slightly warm with a scoop of vanilla bean ice cream or a dollop of lightly sweetened whipped coconut cream for a dairy-free option. Garnish with shaved dark chocolate or a sprinkle of toasted sliced almonds for texture contrast. For a more formal presentation, use a ring mold to cut perfect slices and place on chilled plates so the cherry glaze stays glossy. This dessert pairs well with strong coffee, a fruity port, or a chilled glass of sparkling water with lemon for balance.
The upside-down concept has roots in rustic home baking, where toppings were placed on the bottom of the pan and the whole cake inverted after baking to reveal a decorative surface. Classic pineapple upside-down cakes became popular in mid-20th century American cookbooks; this chocolate-cherry interpretation blends that tradition with the American love of chocolate and canned pie fillings that simplified household baking. Using canned pie filling made this style accessible to busy home cooks and became a reliable staple for potlucks and family dinners.
In summer swap canned filling for a mixture of macerated fresh cherries and a small amount of cornstarch to thicken the juices. For winter holidays, add a teaspoon of cinnamon and a pinch of nutmeg to the dry ingredients and finish with a scattering of toasted pecans on the cherry layer before adding batter. For Valentine’s Day, use a heart-shaped cutter to present individual slices and top with a drizzle of warmed raspberry coulis.
Assemble the batter and store it in the refrigerator for up to 24 hours before baking; allow a short rest at room temperature before baking to take the chill off for even oven spring. You can also prepare the pan with cherry filling the night before and cover tightly; add batter and bake the next day. Portion the cooled cake into individual containers for grab-and-go desserts; if sending to work or school, include a small ice pack if the destination requires refrigeration.
There is a comforting ritual to making and sharing this cake — from spreading the cherries to the moment of the flip when the glossy topping is revealed. I encourage you to make it your own with small tweaks and to enjoy the simple pleasure of a slice with someone you love.
Grease the pan well to ensure the cherry topping releases cleanly when inverted.
Avoid overmixing the batter; stir until just combined to keep the crumb tender.
Tent with foil if the top browns too quickly during baking.
Use room-temperature water to help the batter come together smoothly before baking.
This nourishing mom's chocolate cherry upside-down cake recipe is sure to be a staple in your kitchen. Enjoy every moist, high protein slice — it is perfect for breakfast or as a wholesome snack any time.
Yes. The cake contains no eggs or dairy as written, but check the cherry pie filling label for any added dairy ingredients if you have strict dietary restrictions.
Store covered in the refrigerator for up to 4 days or freeze wrapped for up to 3 months. Thaw in the fridge before reheating.
This Mom's Chocolate Cherry Upside-Down Cake recipe makes perfectly juicy, tender, and flavorful steak every time! Serve with potatoes and a side salad for an unforgettable dinner in under 30 minutes.
Grease a 9x13-inch baking pan. Spread the 21-ounce can of cherry pie filling evenly across the bottom so the cherries form a uniform layer.
In a large bowl whisk together the flour, sugar, cocoa, baking soda, and salt until evenly blended and free of lumps.
Whisk the water, oil, vinegar, and vanilla in a separate bowl until combined. The vinegar will react with the baking soda to provide lift.
Pour the wet ingredients into the dry ingredients all at once and stir until just combined. Avoid overmixing to keep the cake tender.
Pour batter over cherries in the pan and spread evenly. Bake at 350°F for 35–40 minutes or until a wooden pick comes out clean.
Cool the cake for about 15 minutes, run a knife around the edges, invert onto a serving platter, and lift the pan to reveal the cherry topping.
Last Step: Please leave a rating and comment letting us know how you liked this recipe! This helps our business to thrive and continue providing free, high-quality recipes for you.
Leave a comment & rating below or tag
@platemint on social media!

Saucy, cheesy baked ziti with ricotta and basil tastes like lasagna in half the effort, perfect for weeknights or crowds.

Quick, crowd-pleasing cheeseburger sliders baked golden with melty cheddar and savory beef. Ready in 30 minutes, great for parties and easy meal prep.

Crispy air fryer sweet potato fries with tender centers, fast-food flavor without deep frying. Ready in minutes and irresistibly snackable.
Leave a comment & rating below or tag @platemint on social media!
Enjoyed this recipe? Share it with friends and family, and don't forget to leave a review!
This recipe looks amazing! Can't wait to try it.
Comments are stored locally in your browser. Server comments are displayed alongside your local comments.

Join to receive our email series which contains a round-up of some of our quick and easy family favorite recipes.