>>

Quick, cheesy mini pepper pizzas made with sweet mini peppers, pizza sauce, mozzarella, and mini pepperoni — perfect for parties, snacks, or family gatherings.
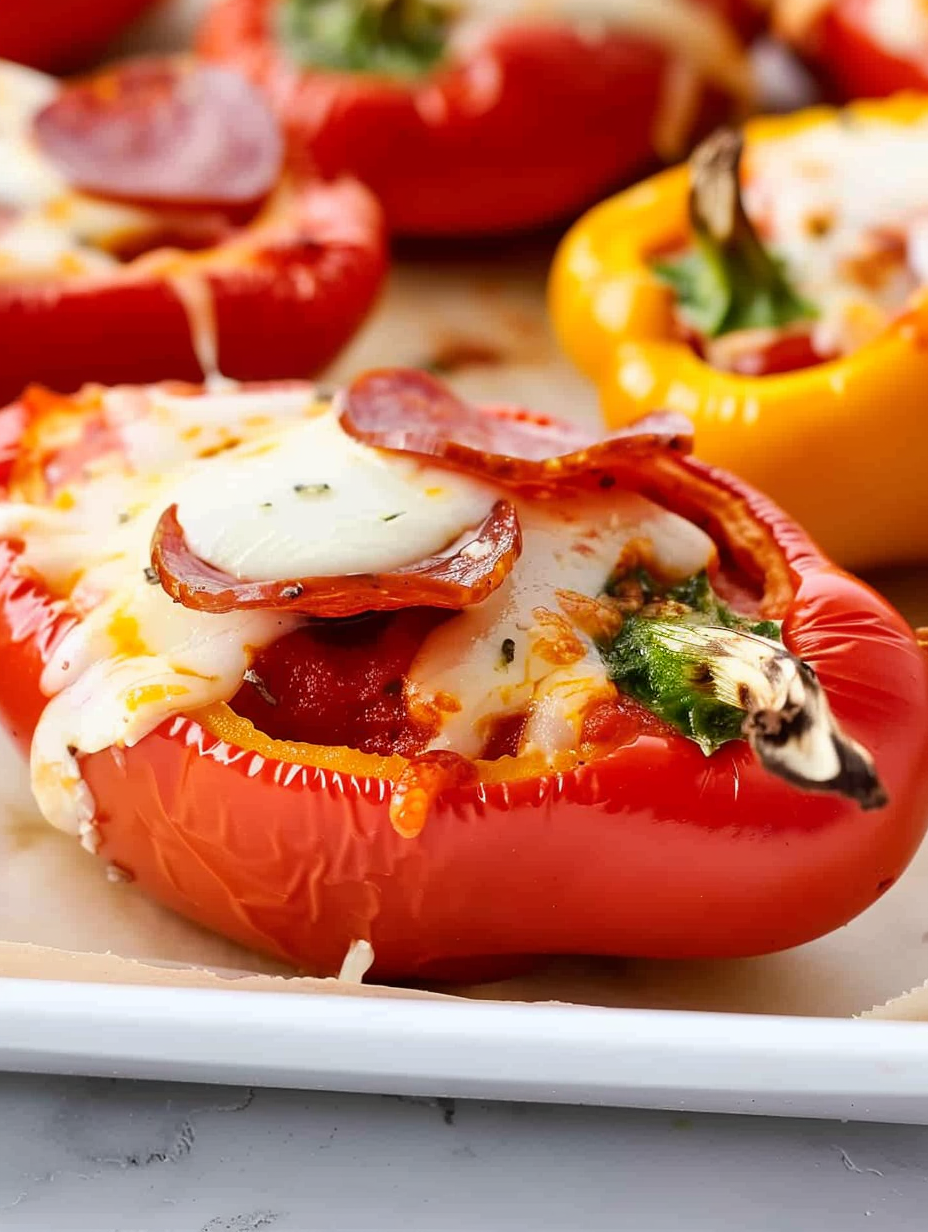
This recipe for Mini Pepper Pizzas began as a quick idea on a busy weeknight and quickly became a permanent fixture in my entertaining rotation. I discovered the combination when I needed a handheld, low-carb appetizer that would satisfy a pizza craving without turning on a complex oven setup. The sweet crunch of the peppers paired with bubbling mozzarella and spicy mini pepperoni is irresistibly fun — each bite delivers bright freshness, melty cheese, and a savory pop from the pepperoni. Over time I learned a few small tricks that turn a good batch into a great one: choose slightly larger 'fat' mini peppers, leave the stem on for easy picking, and watch the first few minutes in the oven to avoid over-softening.
I make these for everything from after-school snacks to neighborhood potlucks. They're fast — under 20 minutes from start to finish — and crowd-pleasing. Kids love them because they’re colorful and bite-sized; adults love them because they taste like pizza without a heavy crust. The texture is a highlight: the pepper keeps a gentle crunch while the cheese becomes gooey and slightly golden. Because they’re portable and visually appealing, these are the kind of appetizer that gets devoured within minutes and earns requests for 'just one more.'
My family’s reaction the first time I brought these out was priceless: a roomful of adults and kids reached for them like they were tiny edible party favors. They disappeared within minutes, and the compliments kept coming. I love that such a simple swap — using peppers instead of bread — creates a lighter, brighter bite that still hits that pizza craving.
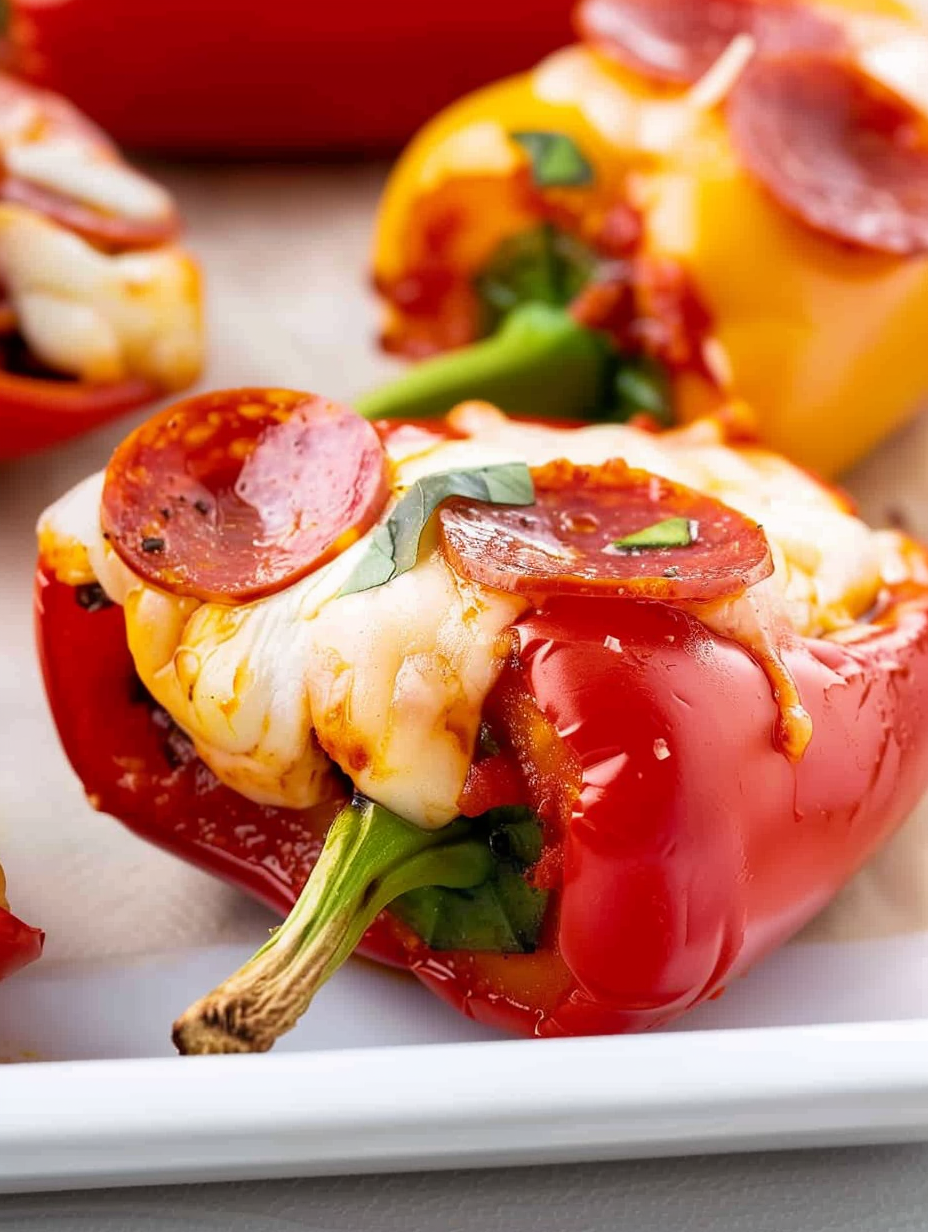
My favorite part is how reliably these vanish at gatherings. I’ve served them at a summer block party and a cozy family game night — both times they were the first appetizers to disappear. The small details, like using slightly larger peppers and freshly shredding the mozzarella, consistently elevate the final result and bring back repeat requests.
Proper storage keeps these tasty bites fresh and maintains the pepper’s crunch. After cooling completely, place leftovers in a single layer in an airtight container with parchment between layers to prevent sticking. Refrigerate for up to 3 days. To freeze, lay cooled pieces on a tray and flash-freeze for an hour, then transfer to a labeled freezer bag for up to 3 months. Reheat from frozen in a 350°F oven for 8–12 minutes or until heated through. Avoid microwaving if possible, as it can make the peppers limp — a short oven or toaster oven reheat restores the crispness and re-melts the cheese nicely.
If you need to adapt the toppings, swap turkey or beef pepperoni to reduce pork content, or use plant-based pepperoni for a vegan-friendly bite (pair with dairy-free cheese). For a vegetarian version, replace pepperoni with sliced olives, diced mushrooms, or roasted red peppers. If you want more herbaceousness, stir a pinch of dried oregano or red pepper flakes into the sauce before spooning. For a low-sodium option, choose a reduced-sodium pizza sauce and low-sodium pepperoni or omit the pepperoni in favor of smoked paprika-seasoned roasted chickpeas for crunch.
Present the peppers on a large platter with a small bowl of extra pizza sauce for dipping and a sprinkle of flaky sea salt or chopped fresh basil for garnish. They pair well with a light salad or a charcuterie selection for a relaxed party spread. For a kid-friendly plate, add carrot sticks and apple slices to round out the tray. For an elegant appetizer, top finished pieces with a razor-thin sliver of basil or a tiny drizzle of balsamic reduction right before serving.
These handheld bites are a modern twist on classic pizza flavors, inspired by the long tradition of using vegetable vessels in Mediterranean and American home cooking. Pepper halves as edible cups are a clever, low-carb adaptation that takes advantage of the sweet crunch of mini bell peppers — a nod to the inventive ways home cooks have always made do with seasonal produce and pantry staples to recreate beloved flavors.
In summer, use colorful heirloom mini peppers for a vibrant tray and top with fresh basil and a dollop of fresh ricotta for a lighter feel. In fall and winter, switch to heartier toppings like caramelized onions, roasted mushrooms, or a sprinkle of grated Parmesan before baking for deeper flavor. For holiday parties, make a festive platter using red and yellow peppers arranged in a wreath pattern around a bowl of warmed marinara.
For meal prep, halve and seed the peppers up to two days in advance and store them covered in the refrigerator. Portion sauce and cheese into small containers or sandwich bags so assembly takes only a minute per pepper half before baking. If you’re prepping for a party, partially assemble the tray and keep it refrigerated until ready to finish in the oven — this minimizes last-minute work and keeps everything fresh.
These mini pepper pizzas are a small, joyful way to bring pizza flavors to any table, whether it’s a hectic weeknight or a relaxed weekend gathering. Try the variations, keep your favorite tips close at hand, and enjoy the way a tiny pepper can pack a full pizza punch.
Choose slightly larger 'fatter' mini peppers for easier stuffing and a better bite.
Freshly shred mozzarella for the best melt and texture — pre-shredded cheese can be drier.
Check at 8 minutes in the oven; high temperatures can brown cheese quickly so watch the first batch closely.
Leave stems on the peppers for an attractive presentation and simple grabbing.
This nourishing mini pepper pizzas recipe is sure to be a staple in your kitchen. Enjoy every moist, high protein slice — it is perfect for breakfast or as a wholesome snack any time.
This Mini Pepper Pizzas recipe makes perfectly juicy, tender, and flavorful steak every time! Serve with potatoes and a side salad for an unforgettable dinner in under 30 minutes.
Preheat oven to 425°F. Line a baking sheet with parchment paper so the peppers won’t stick and cleanup is easy.
Slice each pepper lengthwise, keeping the stem intact. Remove seeds and membranes to create a clean cavity for sauce and toppings.
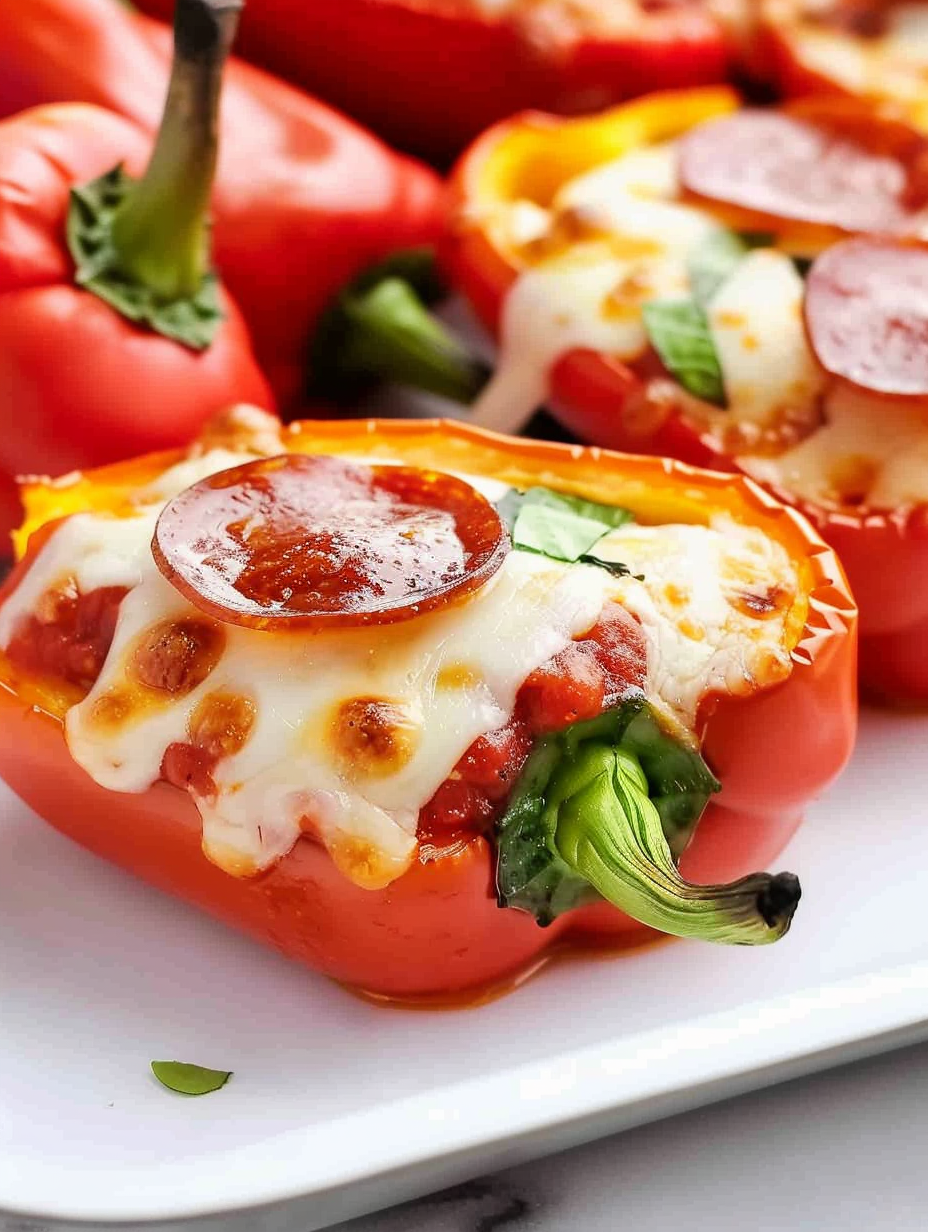
Place pepper halves cut-side up and spoon about 1 1/2 teaspoons to 1/2 tablespoon (about 1 tablespoon for larger halves) of pizza sauce into each half. Avoid overfilling.
Sprinkle 1 1/2 to 2 tablespoons shredded mozzarella on each sauced half, pressing lightly so cheese adheres to the sauce.
Place 3 to 4 mini pepperoni slices atop the cheese on each pepper half, arranging them to cover the surface so every bite has topping.
Bake at 425°F for 8 to 10 minutes until cheese is bubbly and slightly golden. Remove from oven and cool 1–2 minutes before serving.
Last Step: Please leave a rating and comment letting us know how you liked this recipe! This helps our business to thrive and continue providing free, high-quality recipes for you.
Leave a comment & rating below or tag
@platemint on social media!
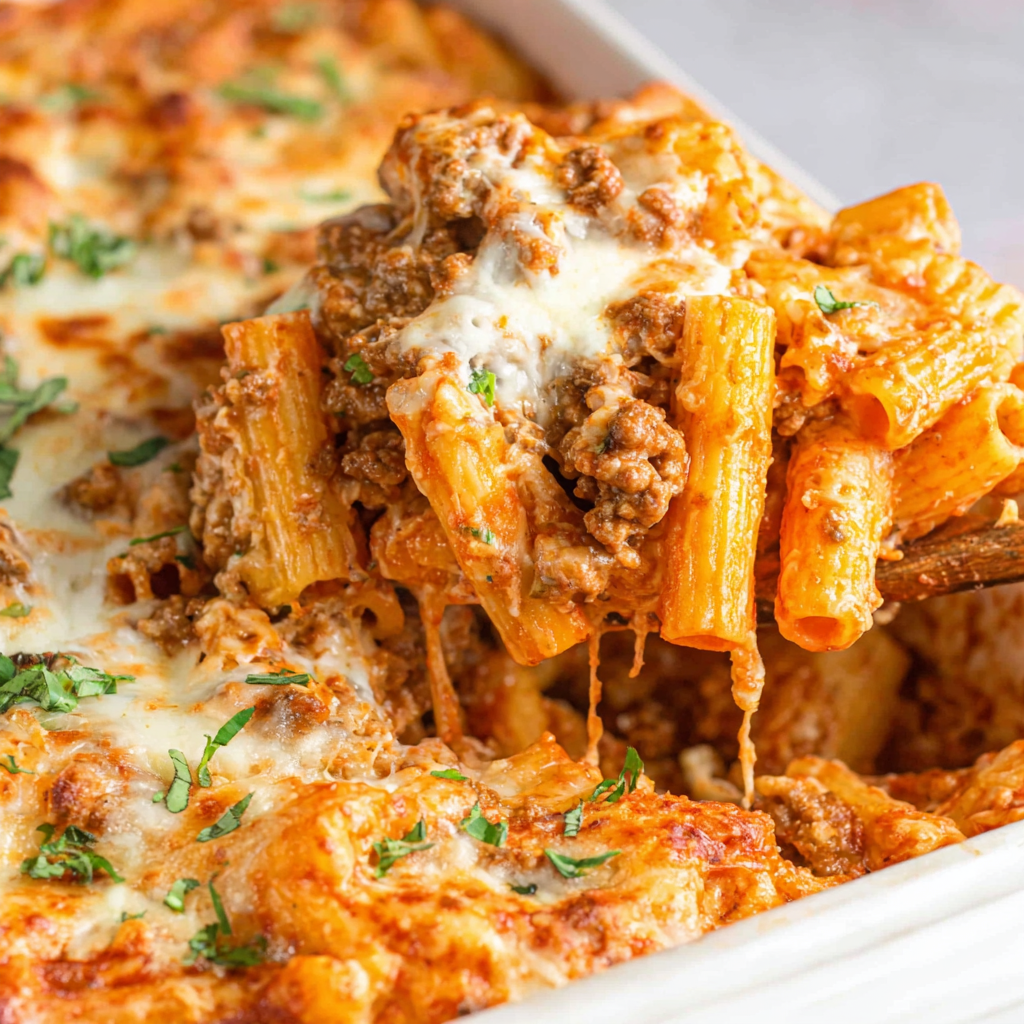
Saucy, cheesy baked ziti with ricotta and basil tastes like lasagna in half the effort, perfect for weeknights or crowds.
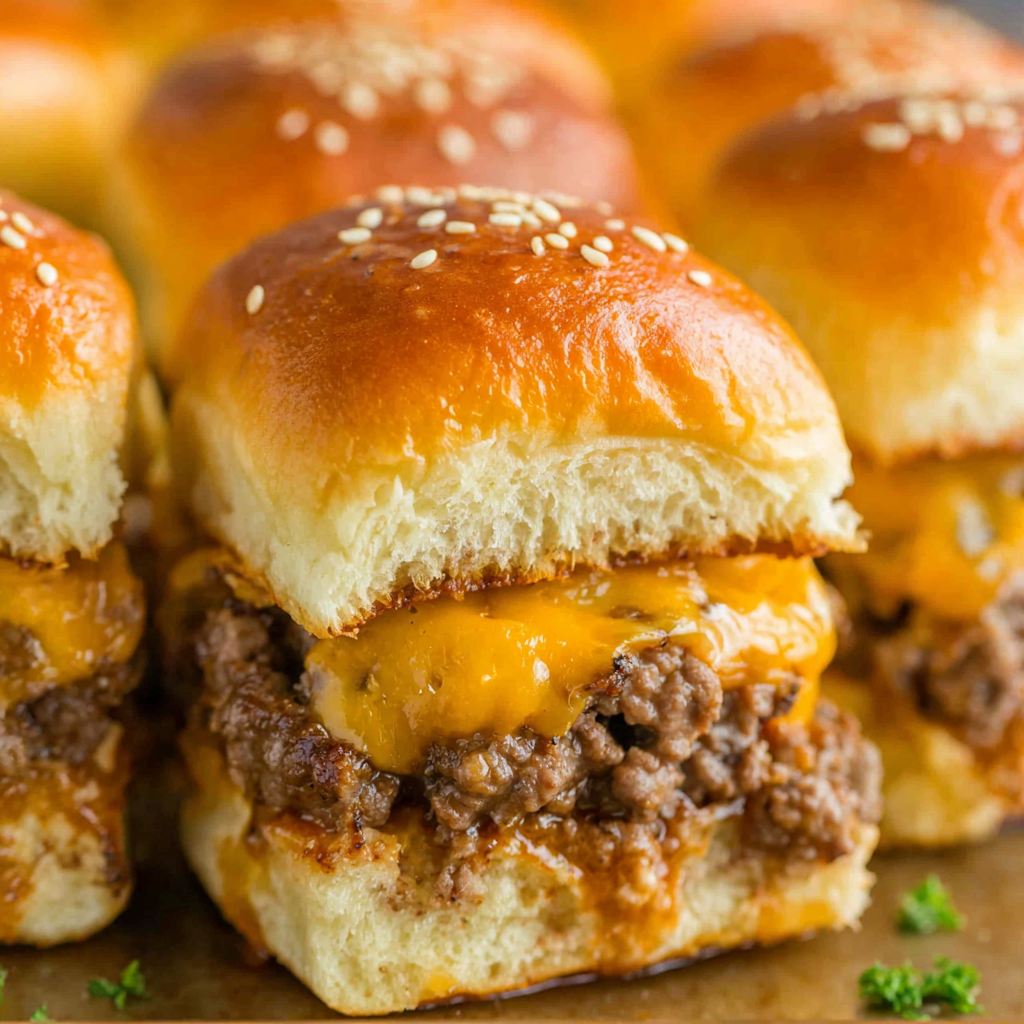
Quick, crowd-pleasing cheeseburger sliders baked golden with melty cheddar and savory beef. Ready in 30 minutes, great for parties and easy meal prep.
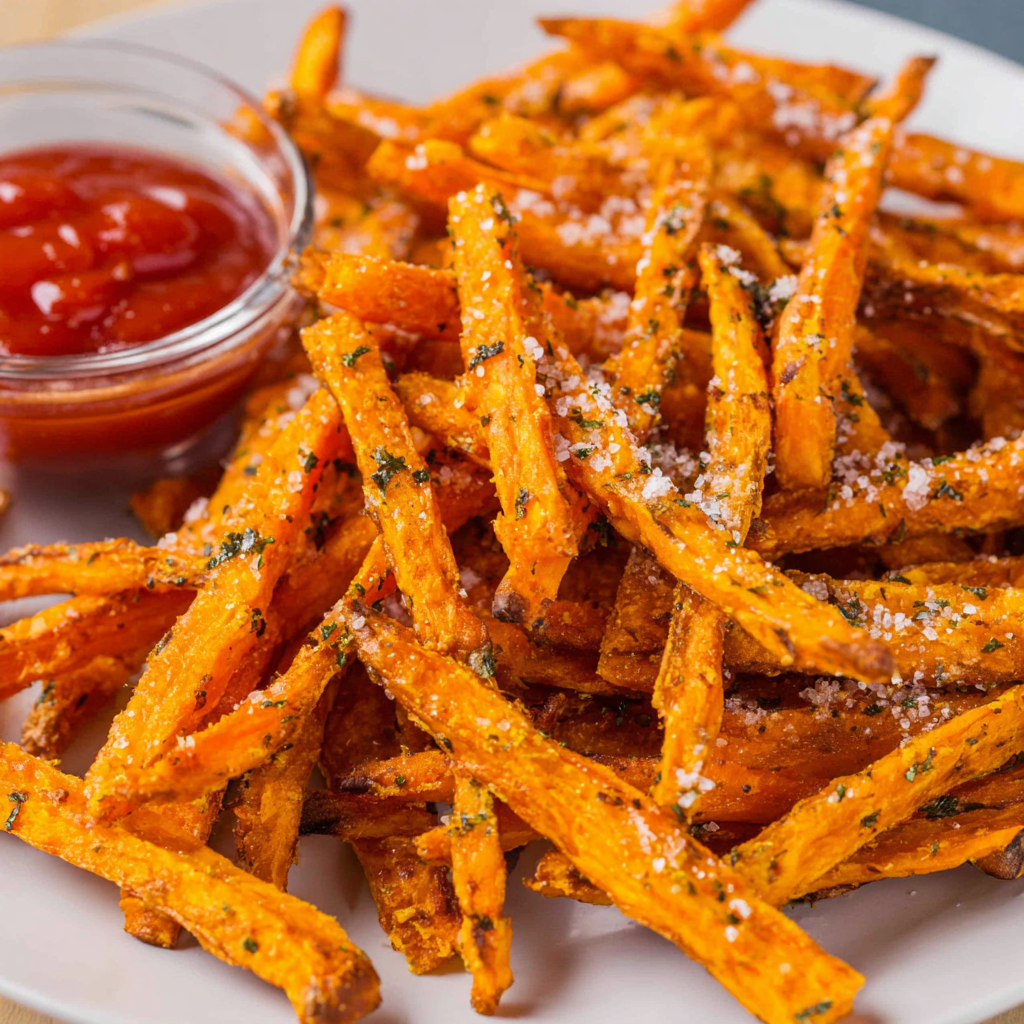
Crispy air fryer sweet potato fries with tender centers, fast-food flavor without deep frying. Ready in minutes and irresistibly snackable.
Leave a comment & rating below or tag @platemint on social media!
Enjoyed this recipe? Share it with friends and family, and don't forget to leave a review!
This recipe looks amazing! Can't wait to try it.
Comments are stored locally in your browser. Server comments are displayed alongside your local comments.

Join to receive our email series which contains a round-up of some of our quick and easy family favorite recipes.