
>>

Tiny, elegant lemon tarts with a crisp buttery shell, bright lemon curd, and billowy toasted meringue—perfect for parties and easy to make ahead.

This recipe for mini lemon meringue pies has been my go-to for celebrations and simple weeknight desserts for years. I first made these on a warm spring afternoon when I needed a portable, crowd-pleasing treat for a picnic. The combination of a flaky, buttery crust with intensely tangy lemon curd and a pillow of toasted meringue always draws a little gasp the first time someone breaks the crust with a fork. They are small, elegant, and reliably cheerful—ideal when you want something refined without a lot of fuss.
I discovered how forgiving the mini format can be: the shells bake quickly, the curd is easy to spoon, and the meringue only needs a few minutes under the broiler or a quick pass with a kitchen torch to become golden. What makes these special is texture contrast: the crisp shell, the smooth, almost silky curd, and the cloud-like meringue that melts on the tongue. They are also very adaptable—make a big batch, freeze the shells, or pipe a decorative swirl for a party. My family always fights over the ones at the edges because the crust there is extra buttery, and they call dibs on those every time.
Personally, these became a staple for birthdays and potlucks because they travel well and keep their charm. I once brought a tray to a summer block party; neighbors kept coming back for more and asking for the recipe. The ease of using store-bought curd means you can focus your energy on getting the meringue just right, and that delicate browning always wins compliments.

One of my favorite aspects is how quickly these lift a gathering—bring a tray warm from the oven and you have instant attention. My mother used to make a giant lemon meringue for holidays, and creating these mini versions lets me recreate that nostalgia without the intimidation of a large tart. Guests love the single-bite format that leaves room for other treats.
For best results, keep unfilled baked shells in an airtight container at room temperature for up to 3 days or freeze for up to 2 months. Once filled with lemon curd, refrigerate and consume within 24 hours because the curd will begin to soften the crust. If you make the full pies ahead, store them covered in the refrigerator and bring to room temperature for 20 minutes before serving. To re-crisp a softened bottom, warm in a 325 degrees F oven for 5 minutes, then cool briefly before adding meringue.
If you prefer a lighter citrus profile, swap lemon curd for key lime curd using the same quantity. For a gluten-free version, use a store-bought or homemade gluten-free crust and confirm the curd is labeled gluten-free. If you avoid store-bought curd, make homemade curd with 6 egg yolks, 1 cup sugar, 1/2 cup lemon juice, and 6 tablespoons butter cooked until thickened, then cool before filling. Note that homemade curd can be softer; chilling it slightly helps with piping.

Serve these chilled or at room temperature with a garnish of finely grated lemon zest or a tiny candied lemon slice for drama. They pair beautifully with a cup of strong coffee or an herbal tea. For a dessert platter, mix with chocolate truffles and berry tarts to balance acidity and richness. The mini format makes them ideal for weddings, showers, and afternoon tea where guests sample several small items.
Lemon meringue is a classic in American and European baking traditions, combining the crispness of pastry with tart citrus preserves and meringue that dates back to 17th-century confectionery techniques. The marriage of curd and meringue became particularly popular in the 19th and 20th centuries when grocers began selling curd and home bakers sought lighter pie toppings than heavy creams. These mini versions are a modern, portable twist that keeps the essential contrasts intact.
In summer, garnish with fresh raspberries or mint for a bright seasonal touch. For winter holidays, substitute blood orange curd and top with a hint of ground cinnamon in the meringue before whipping. At spring brunches, add edible flowers as a gentle garnish. Adjust the citrus to match seasonal fruit availability to keep flavor fresh.
To streamline, bake all shells and freeze them in a sealed container. Make or buy curd ahead and keep it refrigerated. On the day you need the bites, thaw shells, pipe curd, whip meringue, and finish under the broiler. This approach reduces active assembly time to under 20 minutes for a fresh, just-finished presentation.
These mini lemon meringue pies are a lovely, approachable project that delivers a restaurant-quality finish with straightforward steps. Whether you make them for a crowd or a quiet celebration, they hold bright, nostalgic appeal and reward with texture and flavor in every bite. Enjoy making them your own and sharing them with people you love.
Ensure egg whites are at room temperature before whipping for maximum volume.
Add sugar slowly while whipping meringue to allow sugar to dissolve fully and prevent graininess.
Pipe lemon curd from a zip-top bag with a corner snipped to reduce spills and achieve a neat finish.
Bake shells until just golden to avoid overly hard edges; they continue to firm as they cool.
This nourishing mini lemon meringue pies recipe is sure to be a staple in your kitchen. Enjoy every moist, high protein slice — it is perfect for breakfast or as a wholesome snack any time.
This Mini Lemon Meringue Pies recipe makes perfectly juicy, tender, and flavorful steak every time! Serve with potatoes and a side salad for an unforgettable dinner in under 30 minutes.
Remove the pie crusts from the refrigerator and let sit at room temperature for 15 minutes. Preheat oven according to package instructions, typically 375 degrees F. Roll out the first crust and cut rounds slightly larger than the mini muffin cups. Gently press each round into the wells, shaping the sides and bottom evenly.
Place the filled mini tins on a baking sheet and bake until lightly golden, generally about 10 to 12 minutes depending on your oven and crust. Transfer to a wire rack and let cool completely before filling to avoid soggy bottoms.
Repeat cutting and baking with the second pie crust. Make sure both batches cool thoroughly before adding filling. Consistent cooling ensures the curd stays where you place it and the meringue adheres properly.
Spoon or pipe lemon curd into each cooled shell until filled to the top. For neatness, place curd in a zip-top bag, snip a corner, and pipe into each shell to reduce spills and create a smooth surface for the meringue.
In a stand mixer, beat 4 room-temperature egg whites until foamy. Add 1/2 teaspoon cream of tartar, then, while beating on high, add 1 cup granulated sugar one tablespoon at a time until glossy stiff peaks form, about 5 to 10 minutes total.
Fill a piping bag three quarters full and pipe meringue onto each lemon-filled shell. Preheat the broiler to high and place the mini-muffin pan under the broiler for 1 to 2 minutes until the meringue is evenly toasted. Watch constantly or use a kitchen torch to brown the meringue more precisely.
Last Step: Please leave a rating and comment letting us know how you liked this recipe! This helps our business to thrive and continue providing free, high-quality recipes for you.
Leave a comment & rating below or tag
@platemint on social media!
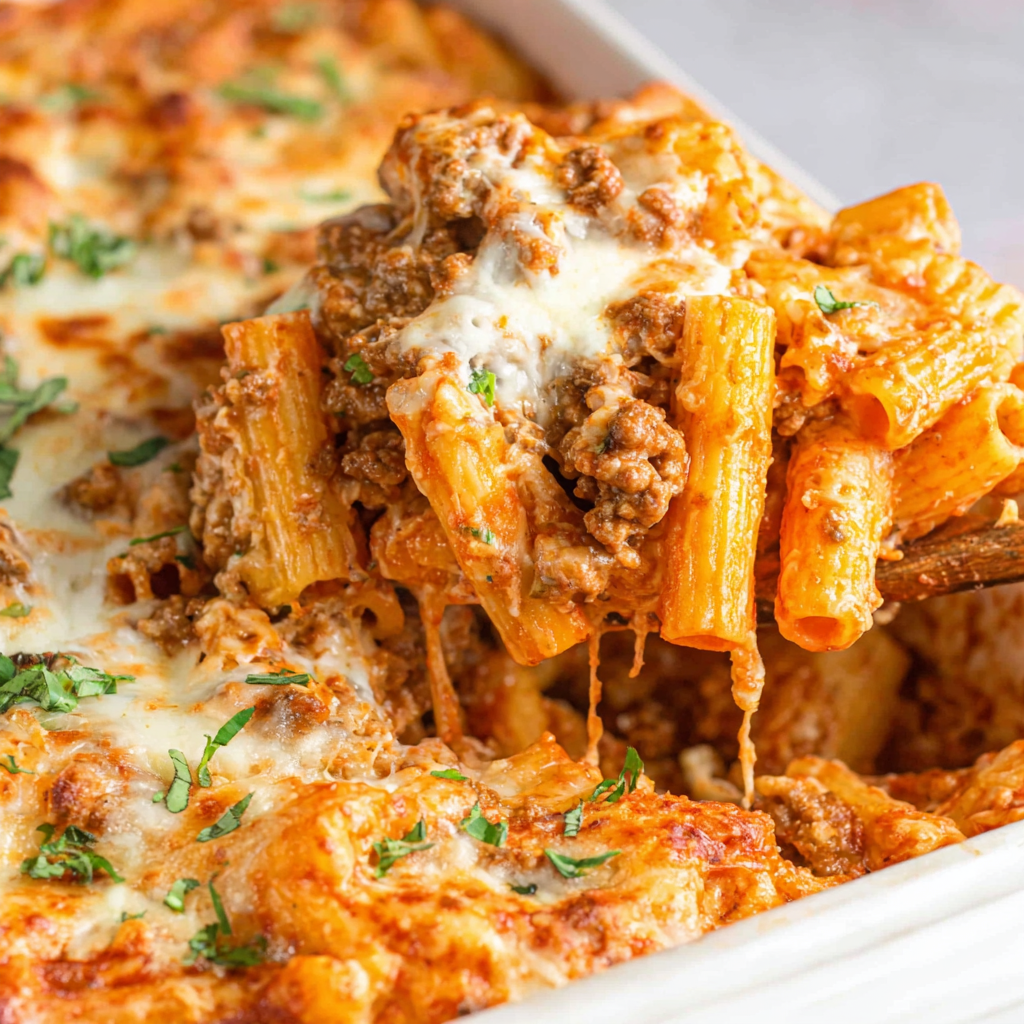
Saucy, cheesy baked ziti with ricotta and basil tastes like lasagna in half the effort, perfect for weeknights or crowds.

Quick, crowd-pleasing cheeseburger sliders baked golden with melty cheddar and savory beef. Ready in 30 minutes, great for parties and easy meal prep.

Crispy air fryer sweet potato fries with tender centers, fast-food flavor without deep frying. Ready in minutes and irresistibly snackable.
Leave a comment & rating below or tag @platemint on social media!
Enjoyed this recipe? Share it with friends and family, and don't forget to leave a review!
This recipe looks amazing! Can't wait to try it.
Comments are stored locally in your browser. Server comments are displayed alongside your local comments.

Join to receive our email series which contains a round-up of some of our quick and easy family favorite recipes.