
Homemade Vegan Mozzarella Sticks

Perfectly melty vegan mozzarella sticks with a crunchy golden coating — party-ready, kid-approved, and simple to make at home.
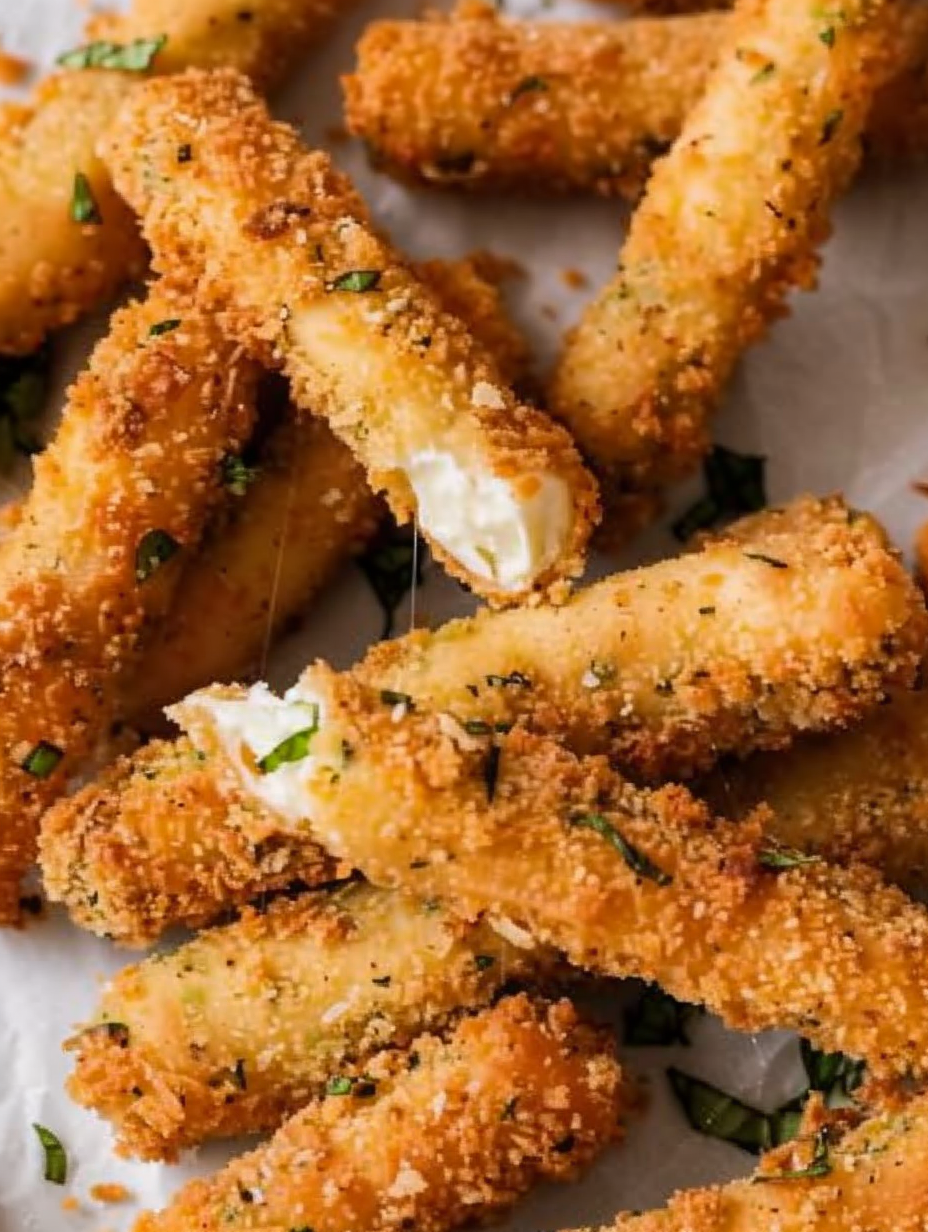
This recipe for homemade vegan mozzarella sticks has been a game-day and party-night staple in my house ever since I first swapped out dairy cheese for a block of Miyoko's vegan mozzarella and fed them to a skeptical group of friends. I discovered this technique on a rainy afternoon when I wanted the exact texture and pull of classic fried sticks but without animal products. The result surprised even my most carnivorous friends: a soft, melty center with a crisp, seasoned crust that holds up to dipping in bright marinara.
What makes these sticks special is the contrast of textures — the creamy, slightly tangy vegan interior and the satisfyingly crunchy exterior — plus the ease of the method. You don't need fancy tools: a deep fryer or a heavy pot, a few bowls to set up a breading station, and a sharp knife. I particularly love how using a cold block from the fridge helps the center hold its shape while frying, giving you that nostalgic cheese pull without messy leaks.
Why You'll Love This Recipe
- Ready in about 20 minutes total with just 15 minutes of active prep time — perfect for last-minute snacks or impromptu guests.
- Uses pantry staples like all-purpose flour and breadcrumbs and just one block of vegan mozzarella, so shopping is easy and accessible.
- Customizable coating: mix Italian seasoning into plain crumbs or use pre-seasoned crumbs for an even faster route.
- Make-ahead friendly — you can freeze battered sticks before frying, or bake/air-fry straight from the freezer for a lower-oil option.
- Kid- and crowd-pleasing: melty inside, crunchy outside, perfect with marinara or a smoky vegan ranch for dipping.
- Totally plant-based and adaptable to gluten-free crumbs or nut-free cheeses depending on dietary needs.
My first batch turned into a regular request at family gatherings. People would line up for a second round, and I learned quick tricks like using "wet" and "dry" forks to keep the station tidy and reduce clumping — an absolute game changer when coating many sticks. I also learned that a quick chill in the fridge before frying makes a huge difference in hold and melt.
Ingredients
- Vegan mozzarella block: Look for a firm block such as Miyoko's or other brands labeled for slicing. A block works better than separated slices because it gives a clean cut and keeps the center intact while frying.
- Unsweetened almond milk: Acts as the wet binder. Use any unsweetened plant milk; soy, oat, or pea milk also work well and can slightly change the flavor and viscosity.
- All-purpose flour: Provides the first dry coat to help the batter stick. For gluten-free, substitute a 1-to-1 gluten-free flour blend.
- Garlic and onion powder: Add savory depth without overpowering the delicate cheese flavor; use fresh-grated alternatives if you prefer.
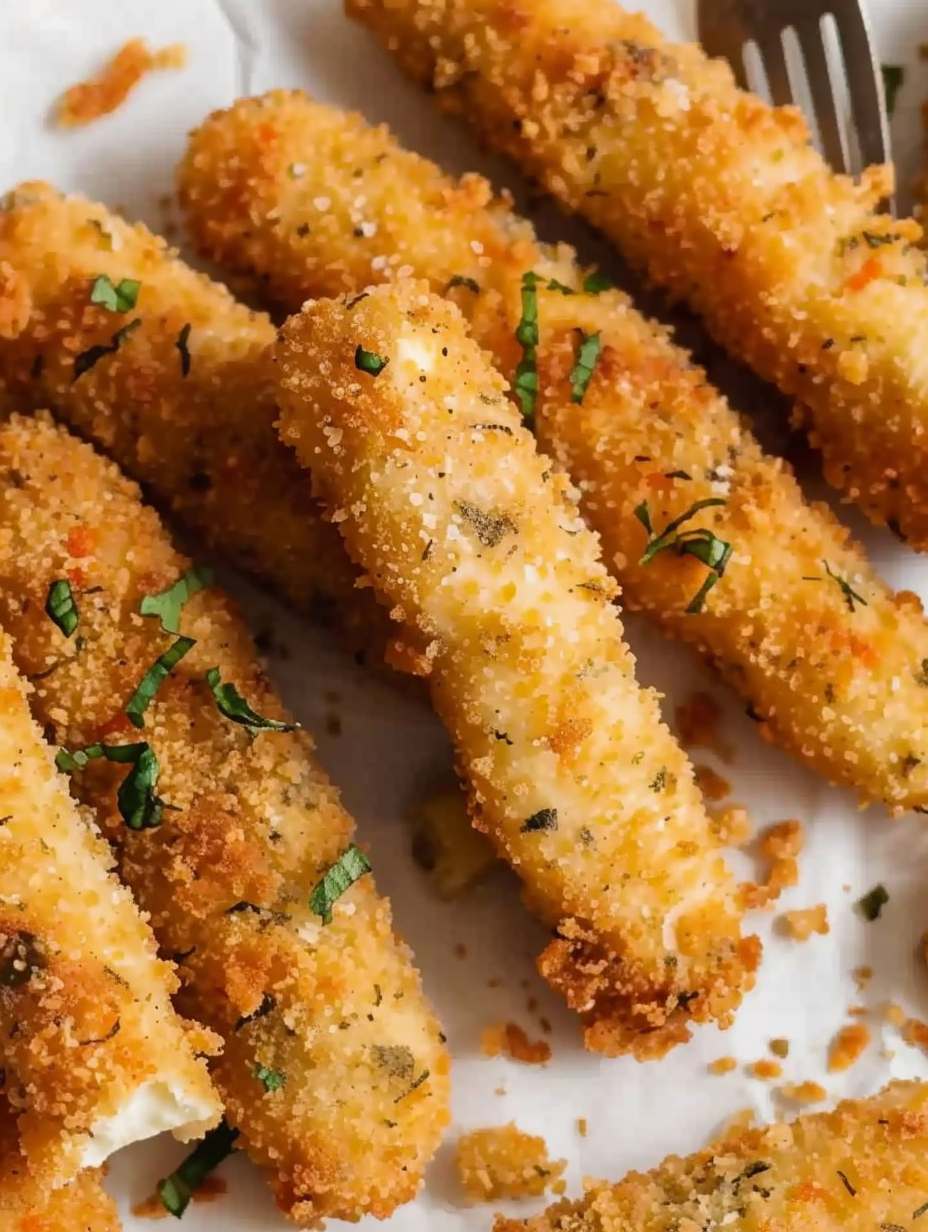
- Bread crumbs: Use about 1/2 cup of coarse or Panko crumbs for extra crunch; Italian-style crumbs add herbs and save a step.
- Italian seasoning: Mix into plain crumbs for a bright herb finish; oregano, basil, and parsley balance the richness.
- Neutral frying oil: Canola or vegetable oil with a high smoke point is ideal to reach steady 365–375°F (185–190°C) without smoking.
- Marinara sauce: Fresh or store-bought for dipping; a bright, slightly acidic sauce complements the fried coating and creamy center.
Instructions
Preheat the oil: Heat oil in a deep fryer or heavy-bottomed pot to around 370°F. Maintaining temperature is key: too low and sticks absorb oil; too high and they brown before the center warms. Use a thermometer for accuracy and keep the temperature steady between 365–375°F while frying. Cut and chill the cheese: Slice the vegan mozzarella block in half lengthwise, then into 1/2-inch-wide sticks. Place them on a plate and refrigerate while you prepare the breading station; cold cheese firms up and resists melting too quickly in hot oil. Make the wet batter: In a medium bowl whisk together 1/2 cup unsweetened almond milk, 2 tablespoons all-purpose flour, 1/2 teaspoon garlic powder, 1/2 teaspoon onion powder, 1/4 teaspoon salt, and 1/8 teaspoon black pepper until smooth. The extra flour makes a slightly thicker batter that clings better during double-dipping. Set up the breading station: Place three bowls in a line: one with the wet batter, one with 1/2 cup plus any remaining flour for dry coating, and one with 1/2 cup breadcrumbs mixed with 1 tablespoon Italian seasoning. Use two sets of forks — one pair for wet handling and one for dry — to prevent clumping and messy hands. Double-dip and bread: Using the wet forks, submerge a chilled stick in the batter and shake off excess. Drop into the flour and coat with the dry forks. Repeat the dip in batter, then transfer to the breadcrumb bowl and coat thoroughly with the dry forks. Place finished sticks on a plate or baking sheet. Repeat until all sticks are coated. Fry until golden: Fry sticks in small batches for 2–4 minutes until golden brown, maintaining oil temperature. Avoid overcrowding; too many sticks will drop the oil temperature and produce greasy results. Transfer to a paper-towel-lined plate and let cool slightly before serving. Serve: Let cool just until easy to handle, then serve warm with marinara. If you find a stick softens too quickly, give it a minute on a cooling rack to set the crust before serving.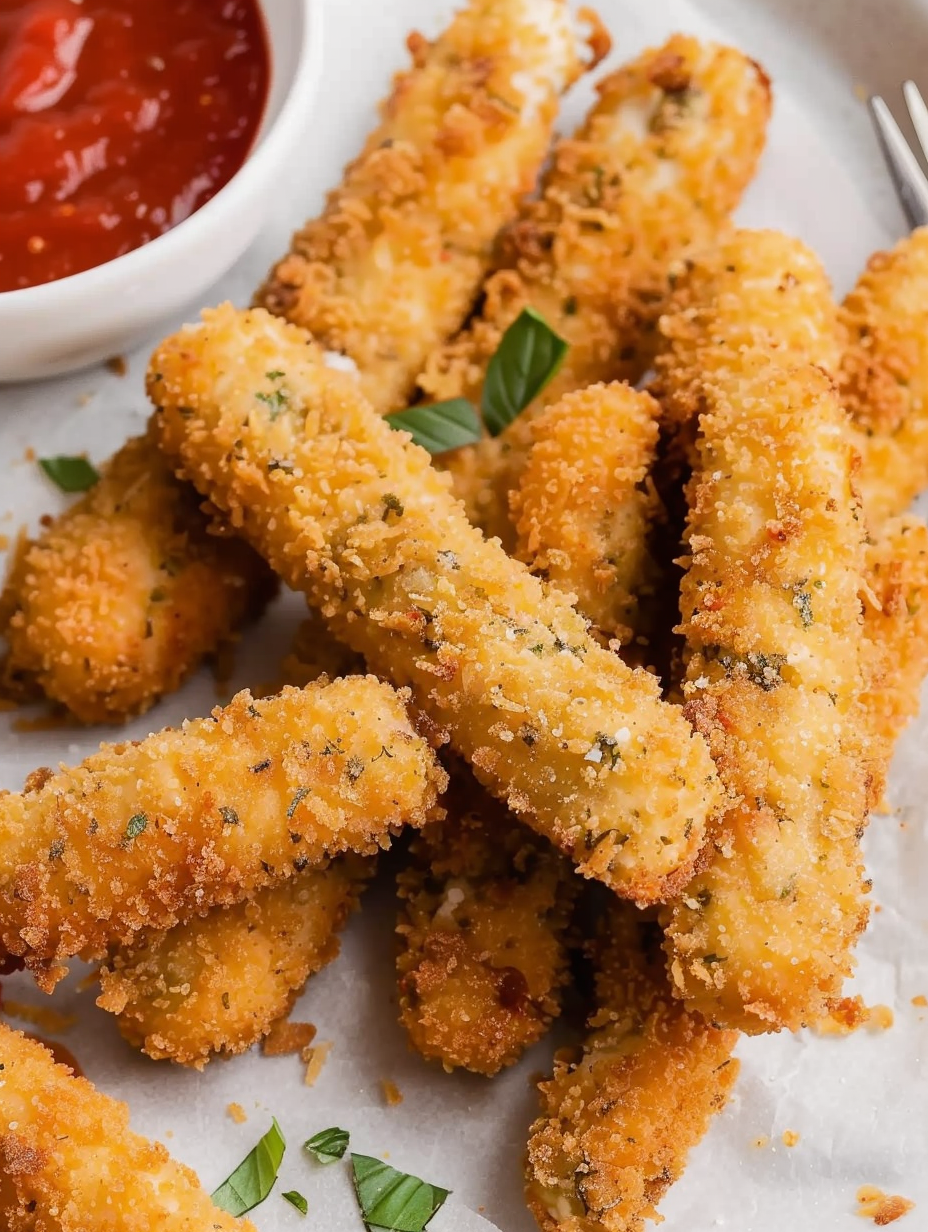
You Must Know
- These keep best when fried and served fresh; for make-ahead, freeze breaded sticks before frying for up to 1 month.
- If using pre-seasoned Italian breadcrumbs, omit the extra Italian seasoning to prevent over-salting.
- Allergen note: breadcrumbs contain wheat; choose gluten-free crumbs if needed. Vegan cheese brands vary — check for nut ingredients if you have a tree-nut allergy.
- High-quality vegan cheeses like Miyoko's give the best melt and flavor; cheaper slices may not yield the same pull or creaminess.
My favorite part is the first bite: that satisfying crunchy crack followed by a creamy, warm center. At my last movie night, someone asked for the recipe on the spot — and another insisted I double the batch next time. Watching people’s faces change when they realize these are fully plant-based is always a treat.
Storage Tips
Store leftover fried sticks in an airtight container in the refrigerator for up to 2 days; they will lose some crispness but can be refreshed in a 375°F oven for 5–8 minutes. For long-term storage, freeze breaded (but unfried) sticks on a tray for 30–60 minutes, then transfer to a freezer-safe bag for up to 3 months. To reheat from frozen, bake at 375°F for 10–12 minutes or air-fry at 350°F for 7–9 minutes until golden and warmed through.
Ingredient Substitutions
If you need gluten-free, use a certified gluten-free flour and Panko alternative. Swap almond milk for oat or soy milk if you prefer; soy milk gives slightly more body to the batter. For breadcrumb alternatives, crushed gluten-free crackers or ground tortilla chips can add a different flavor profile. If you want a smokier note, add a 1/4 teaspoon smoked paprika to the breadcrumb mix.
Serving Suggestions
Serve with a bright marinara, harissa-spiked tomato dip, or vegan ranch. Garnish with chopped fresh basil or parsley and a sprinkle of nutritional yeast for a cheesy finish. These sticks pair wonderfully with crisp-cut fries, a simple green salad, or a charcuterie board of roasted vegetables and olives for parties.
Cultural Background
Fried cheese as a snack has roots in many cuisines, from Italian-influenced appetizers to street-food traditions. These vegan versions mirror the classic American-Italian snack found in diners and sports bars, adapted for plant-based diets. The technique of breading and frying to achieve a crunchy shell and molten interior is universal and lends itself well to dairy-free cheese innovations that emerged alongside the growing interest in vegan comfort foods.
Seasonal Adaptations
In winter, serve with a warm roasted garlic marinara and sprinkle with toasted pine nuts for richness. In summer, pair with a bright basil-pesto dip and fresh tomato salad for a lighter feel. For holiday gatherings, offer a variety of dips—spicy arrabbiata, lemon-herb aioli, and roasted red pepper—to make the platter festive and adaptable to different palates.
Meal Prep Tips
Batch-prepare strips and bread them ahead of time, freezing them in single layers before transferring to bags. Label with date and bake or air-fry straight from frozen when needed. For parties, you can partially fry and finish in the oven during service to keep a steady supply of fresh, crisp sticks without running a deep fryer continuously.
These vegan mozzarella sticks are a small indulgence that bring people together — crunchy, melty, and surprisingly simple. Try them with your favorite cheese brand and dipping sauce, then make the recipe your own.
Pro Tips
Use two sets of forks — one for the wet batter and one for the dry coatings — to keep the breading station tidy and reduce clumping.
Chill the cut cheese sticks in the refrigerator before breading; cold cheese holds shape better and reduces leakage during frying.
Maintain oil temperature between 365–375°F to ensure a golden crust and prevent greasy results.
Freeze breaded sticks on a tray then transfer to bags for up to 3 months; fry or bake directly from frozen.
This nourishing homemade vegan mozzarella sticks recipe is sure to be a staple in your kitchen. Enjoy every moist, high protein slice — it is perfect for breakfast or as a wholesome snack any time.
Tags
Homemade Vegan Mozzarella Sticks
This Homemade Vegan Mozzarella Sticks recipe makes perfectly juicy, tender, and flavorful steak every time! Serve with potatoes and a side salad for an unforgettable dinner in under 30 minutes.
Ingredients
Cheese
Wet mixture
Dry coating
Frying
To serve
Instructions
Heat oil
Preheat oil in a deep fryer or heavy pot to around 370°F. Use a thermometer and keep temperature steady between 365–375°F while frying.
Cut and chill cheese
Slice vegan mozzarella block in half lengthwise and then into 1/2-inch sticks. Place on a plate and refrigerate while preparing batter to firm up the pieces.
Prepare wet batter
Whisk together 1/2 cup unsweetened almond milk, 2 tablespoons all-purpose flour, 1/2 teaspoon garlic powder, 1/2 teaspoon onion powder, 1/4 teaspoon salt, and 1/8 teaspoon black pepper until smooth.
Set up breading station
Arrange three bowls: wet batter, 1/2 cup + 2 tablespoons flour, and breadcrumbs mixed with 1 tablespoon Italian seasoning. Use two sets of forks to minimize mess.
Double-dip and coat
Using wet forks, submerge a cheese stick in batter, shake off excess, drop into flour to coat with dry forks, dunk back in batter, then coat thoroughly in breadcrumbs. Repeat for all sticks.
Fry until golden
Fry sticks in small batches 2–4 minutes until golden and crisp. Keep oil temperature steady and avoid overcrowding. Transfer to paper towels to drain and cool slightly.
Serve
Allow sticks to cool until easy to handle and serve warm with marinara or your favorite dip.
Last Step: Please leave a rating and comment letting us know how you liked this recipe! This helps our business to thrive and continue providing free, high-quality recipes for you.
Nutrition
Did You Make This?
Leave a comment & rating below or tag
@platemint on social media!
Categories:
You might also like...

Cheesy Baked Ziti Casserole
Saucy, cheesy baked ziti with ricotta and basil tastes like lasagna in half the effort, perfect for weeknights or crowds.

Juicy Cheeseburger Sliders Bake
Quick, crowd-pleasing cheeseburger sliders baked golden with melty cheddar and savory beef. Ready in 30 minutes, great for parties and easy meal prep.

Air Fryer Sweet Potato Fries
Crispy air fryer sweet potato fries with tender centers, fast-food flavor without deep frying. Ready in minutes and irresistibly snackable.
Did You Make This?
Leave a comment & rating below or tag @platemint on social media!
Rate This Recipe
Share This Recipe
Enjoyed this recipe? Share it with friends and family, and don't forget to leave a review!
Comments (1)
This recipe looks amazing! Can't wait to try it.
Comments are stored locally in your browser. Server comments are displayed alongside your local comments.

Hi, I'm Wendie!
What's Popular

30-Minute Meals!
Join to receive our email series which contains a round-up of some of our quick and easy family favorite recipes.