
>>

Crispy, simple, and wholesome oven-baked potato chips made with just potatoes, olive oil, and salt. Once you try these, the bagged kind will seem bland.
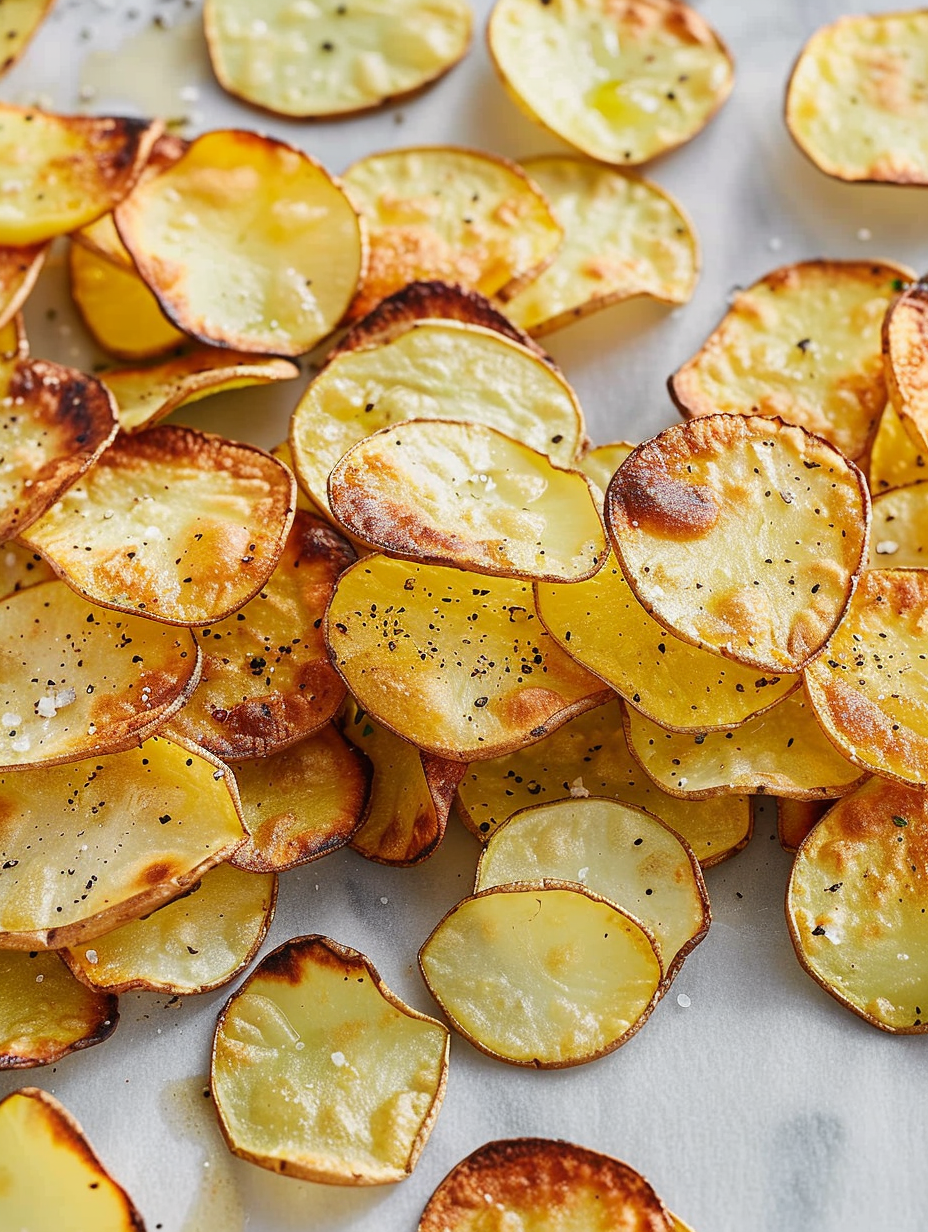
This recipe for homemade baked potato chips has been a small revelation in my kitchen. I first experimented with thinly sliced potatoes on a cold afternoon when the craving for something crunchy hit and the pantry was sparse. The result was a stack of golden, crispy rounds that tasted fresher and more complex than anything from a bag. The texture is light and crisp with an almost toasted potato sweetness at the edges. It quickly became my go-to snack for evening movies and impromptu gatherings.
I like these because they are incredibly easy, healthy, and forgiving. You only need a couple of medium potatoes, a drizzle of olive oil, and a pinch of salt. The technique is simple but precise: slicing thin, removing excess moisture, and keeping the slices in a single layer so they roast rather than steam. Over the years I adjusted timing and seasoning so you get reliably crisp chips even without deep frying. These are perfect when you want homemade crunch with minimal cleanup and maximum flavor.
In my family this recipe sparked countless little experiments. My partner prefers a smoky paprika, my teenager asks for a dusting of sea salt and rosemary, and I sometimes add a squeeze of lemon to brighten them. Friends always ask for the technique because the results feel gourmet despite being incredibly simple.
My favorite aspect is how satisfying it feels to make a snack that tastes better than store-bought with almost no effort. Friends who visit often ask for a bowl while I’m prepping dinner. The memories of a sunny afternoon assembling batches for a small gathering are why I keep this technique in my regular rotation.
Store cooled chips in an airtight container at room temperature for up to 48 hours. Use a rigid container rather than a flexible bag to prevent crushing. If they lose some crispness after a day, spread them in a single layer on a baking sheet and reheat at 325 F for 4 to 6 minutes to re-crisp. For longer storage, freeze in a single layer on a tray until firm, then transfer to a freezer-safe bag for up to 3 months. Reheat straight from frozen in a warm oven for 6 to 8 minutes.
You can swap gold potatoes for Yukon or russet varieties. Yukon golds offer a buttery flavor and hold their shape well. Russets will produce a lighter, airier chip but may require slightly longer baking. Replace olive oil with avocado oil or light vegetable oil for a neutral flavor. For lower sodium, use half the salt in the oven and finish with a pinch of flaky sea salt after baking. Try sweet potatoes for a naturally sweeter chip; reduce baking time slightly and watch for faster browning.
Serve these chips warm or at room temperature. Pair with simple dips like smashed avocado with lemon, vegan sour cream and chives, or a smoky paprika aioli. They make a lovely side for sandwiches or a casual cheese board. Garnish with a sprinkle of fresh rosemary, lemon zest, or a dash of smoked paprika for visual appeal. For parties, present in a shallow bowl lined with parchment so the stack looks generous and inviting.
Thinly sliced, fried or baked potato snacks have variations around the world. The modern potato chip has roots in 19th century North America, but many cultures have their own versions of crisped tubers using local spices. Baking instead of frying is a contemporary adaptation that keeps the snack lighter while preserving the key appeal: a crunchy, golden bite that highlights the potato’s natural flavor. Adding regional spices like smoked paprika or za'atar allows you to honor different culinary traditions.
Adjust spices by season. In summer, brighten chips with lemon zest and fresh herbs like thyme or tarragon. For autumn, use warming spices such as smoked paprika and a touch of cayenne. Holiday variations include rosemary and sea salt or a maple and cinnamon dusting on sweet potato chips. The method remains the same; simply swap the finish or sprinkle to reflect seasonal flavors.
Slice potatoes and pat dry up to one hour ahead and store on a tray loosely covered in the refrigerator to prevent browning. Do not oil until ready to bake. If planning multiple batches, keep pre-sliced potatoes in a single layer on another sheet to avoid sticking. Bake sheets one at a time for the most consistent results. Pre-bake at the party venue if needed and keep warm in a low oven for a short time to maintain crunch.
These chips are a small pleasure that proves how simple techniques unlock great flavor. Try them once and you will find small ways to make them your own.
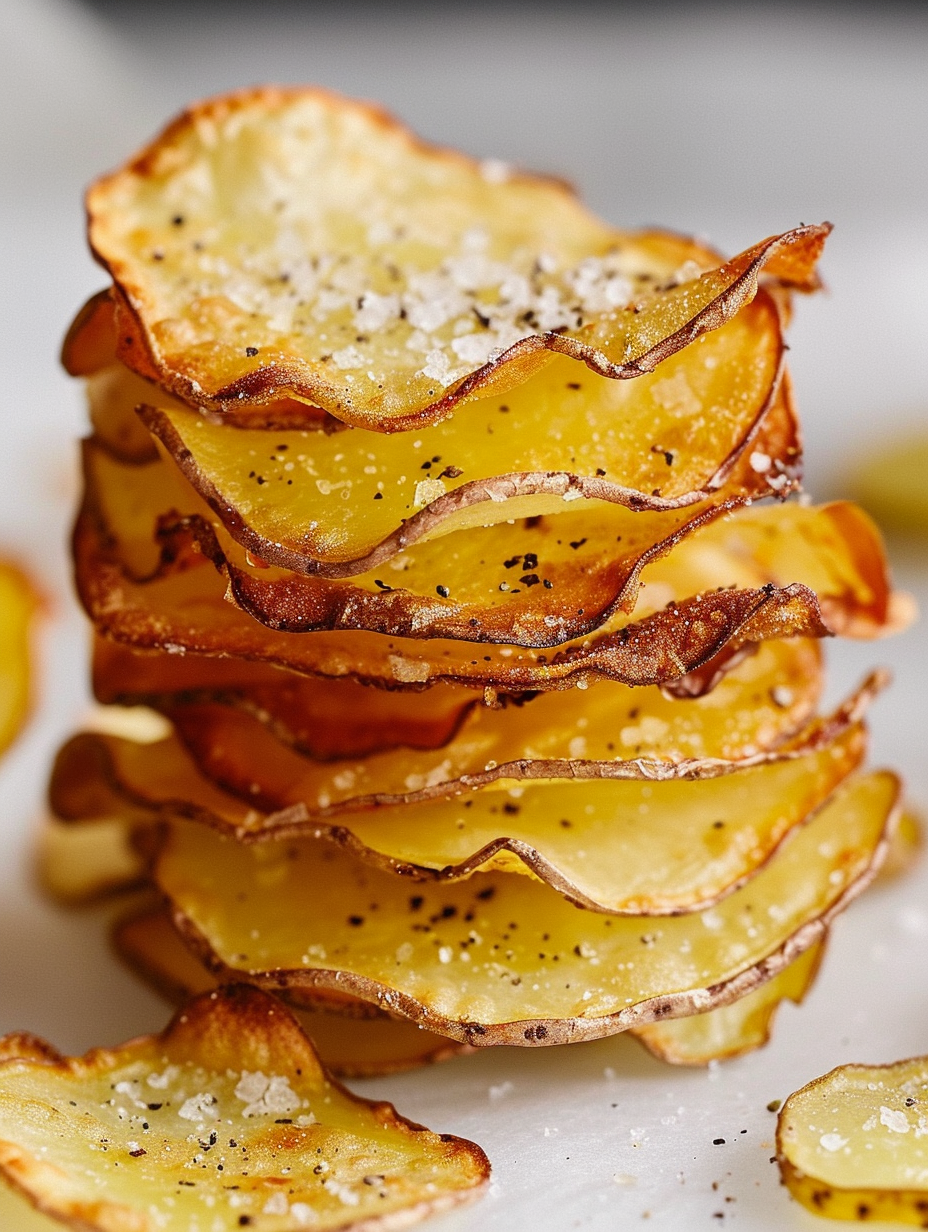
Pat potato slices completely dry before oiling to ensure the crispiest texture.
Arrange slices in a single layer with space between to avoid steaming and uneven browning.
Remove chips from the oven when edges are golden and allow them to cool to finish crisping.
This nourishing homemade baked potato chips recipe is sure to be a staple in your kitchen. Enjoy every moist, high protein slice — it is perfect for breakfast or as a wholesome snack any time.
Use a mandolin for the most consistent thin slices. If you slice by hand, aim for uniform 1/16 inch thickness and pat dry thoroughly.
Yes. Store cooled chips in an airtight container at room temperature for up to 48 hours. Re-crisp in a 325 F oven for a few minutes if needed.
This Homemade Baked Potato Chips recipe makes perfectly juicy, tender, and flavorful steak every time! Serve with potatoes and a side salad for an unforgettable dinner in under 30 minutes.
Preheat oven to 400 F. Line a rimmed baking sheet with parchment paper or a silicone mat and position the oven rack in the center.
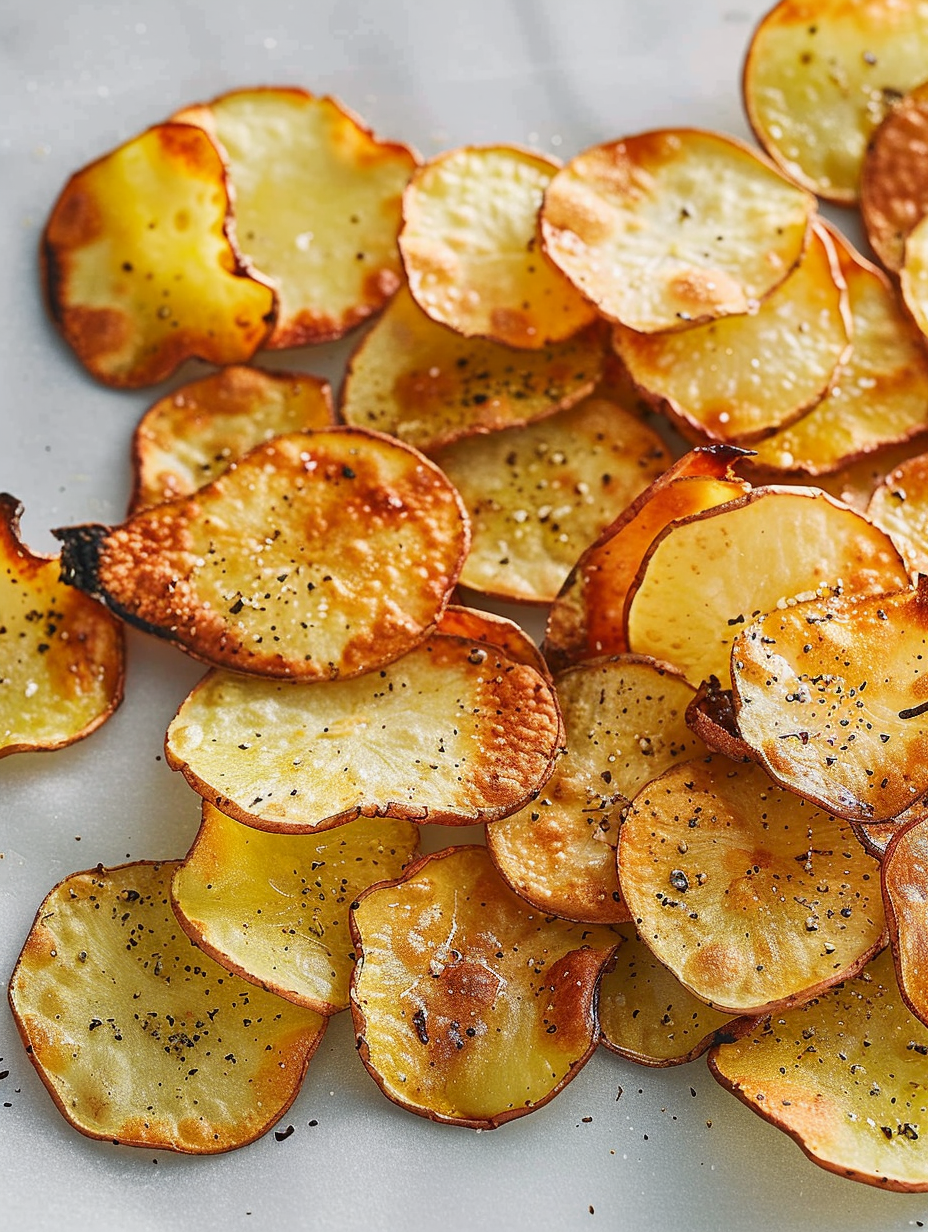
Using a mandolin or sharp knife, slice potatoes to 1/16 inch thickness. Pat slices dry with a clean towel to remove excess moisture which helps achieve crispness.
Toss slices with 2 teaspoons of olive oil and a light sprinkle of salt in a bowl, or brush each side lightly with oil while on the sheet. Arrange in a single layer without overlapping.
Bake on the center rack for 10 minutes, then remove, flip each chip, and bake an additional 7 to 9 minutes until deep golden. Watch closely to prevent burning.
Remove chips to a cooling rack or plate and let stand 2 to 5 minutes to finish crisping. Serve warm or at room temperature.
Last Step: Please leave a rating and comment letting us know how you liked this recipe! This helps our business to thrive and continue providing free, high-quality recipes for you.
Leave a comment & rating below or tag
@platemint on social media!

Saucy, cheesy baked ziti with ricotta and basil tastes like lasagna in half the effort, perfect for weeknights or crowds.

Quick, crowd-pleasing cheeseburger sliders baked golden with melty cheddar and savory beef. Ready in 30 minutes, great for parties and easy meal prep.

Crispy air fryer sweet potato fries with tender centers, fast-food flavor without deep frying. Ready in minutes and irresistibly snackable.
Leave a comment & rating below or tag @platemint on social media!
Enjoyed this recipe? Share it with friends and family, and don't forget to leave a review!
This recipe looks amazing! Can't wait to try it.
Comments are stored locally in your browser. Server comments are displayed alongside your local comments.

Join to receive our email series which contains a round-up of some of our quick and easy family favorite recipes.
