
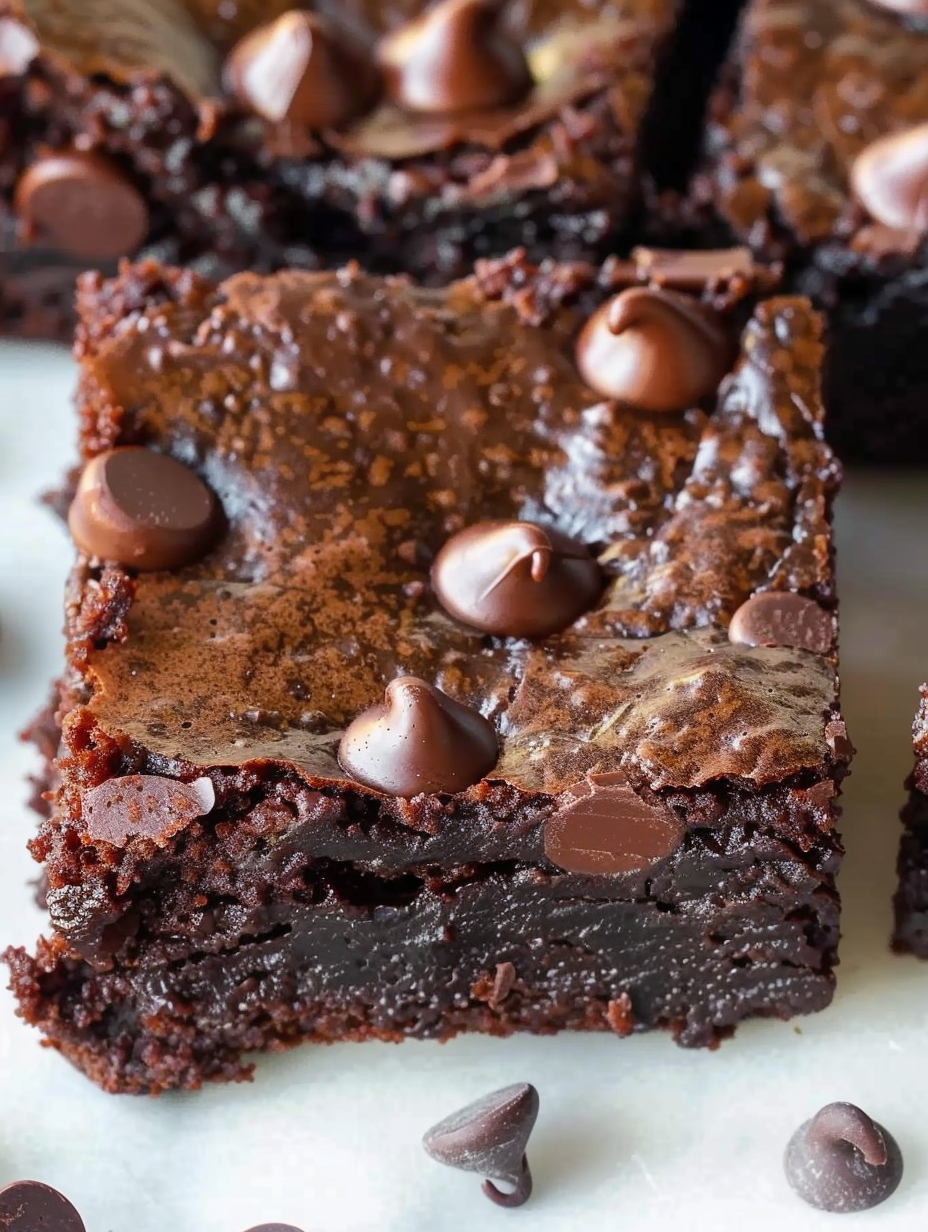
Gluten-free Almond Flour Brownies

These gluten-free almond flour brownies are rich, fudgy, and chocolatey—an easy paleo-friendly dessert that pleases a crowd.
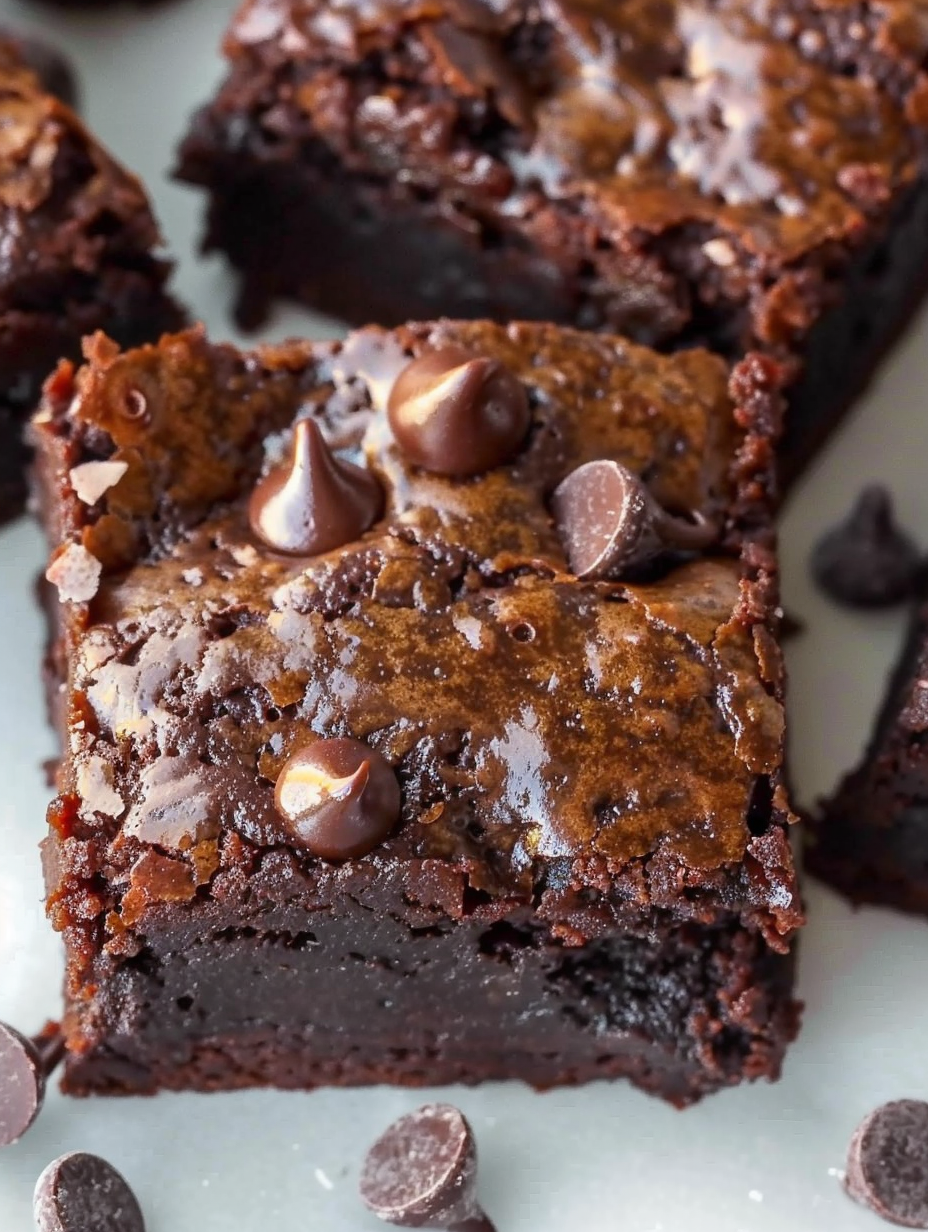
This batch of almond flour brownies is one of those recipes that arrived in my kitchen during a weekend of experimentation and never left. I created it the first time when I wanted a chocolate fix that would be forgiving for friends who avoid wheat and refined flour. The result was astonishingly fudgy, with a deep chocolate flavor and a tender crumb that behaves like traditional brownies. I remember serving them warm the first time, and watching a skeptical friend take a bite and close their eyes in delight. That moment convinced me this dessert deserved a permanent place in my repertoire.
What makes these squares special is how simple the ingredient list is and how little fuss is required to get a decadent result. Almond flour gives the brownies a moist, slightly nutty foundation, while cocoa powder and a handful of chocolate chips provide the chocolate intensity most of us crave. The texture strikes a lovely balance between fudgy and slightly chewy at the edges, and cooling time is the only real patience test. I often make a pan for the weekend and hide one corner for myself. These are particularly welcome on chilly evenings when a warm, chocolatey dessert makes the whole kitchen feel cozy.
Why You'll Love This Recipe
- Quick to mix with only one bowl and minimal equipment, this dessert is ready from start to oven in about 10 minutes and bakes in 25 minutes.
- Uses pantry-friendly ingredients like almond flour, cocoa, and coconut sugar, so you can usually pull it together without a special trip to the store.
- Gluten-free and paleo-adaptable, making it suitable for guests with dietary preferences, while still tasting indulgent rather than health-food-like.
- Simple technique with forgiving timing: the brownies finish setting as they cool, so a slightly wobbly center when they come out of the oven is okay.
- Make-ahead friendly: store on the counter for a few days, refrigerate for up to five days, or freeze for longer storage.
- Crowd-pleaser for both gluten-free and non-gluten-free eaters because the texture and flavor are true to classic brownies.
I still recall how family members declared these the best gluten-free brownies they had tasted, and I discovered a few tricks along the way: warn guests to expect a fudgy center, and always let them cool completely before slicing for clean squares. Little changes, like using mini chocolate chips, help distribute melty pockets of chocolate evenly through each piece.
Ingredients
- Eggs (2 large, room temperature): Eggs provide structure, richness, and help create the fudgy interior. Using room temperature eggs helps the batter emulsify smoothly. If you use an egg replacer, expect a slightly different crumb.
- Coconut sugar (1 cup): A less-refined sweetener with caramel notes that pairs beautifully with dark cocoa. It dissolves well in the wet ingredients and keeps the flavor rounded without being overly sweet.
- Vanilla extract (1 teaspoon): Adds depth and rounds the chocolate, choose pure vanilla extract for the best aroma.
- Avocado oil (1/2 cup) or neutral oil: Keeps the brownies tender and glossy. Avocado oil is a good choice for its neutral flavor and high smoke point.
- Unsweetened cocoa powder (3/4 cup): Use natural or Dutch-processed depending on desired intensity; Dutch-processed is smoother and slightly less acidic which yields deeper chocolate notes.
- Almond flour (1 cup): Finely ground almond flour gives moisture and a tender crumb. Look for blanched almond flour for the best texture; coarser meal may yield a grainier result.
- Sea salt (1/4 teaspoon): Enhances the chocolate flavor—do not skip it unless you are on a sodium-restricted plan.
- Baking soda (1/4 teaspoon): A small lift agent to prevent the brownies from becoming too dense; it helps the texture without making them cakey.
- Chocolate chips (1/3 cup, divided): Semi-sweet mini chips are ideal because they distribute and melt into little pockets. Use dairy-free chips if you need the dessert to be strictly dairy-free.
Instructions
Preheat and prepare the pan: Preheat the oven to 350 degrees F. Grease an 8 by 8 inch square pan or line it with parchment paper, leaving an overhang to lift the brownies out after baking. Proper pan prep ensures easy release and clean edges. Combine wet ingredients: In a large bowl, whisk together the 2 room temperature eggs, 1 cup coconut sugar, 1 teaspoon vanilla extract, and 1/2 cup avocado oil until the mixture is smooth and slightly glossy. Whisking well helps dissolve the sugar and creates an even texture in the finished product. Add dry ingredients: Sift or add directly into the wet bowl 3/4 cup cocoa powder, 1 cup almond flour, 1/4 teaspoon sea salt, and 1/4 teaspoon baking soda. Stir until fully incorporated and no lumps remain. The batter should be thick but pourable; if your almond flour is particularly absorbent, a tablespoon of milk or water can loosen it slightly. Fold in chocolate chips: Stir in half of the 1/3 cup chocolate chips so they are distributed through the batter. Spread the batter evenly into the prepared pan using a spatula, smoothing the top for even baking. Top and bake: Scatter the remaining chocolate chips evenly over the batter. Bake in the preheated oven for 25 minutes. The center will still move slightly when you tilt the pan but should not be wet on the surface. A toothpick inserted near the edges should come out clean; if the middle seems underdone, bake 3 to 5 additional minutes. Cool and set: Allow the brownies to cool completely in the pan on a wire rack. They firm up as they cool; refrigerating after they reach room temperature helps achieve cleaner cuts. Use the parchment overhang to lift the slab out and slice into 16 squares or 9 large pieces.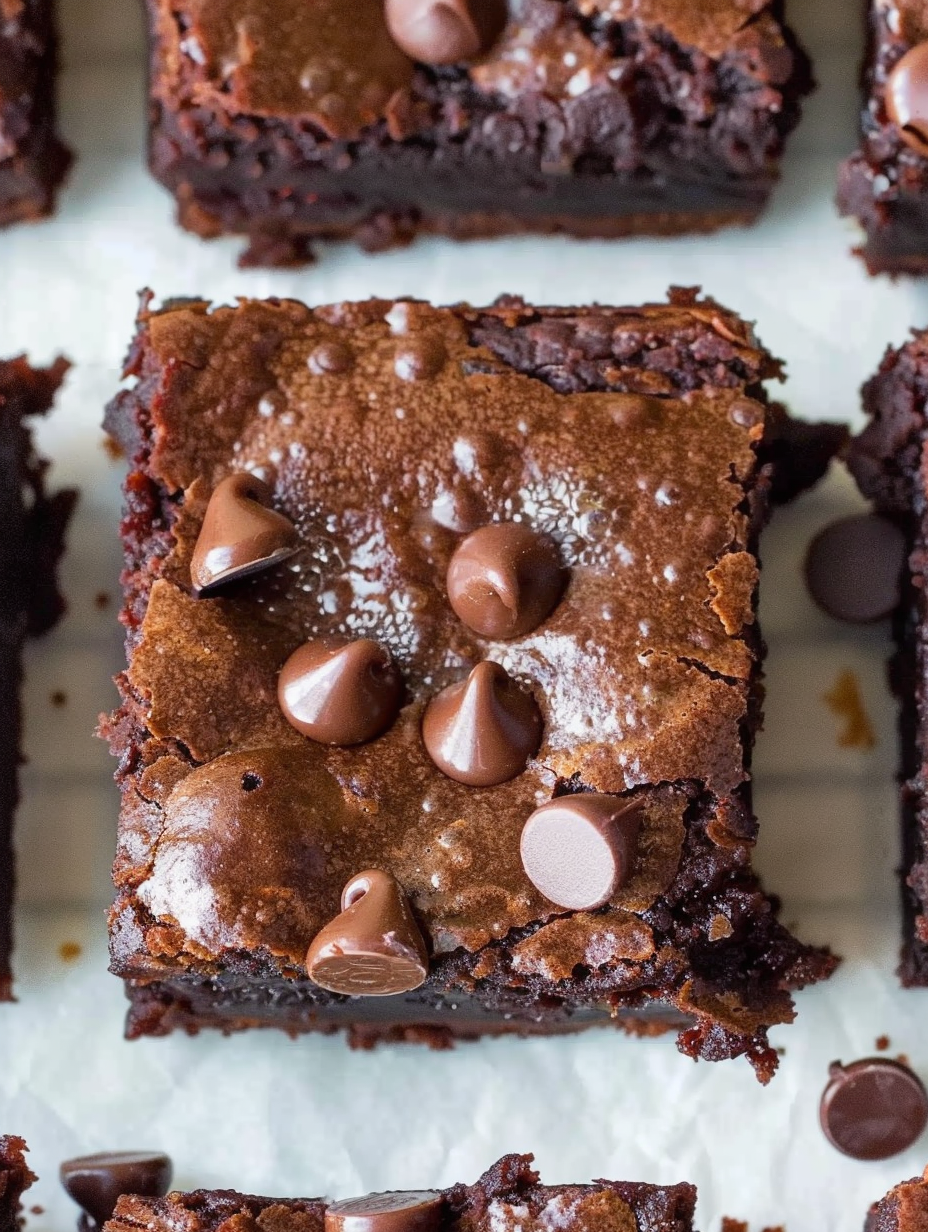
You Must Know
- Storage: Keep at room temperature in an airtight container for up to three days, refrigerate for up to five days, or freeze for up to three months.
- Cooling is critical: these squares set as they cool; cutting too soon will yield crumbly pieces and a gummy texture.
- Allergen notes: contains eggs and tree nuts; choose dairy-free chocolate chips to avoid milk derivatives.
- Texture cues: a slight wobble in the center when removed from the oven is normal; the center firms as the pan cools.
My favorite part of these brownies is how forgiving they are. Over several years of baking them, I learned to trust the cooling period and to use mini chips for even melting. When served warm with a quick scoop of dairy-free vanilla ice cream, they have a near-out-of-the-oven gooeyness that guests always savor.
Storage Tips
Proper storage keeps the brownies at peak texture. For short-term storage, place the cooled squares in a single layer in an airtight container at room temperature for up to three days. If you refrigerate, separate layers with parchment to prevent sticking and store for up to five days. For long-term storage, freeze individually wrapped squares in plastic wrap and place them in a freezer bag for up to three months. Thaw at room temperature or warm briefly in the microwave to recreate a gooey center. Always cool completely before storing to avoid condensation and sogginess.
Ingredient Substitutions
To adapt the recipe, you can swap avocado oil with melted coconut oil or a mild vegetable oil at a 1 to 1 ratio. If you need the dessert to be dairy-free, choose chocolate chips labeled dairy-free. For a lower-sugar version, reduce the coconut sugar to 3/4 cup and add a tablespoon of maple syrup for moisture; expect a slightly softer texture. For nut-free diets, almond flour can be replaced with sunflower seed flour but note that discoloration may occur when mixed with cocoa due to a reaction between cocoa and certain seed flours; adding a teaspoon of lemon juice will prevent greening.
Serving Suggestions
Serve warm with a scoop of vanilla or coconut milk ice cream and a sprinkle of flaky sea salt for contrast. For a sophisticated presentation, dust with cocoa or powdered sugar and garnish with toasted almond slivers or a drizzle of melted chocolate. These squares pair well with espresso or a robust black tea. For a party, arrange small squares on a platter with fresh berries and mint to add brightness and color to the rich chocolate.
Cultural Background
Brownies are a classic American treat that emerged in the late 19th and early 20th centuries. These almond flour adaptations reflect contemporary dietary preferences that honor the original fudgy concept while replacing wheat flour with nut flour to create a naturally gluten-free alternative. Regional variations in the United States include additions like nuts, frosting, or swirls of caramel, and this version nods to those traditions by keeping the dense, chocolate-forward profile intact while using alternative flours that suit paleo and gluten-free kitchens.
Seasonal Adaptations
In cooler months, add a teaspoon of instant espresso powder to the batter to intensify the chocolate flavor and serve warm with spiced whipped cream. During spring and summer, fold in fresh raspberries or top with a raspberry coulis for a fruit-acid contrast. For holidays, sprinkle the top with crushed peppermint candies or add orange zest to the batter for a citrus-chocolate pairing. Small ingredient adjustments can make the same base feel festive across seasons.
Meal Prep Tips
For make-ahead dessert planning, bake the slab up to three days before serving and store covered in the refrigerator. When ready to serve, cut and briefly warm individual squares in the microwave for 12 to 15 seconds to revive the gooey center. If prepping for a gathering, freeze pre-cut squares on a tray until solid, then transfer to a freezer bag for quick defrosting. Pack in single-serve containers for lunches or on-the-go treats.
These almond flour brownies are proof that a short ingredient list and simple technique can yield a dessert both comforting and sophisticated. Give them time to cool, use good-quality cocoa and chocolate chips, and you will have a batch that disappears quickly at any table.
Pro Tips
Let the brownies cool completely before slicing to ensure clean edges and proper setting.
Use room temperature eggs to help the batter emulsify and produce an even texture.
Choose finely ground blanched almond flour for a tender crumb and avoid coarse almond meal.
If your almond flour absorbs a lot of liquid, add 1 tablespoon of neutral milk to adjust batter consistency.
For even chocolate distribution, use mini chips and fold half into the batter and sprinkle the rest on top.
This nourishing gluten-free almond flour brownies recipe is sure to be a staple in your kitchen. Enjoy every moist, high protein slice — it is perfect for breakfast or as a wholesome snack any time.
FAQs about Recipes
Can I freeze these brownies?
Yes. Cool completely then wrap and freeze in an airtight container for up to 3 months. Thaw at room temperature or warm briefly in the microwave.
Can I make them vegan?
They are not vegan as written because they contain eggs. Use a commercial egg replacer such as Bob's Red Mill Egg Replacer for an eggless version, but texture may vary.
Tags
Gluten-free Almond Flour Brownies
This Gluten-free Almond Flour Brownies recipe makes perfectly juicy, tender, and flavorful steak every time! Serve with potatoes and a side salad for an unforgettable dinner in under 30 minutes.
Instructions
Preheat and prepare the pan
Preheat the oven to 350 degrees F and grease an 8x8 inch square pan or line with parchment paper with an overhang for easy removal.
Combine wet ingredients
In a large bowl whisk together 2 room temperature eggs, 1 cup coconut sugar, 1 teaspoon vanilla extract, and 1/2 cup avocado oil until smooth and glossy to help dissolve the sugar.
Add dry ingredients
Add 3/4 cup cocoa powder, 1 cup almond flour, 1/4 teaspoon sea salt, and 1/4 teaspoon baking soda to the wet mixture and stir until fully combined with no lumps.
Fold in chocolate chips and spread
Stir in half of the 1/3 cup chocolate chips, pour batter into the prepared pan, and smooth the top with a spatula.
Top and bake
Scatter remaining chocolate chips on top and bake for 25 minutes. The center will still move slightly when removed but should not be wet on top. If needed, bake an additional 3 to 5 minutes.
Cool and slice
Cool completely in the pan on a wire rack. For cleaner cuts, refrigerate briefly before slicing into 16 squares. Use the parchment overhang to lift the brownies out.
Last Step: Please leave a rating and comment letting us know how you liked this recipe! This helps our business to thrive and continue providing free, high-quality recipes for you.
Nutrition
Did You Make This?
Leave a comment & rating below or tag
@platemint on social media!
Categories:
You might also like...

Cheesy Baked Ziti Casserole
Saucy, cheesy baked ziti with ricotta and basil tastes like lasagna in half the effort, perfect for weeknights or crowds.

Juicy Cheeseburger Sliders Bake
Quick, crowd-pleasing cheeseburger sliders baked golden with melty cheddar and savory beef. Ready in 30 minutes, great for parties and easy meal prep.

Air Fryer Sweet Potato Fries
Crispy air fryer sweet potato fries with tender centers, fast-food flavor without deep frying. Ready in minutes and irresistibly snackable.
Did You Make This?
Leave a comment & rating below or tag @platemint on social media!
Rate This Recipe
Share This Recipe
Enjoyed this recipe? Share it with friends and family, and don't forget to leave a review!
Comments (1)
This recipe looks amazing! Can't wait to try it.
Comments are stored locally in your browser. Server comments are displayed alongside your local comments.

Hi, I'm Wendie!
What's Popular

30-Minute Meals!
Join to receive our email series which contains a round-up of some of our quick and easy family favorite recipes.