
Fried Cheese Curds

Crispy golden pockets of gooey cheese that taste just like the state fair — easy to make at home in under 20 minutes of active cooking.
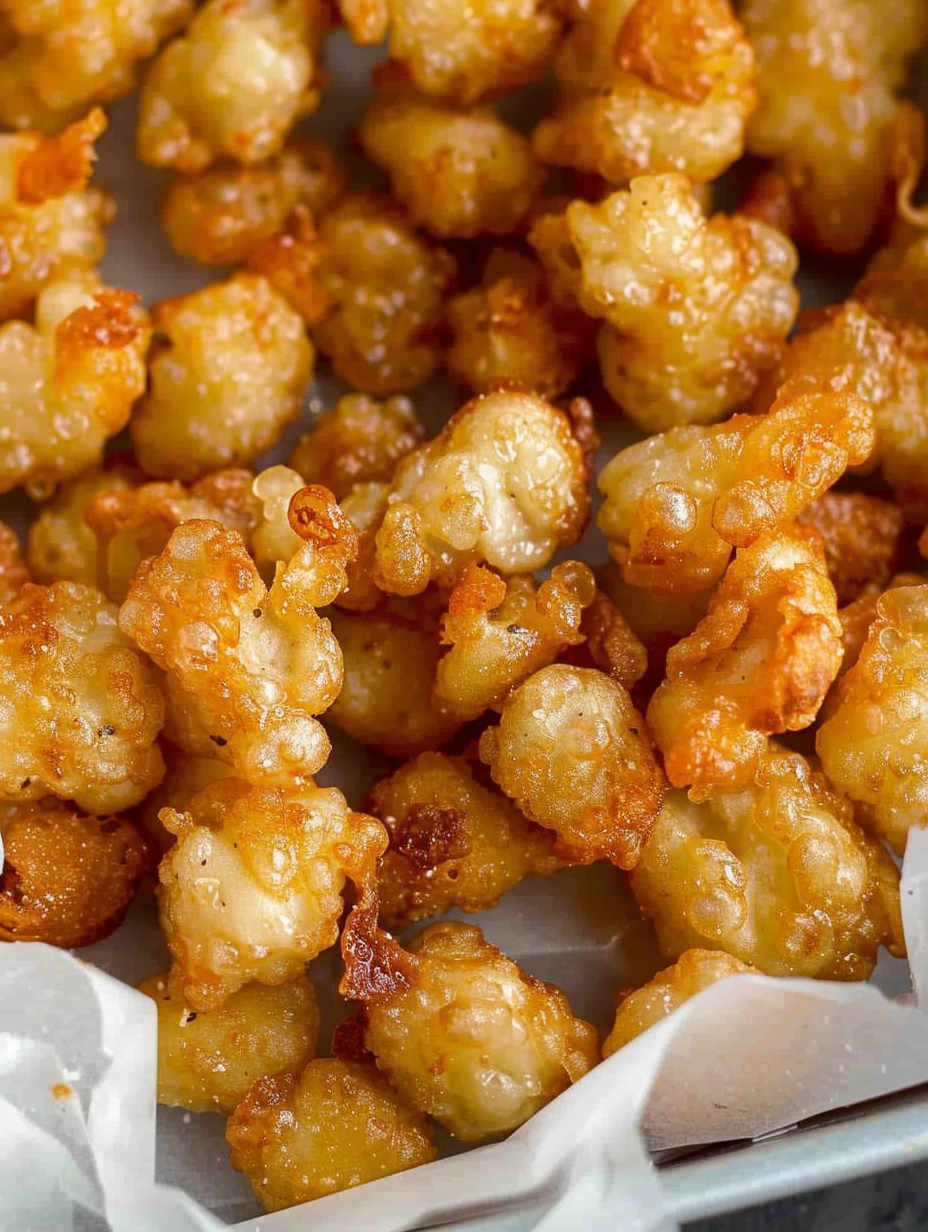
This recipe for fried cheese curds is my shortcut to that unmistakable state fair thrill: warm, squeaky cheese encased in a golden, crisp shell. I first fell in love with this snack at a summer festival where the line snaked around the tent, but after a few attempts in my own kitchen I learned how to get the same crunchy exterior and molten center without waiting or paying a premium. The trick is a light, effervescent batter, a quick freeze to help the coating adhere, and oil hot enough to set the crust without melting the interior completely.
Over the years I've served these at backyard gatherings, after-school treats, and cozy game nights. When the platter comes out, it disappears fast — kids and adults both reach for seconds. The texture contrast is everything: the batter gives a delicate crackle, while the curd inside remains soft and creamy rather than rubbery. With simple pantry ingredients and just a few professional tips, you can reproduce that fairground magic any time you want.
Why You'll Love This Recipe
- Ready with only about 5 minutes of hands-on prep and roughly 10 minutes of hot cooking time — perfect for impromptu entertaining or a weekend snack.
- Uses inexpensive pantry staples like all-purpose flour and club soda plus one pound of cheese curds for a big payoff in flavor and texture.
- Make-ahead friendly: a 60-minute quick freeze step keeps curds from losing shape and lets you batter and fry without a mess.
- Crowd-pleaser for all ages; easily scaled up for a party and pairs well with tangy dipping sauces like ranch, spicy ketchup, or honey mustard.
- Technique-driven but forgiving — visual cues (golden exterior, consistent oil temperature of 360°F) guide success even for new cooks.
- Great use of fresh cheese curds when they're in season; preserves the characteristic squeak and milky flavor you want.
My family reaction the first time I made these was instant nostalgia — they said it tasted exactly like the fair but better because it was hot and fresh. Watching friends learn the little tricks (don’t overcrowd the oil, use a skimmer so batter drains) has been one of my favorite kitchen teaching moments. The combination of a simple batter and a brief freeze feels almost like a cooking hack that rewards you with perfect results every time.
Ingredients
- Cheese curds (1 pound): Look for fresh, mild cheddar curds sold in the refrigerated cheese case; they should feel slightly springy and have a faint squeak when you bite them. If you can, buy the curds the same day you plan to fry them — they’ll be freshest and give the best texture.
- All-purpose flour (1 cup): Use a standard brand such as King Arthur or Gold Medal. Reserve about 1/4 cup for dusting the curds before freezing; the dry flour helps the batter cling.
- Baking powder (1 1/2 teaspoons): Adds lift and lightness to the batter so the coating isn’t heavy and greasy — make sure it’s fresh for best results.
- Kosher salt (1/2 teaspoon): Keeps the batter from tasting flat; add more to the dipping sauce if desired.
- Club soda (1 cup): The carbonation thins and aerates the batter, creating a tender, bubbly crust like those you find at fairs.
- Vegetable oil (for frying): Neutral oils with high smoke points work best — peanut or canola are good alternatives. You’ll need enough to fill a pot about 3 inches deep.
Instructions
Bring curds to room temperature: Leave the cheese curds out for 20–30 minutes until they warm slightly and begin to sweat — this helps flour adhere. Toss the curds with about 1/4 cup of the flour so each piece is lightly coated; this initial dusting creates a dry surface for the batter to grab onto. Spread them on a single layer on a baking sheet lined with parchment and freeze for 60 minutes to firm them up. Make the batter: Combine the remaining flour (about 3/4 cup), 1 1/2 teaspoons baking powder, and 1/2 teaspoon kosher salt in a medium bowl. Whisk in 1 cup club soda until smooth and slightly bubbly — do not overmix. The batter should be thick enough to coat but still loose enough to drip; adjust with a splash more club soda if it feels too stiff. Heat the oil: Fill a heavy pot about 3 inches deep with vegetable oil and heat to 360°F (use a candy or deep-fry thermometer). Maintaining 360°F is crucial: too hot will brown the outside before the curd warms through; too cool will lead to oily, soggy coating. Batter and fry: Working in small batches, use a skimmer or fork to dip frozen, floured curds into the batter, letting excess drip back into the bowl. Carefully lower curds into the hot oil, frying for about 60 seconds until golden — stir gently at 30 seconds so they brown evenly. Remove to a wire rack or paper-towel-lined tray to drain. Serve immediately: Fried curds are best hot. Plate them with dipping sauces and enjoy right away so you get the full contrast of crunchy shell and melty center.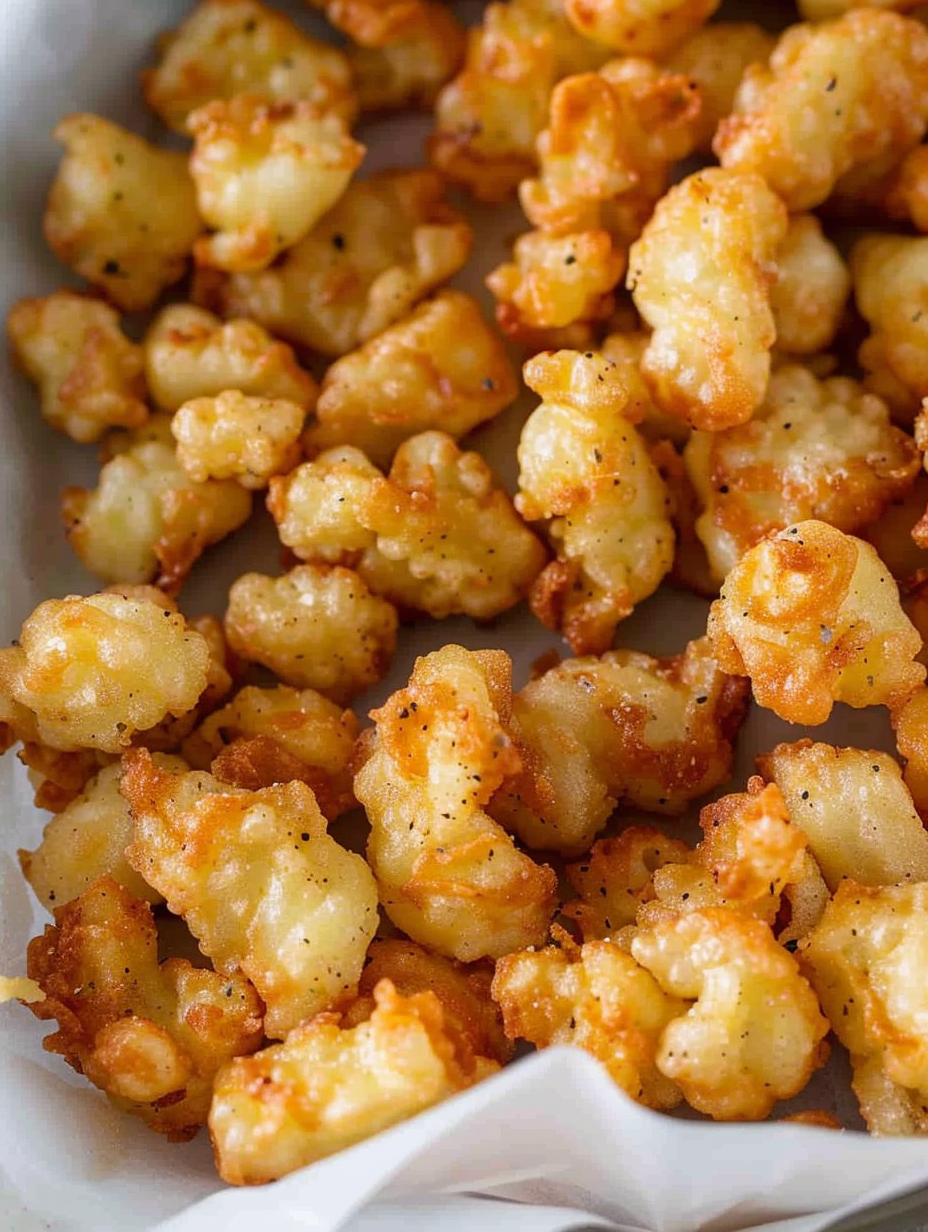
You Must Know
- These are not freezer-friendly after frying; they’re best consumed hot within 10–15 minutes for peak texture.
- Store frozen, uncooked curds for up to 1 month in a sealed bag; fry from frozen for best results.
- High in calcium and protein thanks to the cheese, but also high in fat — enjoy as an occasional indulgence.
- Maintaining 360°F oil temperature prevents excessive oil absorption and ensures a crisp exterior.
What I love most about this method is the consistency: every batch turns out with a thin, delicate shell that cracks and reveals warm, slightly squeaky curd inside. Over time I've learned to trust the visual cues — tiny bubbles at the edges of the batter and a sunlit golden color — rather than relying solely on the clock. Neighbors have brought these to potlucks and called them the best homemade fried curds they'd ever had, which never gets old.
Storage Tips
Uncooked, floured curds can be frozen on a baking sheet for up to one month; transfer them to an airtight bag or container once solid. Do not refrigerate once battered — they will lose their crispness. After frying, store leftovers in the refrigerator for up to 24 hours, but expect a loss in texture. Reheat briefly in a 400°F oven on a wire rack for 5–7 minutes to revive some crunch, but note the interior will be firmer than freshly fried curds.
Ingredient Substitutions
If you can't find cheese curds, bite-sized cubes of young cheddar or Monterey Jack work reasonably well; choose a mild, higher-moisture cheese so the center stays creamy. For a gluten-free coating, substitute a 1:1 gluten-free flour blend and use club soda as the recipe directs; results will be slightly less crisp. Swap club soda for a cold lager for a richer, malted flavor, and use peanut oil instead of vegetable oil if you prefer a higher smoke point.
Serving Suggestions
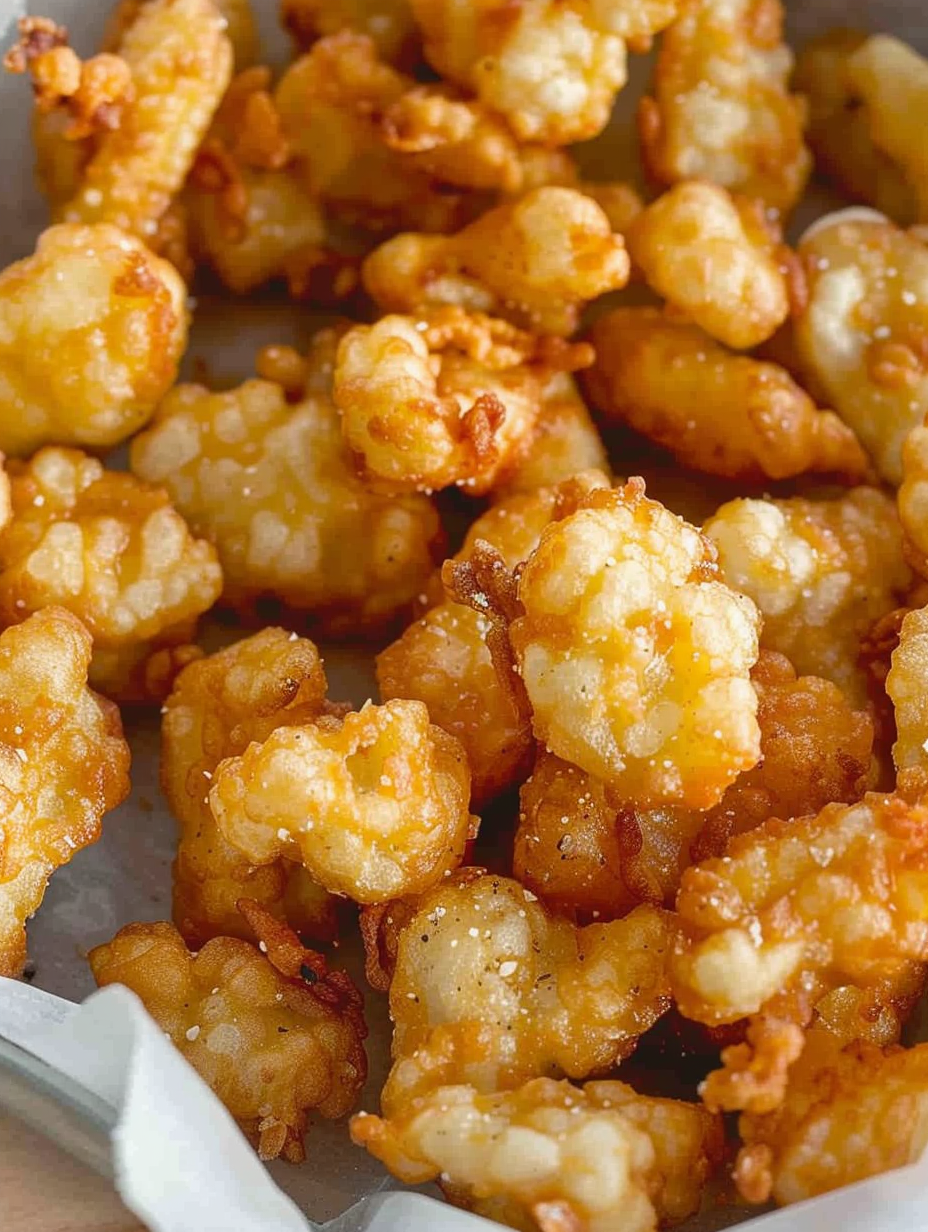
Serve golden curds on a large platter with a trio of dipping sauces: classic ranch, spicy ketchup (mix ketchup with a splash of hot sauce and smoked paprika), and honey mustard. Garnish with chopped chives or parsley for color. Pair with a crisp salad or kettle-cooked fries for a proper fair-inspired spread. They also make a decadent bar snack with a chilled beer or sparkling cider.
Cultural Background
Cheese curds are a Midwestern staple, especially popular in states like Wisconsin where fresh curds are a byproduct of local cheese-making. Frying them became a county-fair favorite because the quick deep-fry amplifies the contrast between the curd’s springy interior and a crunchy exterior. This preparation celebrates a region’s dairy heritage and the simple pleasure of transforming humble ingredients into an unmistakable treat.
Seasonal Adaptations
In summer, serve with a tangy cucumber-dill yogurt dip and fresh herbs; in cooler months, try a warm cider-bourbon honey dip to echo holiday flavors. During football season, sprinkle a pinch of smoked paprika or cayenne over the curds for a spicy kick that plays well with beers. For a festive twist, add finely chopped jalapeño to the batter for a spicy Harrington-style version.
Meal Prep Tips
Prep a double batch of floured curds and freeze them on sheets so you can fry a few at a time when guests arrive. Keep the batter chilled and use a slotted spoon to drain excess batter so oil stays cleaner longer. Fry in small batches to keep the oil temperature steady; use a wire rack over a sheet pan rather than paper towels to preserve crispness while draining.
Final thought: this approach yields the best of both worlds — the nostalgic flavor of the fair without the inconvenience. Once you master the timing and temperature, you’ll be able to produce crunchy, melty curds whenever the mood strikes. Invite friends, make a platter, and watch it disappear.
Pro Tips
Use a candy or deep-fry thermometer to maintain 360°F for crisp, non-greasy results.
Work in small batches to prevent the oil temperature from dropping dramatically.
Let excess batter drip off with a skimmer to avoid big blobs of batter frying on the curds.
Freeze floured curds for at least 60 minutes so they hold shape when battered and fried.
This nourishing fried cheese curds recipe is sure to be a staple in your kitchen. Enjoy every moist, high protein slice — it is perfect for breakfast or as a wholesome snack any time.
FAQs about Recipes
Can I freeze the curds before frying?
Yes — freeze the floured curds on a tray until solid, then transfer to a sealed bag for up to 1 month. Fry directly from frozen.
What oil temperature should I use?
Keep oil between 350–370°F, ideally 360°F. Use a thermometer and fry in small batches to maintain temperature.
Tags
Fried Cheese Curds
This Fried Cheese Curds recipe makes perfectly juicy, tender, and flavorful steak every time! Serve with potatoes and a side salad for an unforgettable dinner in under 30 minutes.
Instructions
Prepare and freeze curds
Toss room-temperature curds with about 1/4 cup flour until lightly coated. Arrange in a single layer on a lined baking sheet and freeze for 60 minutes to firm up.
Mix batter
Whisk remaining flour, baking powder, and salt in a bowl. Add cold club soda and whisk until smooth; batter should be bubbly and slightly thick but pourable.
Heat oil
Heat oil in a pot to 360°F, using a thermometer. Maintain this temperature throughout frying by working in small batches.
Batter and fry curds
Dip frozen, floured curds into batter with a skimmer, letting excess drip off. Lower into hot oil and fry about 60 seconds until golden, stirring gently after about 30 seconds for even browning.
Drain and serve
Remove to a wire rack to drain and serve immediately with preferred dipping sauces.
Last Step: Please leave a rating and comment letting us know how you liked this recipe! This helps our business to thrive and continue providing free, high-quality recipes for you.
Nutrition
Did You Make This?
Leave a comment & rating below or tag
@platemint on social media!
Categories:
You might also like...

Cheesy Baked Ziti Casserole
Saucy, cheesy baked ziti with ricotta and basil tastes like lasagna in half the effort, perfect for weeknights or crowds.

Juicy Cheeseburger Sliders Bake
Quick, crowd-pleasing cheeseburger sliders baked golden with melty cheddar and savory beef. Ready in 30 minutes, great for parties and easy meal prep.

Air Fryer Sweet Potato Fries
Crispy air fryer sweet potato fries with tender centers, fast-food flavor without deep frying. Ready in minutes and irresistibly snackable.
Did You Make This?
Leave a comment & rating below or tag @platemint on social media!
Rate This Recipe
Share This Recipe
Enjoyed this recipe? Share it with friends and family, and don't forget to leave a review!
Comments (1)
This recipe looks amazing! Can't wait to try it.
Comments are stored locally in your browser. Server comments are displayed alongside your local comments.

Hi, I'm Wendie!
What's Popular

30-Minute Meals!
Join to receive our email series which contains a round-up of some of our quick and easy family favorite recipes.