
Fried Cheese Balls

Crispy, airy fried cheese balls made with just 3 ingredients — a party-perfect, gooey snack ready in under an hour.
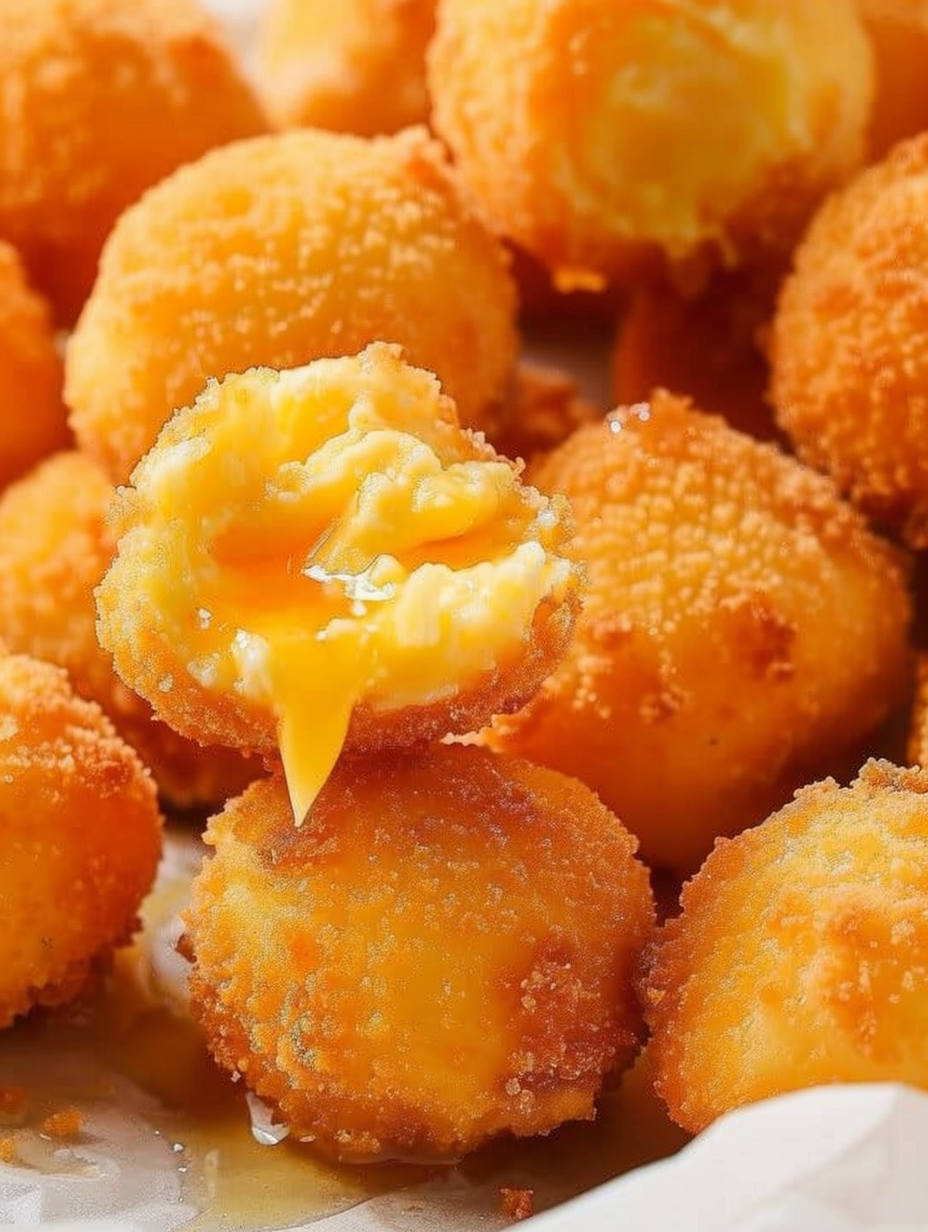
This recipe for fried cheese balls has been a party favorite in my kitchen for years. I first stumbled upon the idea during a hectic holiday season when I wanted a handheld appetizer that was fast, inexpensive, and could be made from pantry staples. What surprised me most was how light and airy these bites are — the whipped egg whites create a delicate, puffy shell that crisps up to a golden brown while the cheese inside becomes molten and indulgent. They’re the kind of snack that disappears in minutes at gatherings, and people always ask for the secret: it’s the simple combination of stiff egg whites and a good melting cheese.
I remember the first time I served these at a small backyard gathering; someone compared them to little savory beignets, and my cousin proclaimed them the new must-have appetizer. Beyond their show-stopping texture, they’re practical: only three ingredients, minimal hands-on time, and they come together without complicated technique. I usually make a double batch when I know friends are coming over, and I love how forgiving the method is — even when a ball flattens a touch, the flavor stays incredible. The contrast between the crisp exterior and the gooey interior is what makes them irresistible.
Why You'll Love This Recipe
- Ultra-simple ingredient list: just egg whites, grated cheese, and frying oil — great when you want a last-minute appetizer using pantry staples.
- Quick to prepare: about 15 minutes of active prep and a short chill time; ready to fry in under 45 minutes total.
- Crowd-pleaser: light, airy texture with an oozy center that appeals to kids and adults alike at parties.
- Flexible with cheese choices: cheddar, Monterey Jack, pepper jack, or gouda all work and change the flavor profile subtly.
- Make-ahead friendly: shape the mounds and chill them in advance for up to a few hours so you can fry when guests arrive.
- Low-carb and gluten-free by default, making these a handy option for many dietary needs (watch for cross-contamination in shared fryers).
In my experience these bites vanish faster than I can keep them warm. Family members always debate which cheese is best — my partner is team sharp cheddar, while my sister loves a pepper jack twist for a spicy pop. Over time I’ve learned small tricks that keep them puffed and perfectly round, like chilling the mounds before frying and maintaining a steady oil temperature.
Ingredients
- Egg whites (2 large): Use room-temperature whites for better volume when whipping. Pasteurized carton whites work in a pinch, but fresh eggs whipped to stiff peaks give a lighter, airier texture.
- Grated medium cheddar (5 ounces / about 1 1/4 cups): Choose a block cheese and grate it yourself for best melt and flavor — pre-shredded cheese contains anti-caking agents that can affect texture.
- Vegetable oil (for frying): Neutral-flavored oil with a high smoke point such as canola or peanut oil. You’ll need enough oil to provide roughly 4 inches (about 4–6 cups) of depth in a Dutch oven or heavy pot.
These three components are all you need for classic fried cheese balls. If you want variations, swap part of the cheddar for Monterey Jack or smoked Gouda for a different melt and flavor. Keep the cheese finely grated so it folds easily into the whipped whites.
Instructions
Whip the egg whites: Using a standing mixer fitted with the whisk attachment or an electric hand mixer, beat the 2 room-temperature egg whites on medium-high until they reach stiff peaks. This takes about 3–5 minutes depending on your mixer. You want the whites to be glossy and to hold a firm peak when the whisk is lifted; overbeating will dry them, so stop when they’re just set. Fold in the cheese: Gently fold the finely grated cheddar into the whipped egg whites with a rubber spatula. Use careful strokes from the bottom up to retain as much air as possible; the mixture should be evenly combined but still light and aerated. If it looks too loose, add a tablespoon more cheese at a time. Portion and chill: Scoop the mixture with a cookie scoop (I use a 1 1/2 tablespoon size) into mounds on a baking sheet lined with parchment. Refrigerate the mounds for at least 30 minutes to firm up — this helps them hold shape when frying and reduces splatter. Heat the oil: Pour enough oil into a heavy Dutch oven to reach about 4 inches deep. Heat the oil slowly and use a candy or fry thermometer to bring it to 350°F (175°C). Maintain between 350°F and 375°F while frying; adjust the heat as necessary to keep the temperature stable. Shape gently and fry: Gently roll each chilled mound into a soft ball — don’t compress it; just smooth the surface so it’s rounded. Fry a few at a time, making sure they don’t touch, and turn them frequently so they brown evenly. Fry for about 1 to 1 1/2 minutes, until golden and puffed. The internal cheese will be molten. Drain and serve: Use a slotted spoon to transfer the finished pieces to paper towels to absorb excess oil. Serve immediately for maximum gooeyness, or keep warm in a low oven (about 200°F) for a short period, though they’re best fresh.
You Must Know
- These are naturally low in carbohydrates and gluten-free, but they contain dairy and egg — not suitable for vegan diets.
- Chilling before frying is key: it reduces oil splatter and helps the balls retain a round shape while cooking.
- Keep oil temperature steady between 350°F and 375°F; too hot and they brown before puffing, too cool and they absorb excess oil and flatten.
- Store leftovers refrigerated for 2–3 days and reheat briefly in an air fryer or microwave; texture will be best right after frying.
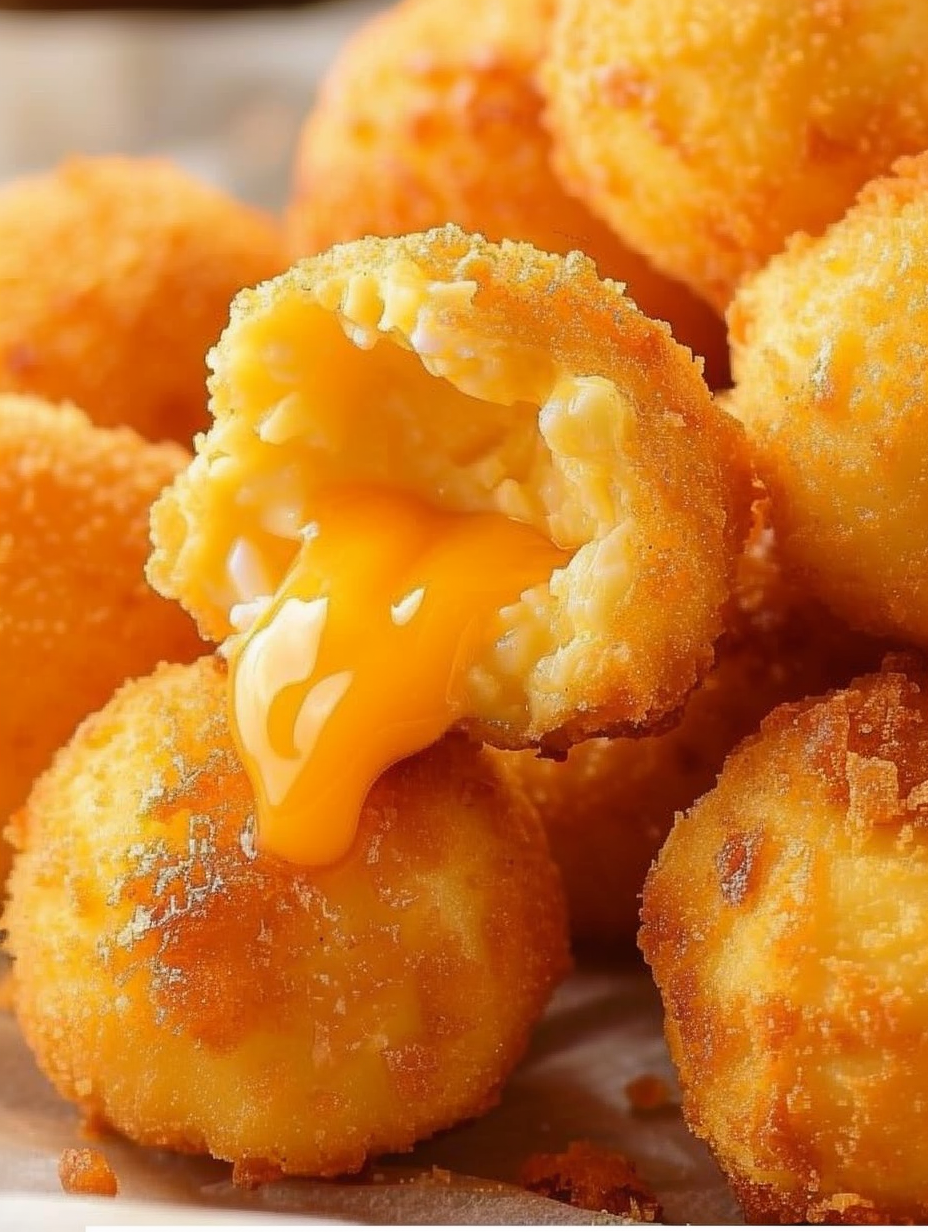
My favorite part about these balls is the immediate contrast when you bite into one: a thin, crisp shell gives way to a warm, stringy center. They’re great for parties because you can make the mounds ahead of time and fry them just before serving so every batch is fresh and hot. I love experimenting with small cheese blends and sometimes add a pinch of smoked paprika to the grated cheese for a subtle smoky note.
Storage Tips
Store fried pieces in an airtight container in the refrigerator for 2–3 days. To keep them as crisp as possible, place a paper towel between layers to absorb condensation. Reheating in an air fryer at 350°F for 3–4 minutes brings back some crispness, while a quick 20–30 second zap in the microwave will warm the center but may soften the exterior. Do not freeze fried cheese balls — freezing changes the airy structure and they won’t reheat to the same texture.
Ingredient Substitutions
Swap cheddar for Monterey Jack, pepper jack, smoked gouda, or a blend — firmer, drier cheeses work best. If you want a softer center, use half soft cheese and half firmer cheese, but expect slightly more deflation after frying. For a spicier version, add a pinch of cayenne or fold in a tablespoon of finely chopped jalapeño. If you need a kosher or specific diet-friendly oil, use refined avocado oil for frying; it tolerates high heat and has a neutral taste.
Serving Suggestions
Serve hot alongside a trio of dipping sauces: a simple marinara, a tangy ranch, and a honey mustard. Garnish the platter with chopped chives or parsley for color. These make excellent bar snacks paired with cold beer or sparkling wine, and they’re equally delightful as a starter for a casual dinner. For a festive twist, serve on small skewers with a pickled pepper for a salty-sour contrast.
Cultural Background
Crispy, fried cheese snacks appear in many cuisines — from Italian mozzarella fritti to Latin American fried cheese empanadas — but this specific airy cheese ball approach is a playful American adaptation that emphasizes lightness via whipped egg whites. It leans on classic frying techniques and showcases how minimal ingredients can produce a memorable texture. The method echoes techniques used in soufflés and meringues where trapped air creates volume before heat sets the structure.
Seasonal Adaptations
In cooler months I favor sharp cheddar mixed with smoked gouda for a cozy, robust flavor. In summer, substitute fresher, milder cheeses and serve with a bright chimichurri for contrast. For holiday parties, fold in cranberries and diced herb-coated Gouda to make festive flavored bites. Adjust frying frequency in hot weather by chilling the mounds longer so they handle the heat of the oil more predictably.
Meal Prep Tips
Prep the mounds up to 24 hours ahead and store them covered on a sheet tray in the refrigerator. This way, when guests arrive you only need to heat the oil and fry in batches for maximum freshness. If you plan to make a large quantity, fry in small batches and keep finished pieces in a single layer on a baking sheet in a 200°F oven for up to 20 minutes to serve hot without losing too much of the crisp texture.
These fried cheese balls are proof that simple ingredients, treated with a couple of thoughtful techniques, can become the star of any gathering. Make them your own with cheese blends and seasoning, and enjoy the delighted faces when you bring them out warm and bubbling.
Pro Tips
Whip egg whites to stiff peaks but stop before they become dry; this keeps the structure light and airy.
Chill scooped mounds for at least 30 minutes to help them retain shape during frying.
Use a thermometer to maintain oil temperature between 350°F and 375°F for consistent results.
Grate cheese from a block rather than using pre-shredded to avoid anti-caking agents that affect texture.
Fry in small batches to avoid overcrowding — if they touch they may stick and deform.
This nourishing fried cheese balls recipe is sure to be a staple in your kitchen. Enjoy every moist, high protein slice — it is perfect for breakfast or as a wholesome snack any time.
FAQs about Recipes
Can I make these ahead of time?
Yes — you can prepare the scooped mounds up to 24 hours ahead and keep them refrigerated until ready to fry. Chilling helps them hold shape.
What oil temperature should I use?
Keep oil between 350°F and 375°F. If it’s too hot they brown too fast; too cool and they become greasy and deflate.
Tags
Fried Cheese Balls
This Fried Cheese Balls recipe makes perfectly juicy, tender, and flavorful steak every time! Serve with potatoes and a side salad for an unforgettable dinner in under 30 minutes.
Ingredients
Main
Instructions
Whip egg whites to stiff peaks
In a clean bowl with a whisk attachment, beat 2 room-temperature egg whites on medium-high until glossy stiff peaks form, about 3–5 minutes. Stop before the whites look dry.
Fold in grated cheese
Gently fold 5 ounces of finely grated medium cheddar into the whipped whites with a rubber spatula, using gentle strokes to preserve air.
Portion and chill
Scoop the mixture with a 1 1/2 tablespoon cookie scoop onto a parchment-lined baking sheet. Refrigerate for at least 30 minutes to firm the mounds.
Heat frying oil
Pour oil into a Dutch oven to a depth of about 4 inches and heat slowly to 350°F (175°C) using a fry thermometer. Maintain 350°F–375°F during frying.
Shape gently and fry
Roll chilled mounds into loose balls and fry in small batches, turning frequently, until golden and puffed, about 1–1 1/2 minutes per batch.
Drain and serve hot
Remove with a slotted spoon and drain on paper towels. Serve immediately for best gooey texture or keep briefly warm in a low oven.
Last Step: Please leave a rating and comment letting us know how you liked this recipe! This helps our business to thrive and continue providing free, high-quality recipes for you.
Nutrition
Did You Make This?
Leave a comment & rating below or tag
@platemint on social media!
Categories:
You might also like...
Cheesy Baked Ziti Casserole
Saucy, cheesy baked ziti with ricotta and basil tastes like lasagna in half the effort, perfect for weeknights or crowds.
Juicy Cheeseburger Sliders Bake
Quick, crowd-pleasing cheeseburger sliders baked golden with melty cheddar and savory beef. Ready in 30 minutes, great for parties and easy meal prep.
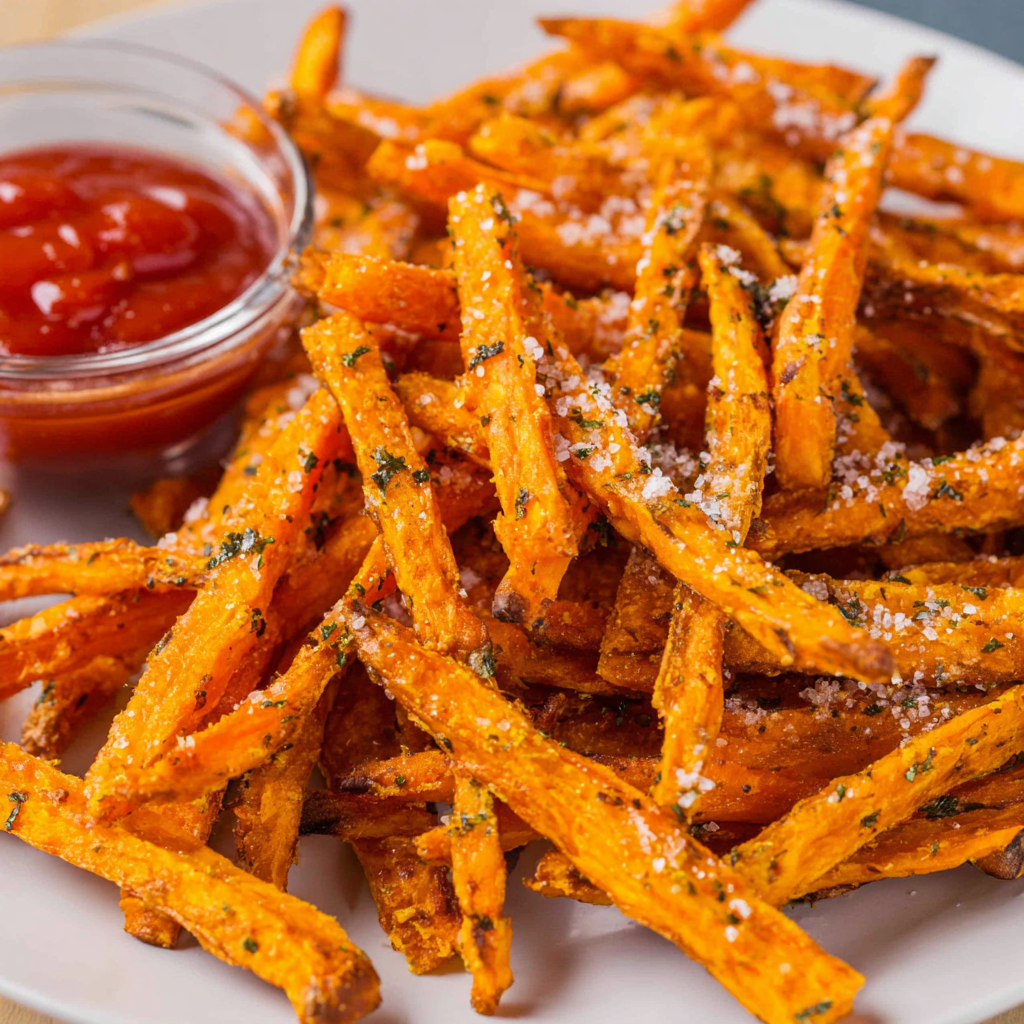
Air Fryer Sweet Potato Fries
Crispy air fryer sweet potato fries with tender centers, fast-food flavor without deep frying. Ready in minutes and irresistibly snackable.
Did You Make This?
Leave a comment & rating below or tag @platemint on social media!
Rate This Recipe
Share This Recipe
Enjoyed this recipe? Share it with friends and family, and don't forget to leave a review!
Comments (1)
This recipe looks amazing! Can't wait to try it.
Comments are stored locally in your browser. Server comments are displayed alongside your local comments.

Hi, I'm Wendie!
What's Popular
30-Minute Meals!
Join to receive our email series which contains a round-up of some of our quick and easy family favorite recipes.