
Firecracker Chicken

Extra-crispy fried chicken tossed in a sticky, sweet-spicy Firecracker sauce then baked to glossy perfection — restaurant-worthy and perfect with steamed rice.
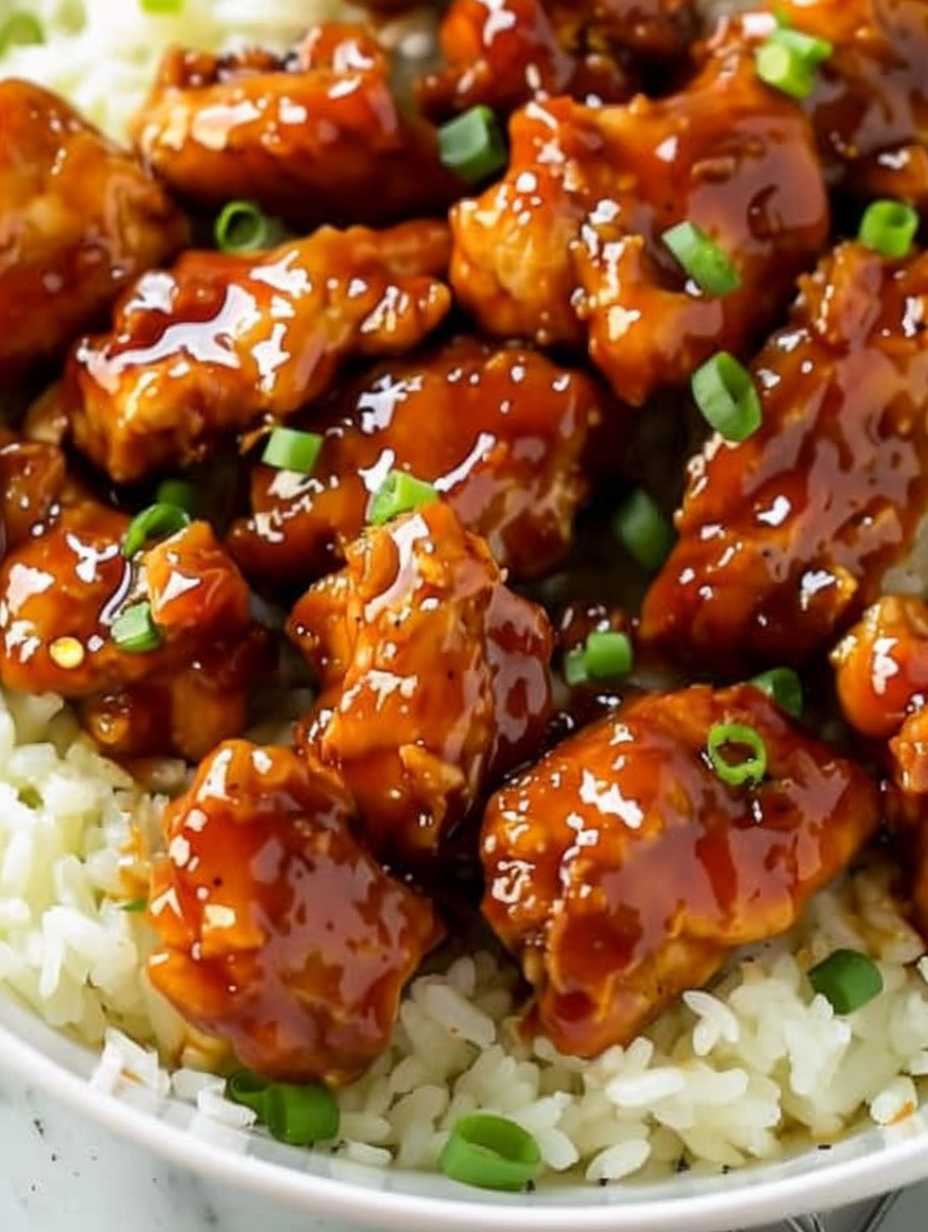
This Firecracker Chicken has been one of those recipes that instantly electrified our weeknight rotation. I first made it on a rainy Saturday when I wanted the tang and heat of buffalo-style sauce with the caramelized sweetness of a sticky glaze, and the result felt like the best parts of takeout combined into something even better at home. The contrast between an ultra-crispy exterior and a saucy, glossy finish makes every bite sing: crunch, then a sweet-tangy heat that lingers just long enough to make you reach for another forkful.
I love this version because it is forgiving yet impressive. You can use boneless, skinless thighs for juiciness or breasts for a leaner finish; both fry up beautifully if you keep the oil hot and the pieces spaced out. This is the kind of food that gathers people around the table — my teenagers call it "dangerously addictive," and it’s been requested for casual dinners, game nights, and even a light-hearted take on birthday takeout. Once you master the fry-and-bake rhythm, it comes together reliably and fast.
Why You'll Love This Recipe
- The exterior stays extra crisp because the pieces are double-coated and fried first, then finished in the oven so the sauce becomes glossy without sogginess.
- It uses pantry-friendly ingredients like cornstarch, brown sugar, and buffalo sauce — most of which are easy to keep on hand for short-notice dinners.
- Ready in roughly 65 minutes from start to finish with only 20 minutes of active prep time, making it great for weeknights or relaxed weekend cooking.
- Flexible protein: boneless thighs for extra juiciness or breasts for a leaner meal; both work and change the mouthfeel in delightful ways.
- Make-ahead friendly — you can fry the pieces ahead and finish with sauce and baking when guests arrive, or freeze portions for quick dinners.
- Crowd-pleasing: sweet, tangy, and slightly spicy with optional heat adjustments so it suits families and spice-lovers alike.
Personally, I discovered this mix of buffalo heat and brown sugar sweetness while trying to recreate a favorite local takeout. The first time I served it, my neighbor knocked on the door asking, "Is that takeout?" When I said no, she asked for the recipe. That kind of reaction told me I was onto something — it’s both familiar and surprising at the same time.
Ingredients
- Chicken (1 1/2 lb): Boneless, skinless chicken breasts or thighs trimmed and cut into 2-inch pieces. Thighs give more forgiving juiciness; breasts give a firmer bite. Use fresh or fully thawed chicken for even cooking.
- Eggs (3 large): Whisked until uniform and slightly aerated — this helps the cornstarch adhere and creates a light crisp.
- Cornstarch (3/4 cup): Creates a delicate, crackly coating when fried. Arrowroot can be substituted 1:1 for a slightly lighter finish.
- Vegetable oil (1 cup for frying): Neutral oils with high smoke points like canola, peanut, or sunflower are ideal. Peanut adds a subtle flavor if you like it.
- Buffalo sauce (3/4 cup): I use Frank’s RedHot for classic flavor and acidity; it’s the backbone of the sauce.
- Light brown sugar (1 cup packed): Balances the heat with molasses notes; don’t skip packing the cup to achieve the right sweetness.
- Apple cider vinegar (2 tsp): Adds brightness and cuts through the sweetness for balance.
- Butter (1 tbsp melted): Rounds the sauce and adds silkiness.
- Soy sauce (1 tsp): A pinch of umami; low-sodium versions are fine. If wheat-free is required, use tamari.
- Garlic powder (1 tsp), chili powder (1/2 tsp, optional), mustard powder (1/2 tsp), salt (1/4 tsp): Layered seasonings that build depth in the sauce without fresh garlic overpowering the glaze.
Instructions
Prepare the Sauce: Whisk the buffalo sauce, packed brown sugar, apple cider vinegar, melted butter, soy sauce, garlic powder, chili powder (if using), mustard powder, and salt in a medium bowl until the sugar mostly dissolves. Set aside to let the flavors marry while you prepare the chicken. This step lets the sugar begin to integrate so the sauce becomes glossy when heated. Cut and Season the Chicken: Trim the chicken and cut into 2-inch pieces. Pat completely dry with paper towels — dryness is crucial for crispness — then season lightly with salt and pepper. Dry meat sears and fries better because moisture prevents proper browning. Egg Wash and Coating: Whisk three large eggs vigorously until slightly foamy and uniform. Toss the chicken in the eggs to coat evenly. For each batch, dredge pieces in 3/4 cup cornstarch so they are fully coated, then dip back briefly in the egg to create a tacky layer that seals the cornstarch during frying. Fry Until Golden-Crisp: Heat 1 cup vegetable oil in a heavy skillet or Dutch oven over medium-high until it reaches about 365°F on a thermometer. Fry the chicken in batches, leaving space so each piece fries, not steams. Cook 3 to 4 minutes per side until golden and crisp. Adjust heat slightly to maintain 350–370°F. Use a slotted spoon to transfer pieces to a wire rack set over parchment paper to keep bottoms crisp. Toss with Sauce and Bake: Once all pieces are fried, pour the reserved sauce into a large bowl, add the fried chicken, and gently toss to coat so each piece is glazed. Transfer to a 9 x 13-inch baking dish and spread in an even layer. Bake at 350°F for 10 minutes, gently toss to redistribute sauce, then bake 10 more minutes to let the glaze thicken and shine. Finish and Serve: Remove from oven, garnish with thinly sliced green onions, and serve immediately with steamed white rice or vegetable fried rice. The oven finish ensures the sauce adheres and becomes slightly tacky without sogging the crust.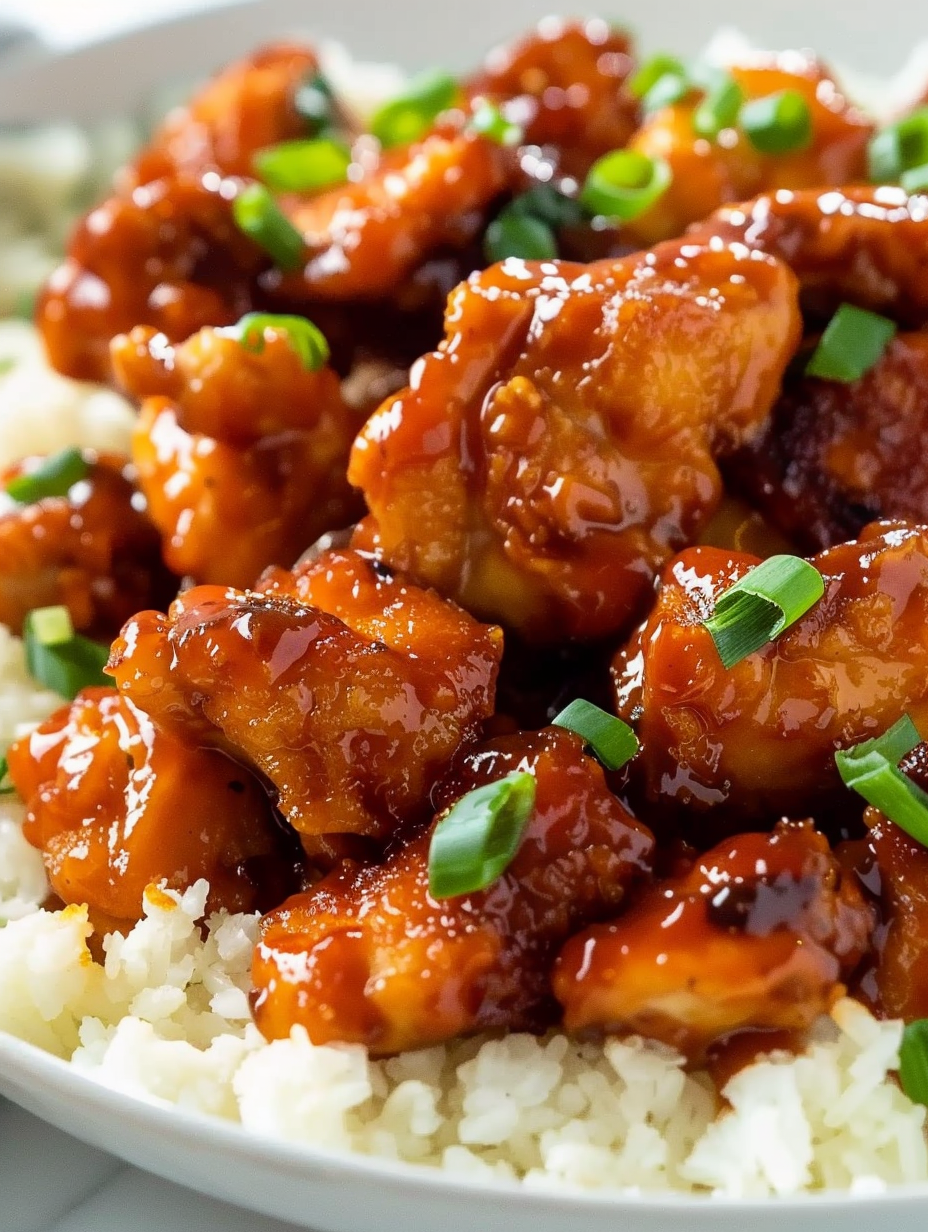
You Must Know
- Keep the oil hot (around 365°F) so the coating sets quickly — this prevents the glaze from making the crust soggy when finished.
- Wire racks are essential after frying to maintain airflow under the chicken so the bottom stays crisp while cooling and before glazing.
- Store leftovers in an airtight container for up to 3 days in the refrigerator or freeze for up to 3 months; keep rice separate when freezing.
- The nutritional estimate in the card includes whole amounts of eggs, cornstarch, and a full cup of oil which overstates the consumed oil; actual calories may be lower depending on oil absorbed and draining.
- If you need gluten-free, swap soy sauce for tamari and verify your buffalo sauce is gluten-free.
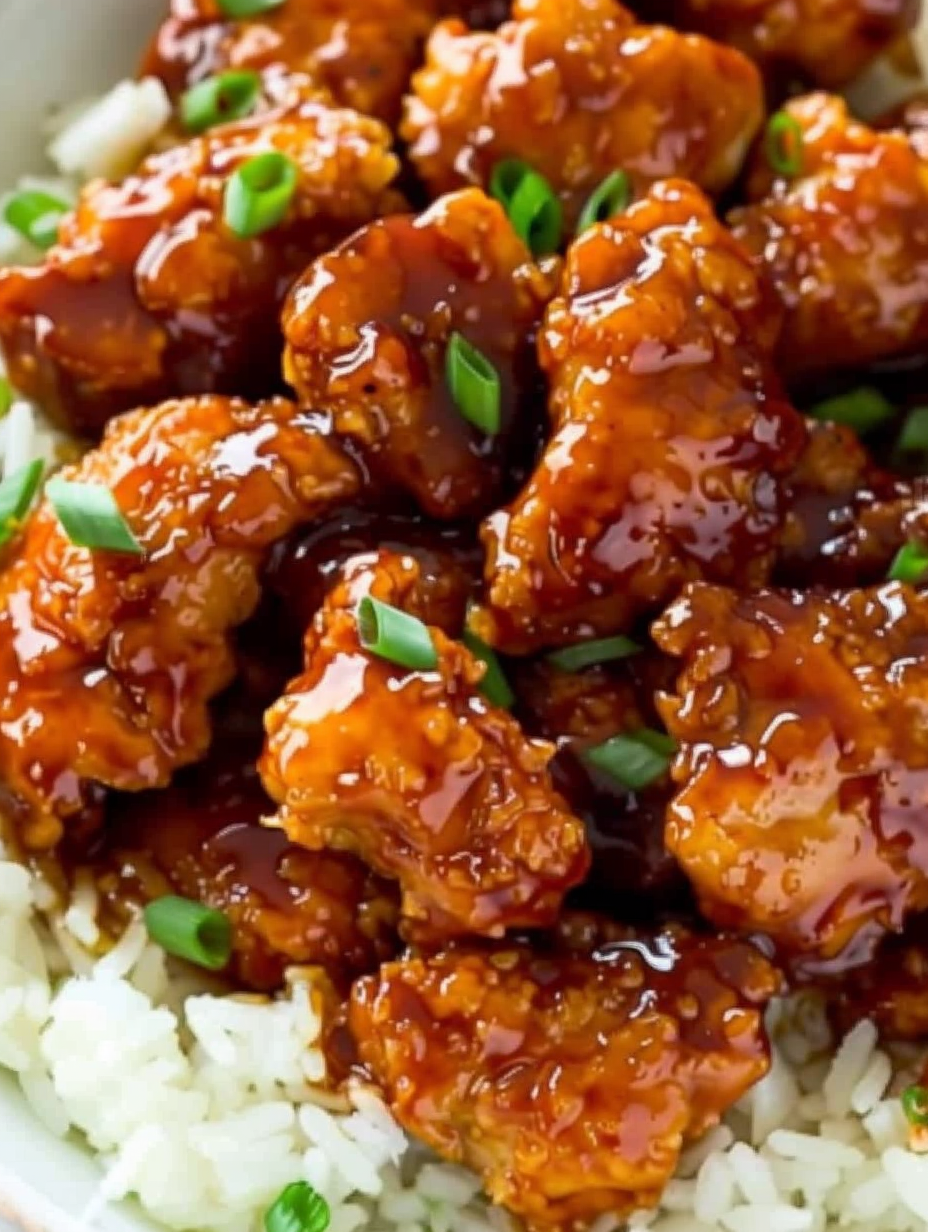
My favorite bit is the way the first forkful gives you a crisp crackle before yielding to that sweet-spicy sauce. At a dinner party I once plated this family-style with extra scallions and blue cheese on the side; everyone fought over the last piece and declared it better than the takeout we were trying to emulate. It’s the kind of dish that creates small, loud moments at the table.
Storage Tips
Cool pieces completely before refrigerating to minimize condensation that softens the crust. Store chicken and rice separately in airtight containers; the chicken keeps well for up to 3 days in the fridge. For longer storage, freeze in single-serving portions wrapped tightly in plastic and foil for up to 3 months. Thaw in the refrigerator overnight before reheating. To re-crisp, place thawed chicken on a wire rack in a 350°F oven for 15–20 minutes until warmed through and edges crackle. Microwaving is fine for speed but will soften the crust.
Ingredient Substitutions
If you prefer less sugar, reduce the brown sugar to 3/4 cup and add a teaspoon more vinegar to maintain balance. Use tamari instead of soy sauce for a wheat-free option and swap cornstarch for arrowroot at a 1:1 ratio for a slightly lighter crust. For a dairy-free version, omit the butter and add 1 teaspoon neutral oil to the sauce for shine. If you want heat without vinegar tang, increase chili powder or add 1/4 teaspoon red pepper flakes to the sauce.
Serving Suggestions
Serve with plain steamed white rice or vegetable fried rice to soak up the glossy sauce. Add a crisp green salad or quick pickled cucumbers to cut the richness. For a party platter, offer blue cheese or ranch on the side and scatter chopped scallions and toasted sesame seeds on top. It’s also fantastic wrapped into warm naan or tossed over buttered noodles for a casual, crowd-pleasing option.
Cultural Background
This dish blends American buffalo-style heat with Asian sweet-sour glazing traditions. While not a historic classic from a single region, it follows a long tradition of fusion comfort foods found in restaurants and home kitchens where regional flavors meet. The glaze echoes sticky American-Chinese finishes but uses buffalo sauce to add a distinctly tang-forward, spicy note familiar to buffalo wing lovers.
Seasonal Adaptations
In cooler months, deepen the sauce with a tablespoon of dark molasses or swap brown sugar for maple syrup for a wintery flavor. In summer, brighten with an extra teaspoon of apple cider vinegar and finish with fresh chopped cilantro and lime zest. For holiday gatherings, serve alongside roasted seasonal vegetables and add toasted pecans for texture contrast.
Meal Prep Tips
Fry a double batch and freeze individual portions of fried chicken on a sheet tray, then transfer to freezer bags. When ready to serve, reheat from frozen in a 375°F oven for 20–25 minutes, then toss in warmed sauce and finish under the broiler for a minute if you want extra char. Pre-make the sauce and refrigerate up to 4 days; simply rewarm it gently before glazing.
There’s a real joy in watching simple pantry staples turn into something glossy, crunchy, and addictive. Whether you make this for a busy weeknight or a laid-back gathering, I hope it becomes a favorite in your home as it has in mine — don’t forget extra napkins.
Pro Tips
Heat the oil to around 365°F before frying so the coating immediately sizzles and adheres to the chicken.
Dry the chicken completely with paper towels to reduce steam and achieve a crisper crust.
Use a wire rack set over parchment to drain fried pieces so the bottoms stay crisp instead of sitting in oil.
Finish in the oven after saucing to allow the glaze to set without making the crust soggy.
This nourishing firecracker chicken recipe is sure to be a staple in your kitchen. Enjoy every moist, high protein slice — it is perfect for breakfast or as a wholesome snack any time.
Tags
Firecracker Chicken
This Firecracker Chicken recipe makes perfectly juicy, tender, and flavorful steak every time! Serve with potatoes and a side salad for an unforgettable dinner in under 30 minutes.
Ingredients
Chicken
Sauce
Instructions
Prepare the Sauce
Combine buffalo sauce, packed brown sugar, apple cider vinegar, melted butter, soy sauce, garlic powder, chili powder (if using), mustard powder, and salt in a medium bowl. Whisk until mostly smooth and set aside so flavors meld.
Trim and Dry Chicken
Trim chicken and cut into 2-inch pieces. Pat completely dry with paper towels and season lightly with salt and pepper to ensure even frying and browning.
Egg Wash and Dredge
Whisk eggs until uniform and slightly aerated. Toss chicken in eggs, then dredge in cornstarch. Briefly dip each piece back into the egg so the cornstarch adheres and forms a tacky coating.
Fry the Chicken
Heat vegetable oil to about 365°F in a heavy skillet or Dutch oven. Fry chicken in batches 3–4 minutes per side until golden and crisp, maintaining oil temperature between 350–370°F. Transfer to a wire rack set over parchment to drain.
Glaze and Bake
Add fried chicken to the reserved sauce in a large bowl and gently toss to coat. Arrange in a 9 x 13-inch baking dish and bake at 350°F for 10 minutes, toss gently, then bake 10 more minutes until glaze is tacky and glossy.
Garnish and Serve
Remove from oven, garnish with sliced green onions, and serve with steamed white rice or vegetable fried rice. Serve immediately for best texture contrast.
Last Step: Please leave a rating and comment letting us know how you liked this recipe! This helps our business to thrive and continue providing free, high-quality recipes for you.
Nutrition
Did You Make This?
Leave a comment & rating below or tag
@platemint on social media!
Categories:
You might also like...
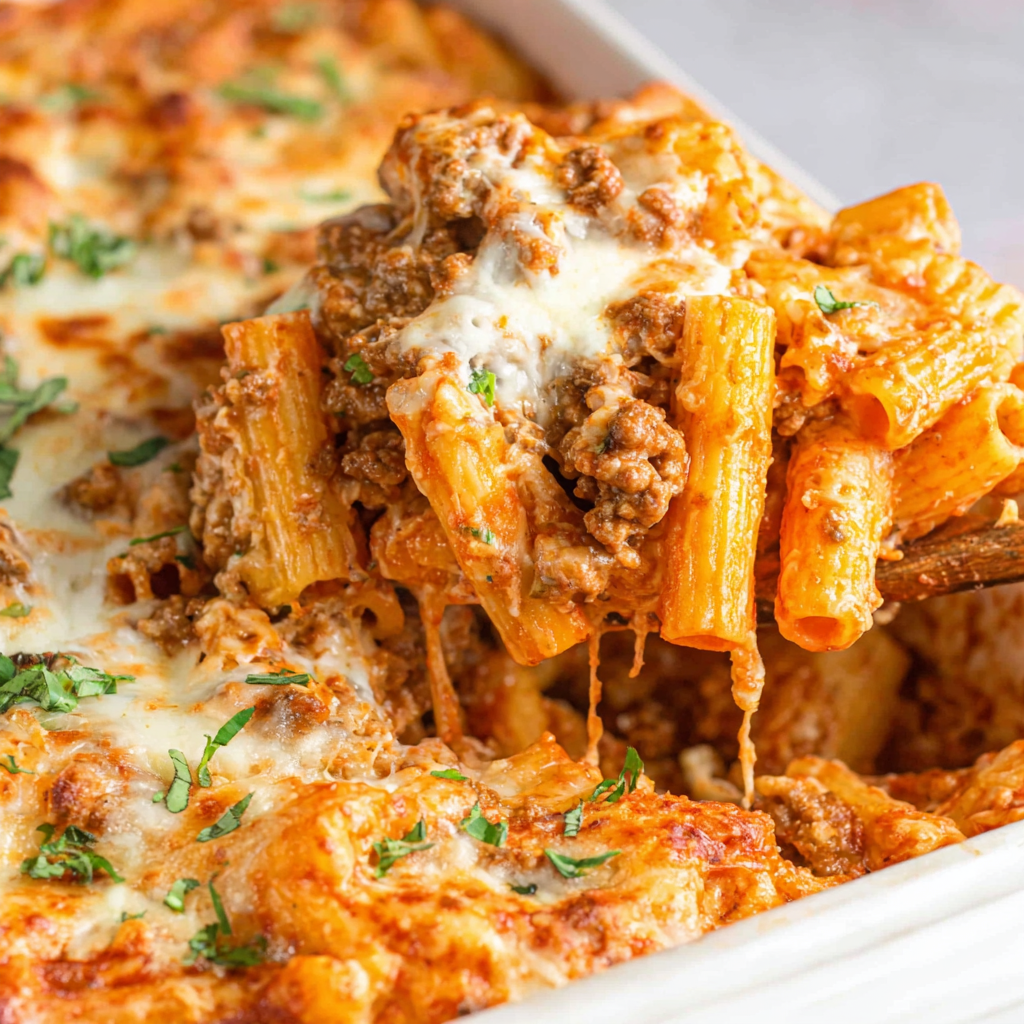
Cheesy Baked Ziti Casserole
Saucy, cheesy baked ziti with ricotta and basil tastes like lasagna in half the effort, perfect for weeknights or crowds.
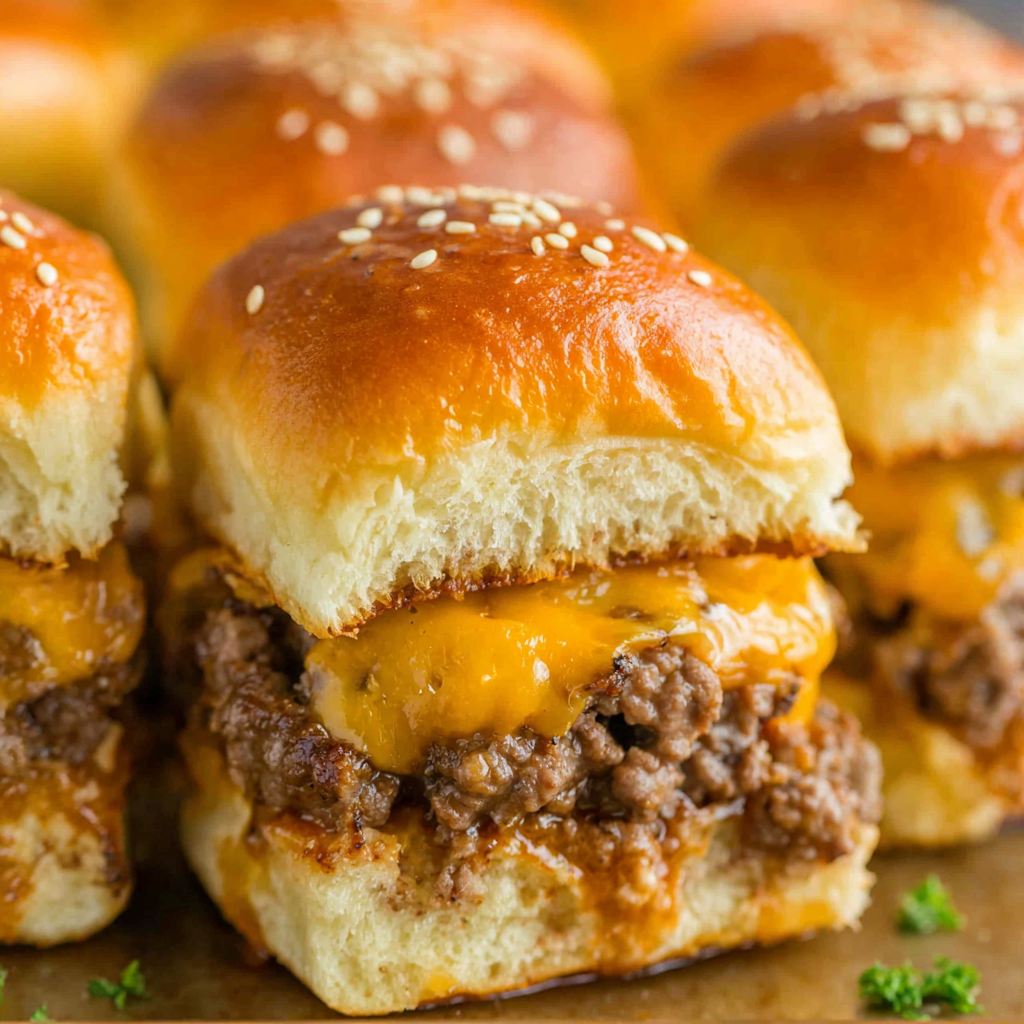
Juicy Cheeseburger Sliders Bake
Quick, crowd-pleasing cheeseburger sliders baked golden with melty cheddar and savory beef. Ready in 30 minutes, great for parties and easy meal prep.
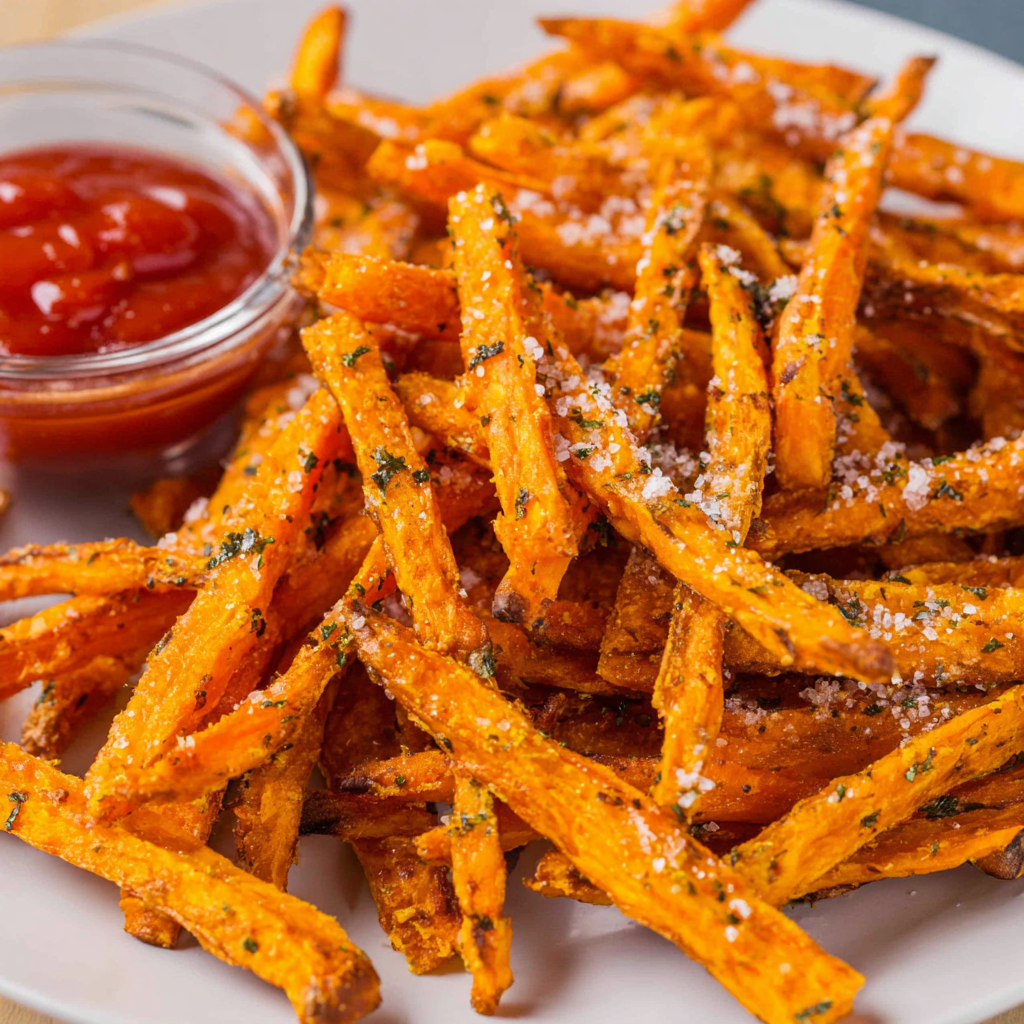
Air Fryer Sweet Potato Fries
Crispy air fryer sweet potato fries with tender centers, fast-food flavor without deep frying. Ready in minutes and irresistibly snackable.
Did You Make This?
Leave a comment & rating below or tag @platemint on social media!
Rate This Recipe
Share This Recipe
Enjoyed this recipe? Share it with friends and family, and don't forget to leave a review!
Comments (1)
This recipe looks amazing! Can't wait to try it.
Comments are stored locally in your browser. Server comments are displayed alongside your local comments.

Hi, I'm Wendie!
What's Popular
30-Minute Meals!
Join to receive our email series which contains a round-up of some of our quick and easy family favorite recipes.