
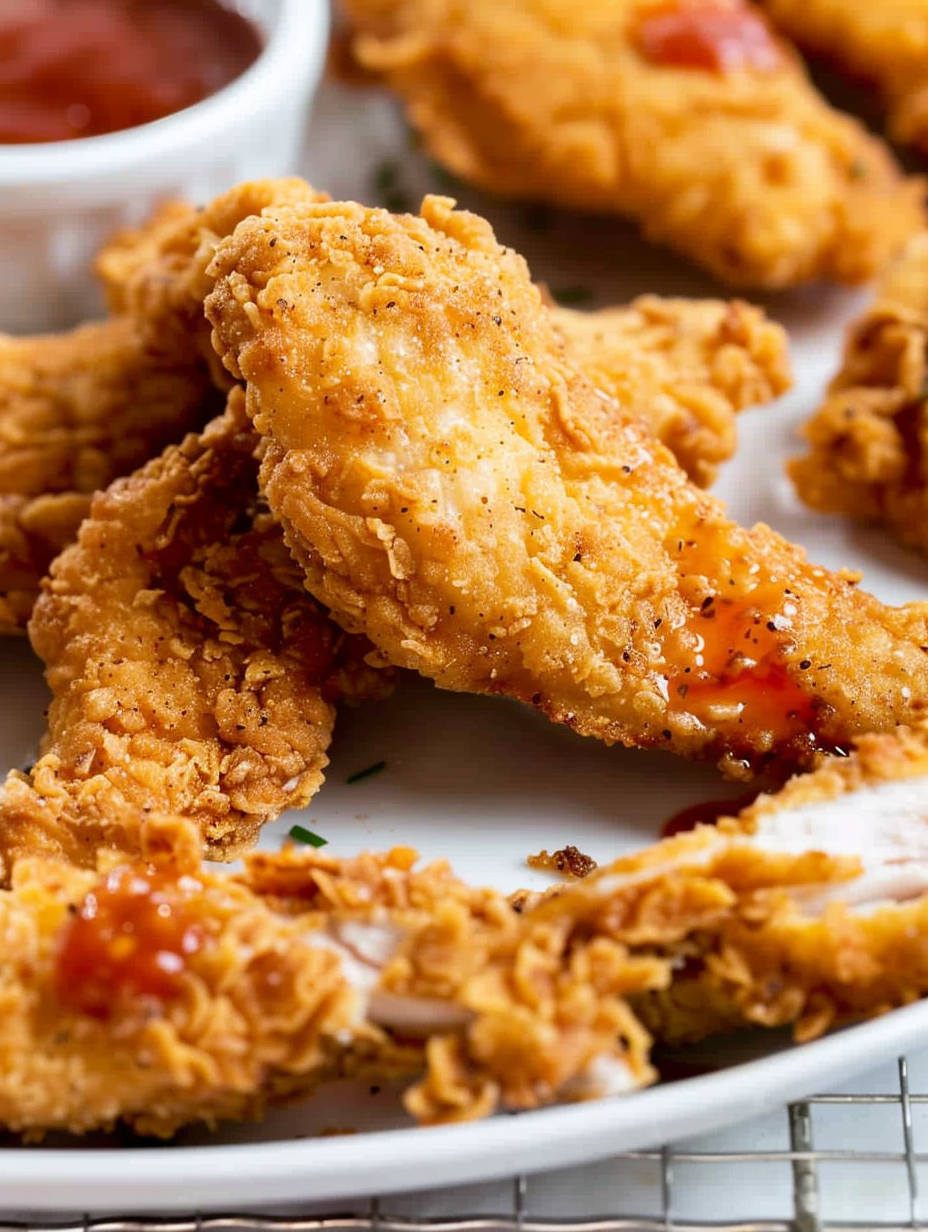
Extra Crispy Fried Chicken Tenders

These extra-crispy chicken tenders deliver restaurant-style crunch at home. Learn chef tricks for a crunchy, well-seasoned coating and juicy interior.
This recipe for extra crispy fried chicken tenders has been a weeknight hero in my kitchen for years. I first perfected the technique on a rainy evening when takeout wasn’t an option and I was determined to recreate that restaurant crunch at home. The result was a golden, crackling crust that stayed crisp while the interior remained moist and tender — a combination that had everyone reaching for seconds. I love this recipe because it’s unfussy, fast once you get going, and relies mostly on pantry staples.
What makes these tenders special is a few small, deliberate steps: patting the meat very dry, using whipped egg whites for light adhesion, pounding the strips gently to create texture for the breading to grip, and frying at a steady 350–375°F so the outside crisps before the interior overcooks. I often make a double batch for parties because they travel well from the fryer to a platter and disappear quickly. These are wonderful with a simple honey mustard or a bright vinegar-based slaw.
Why You'll Love This Recipe
- Restaurant-quality crunch at home: the whipped egg whites and a mix of flour and breadcrumbs create a multi-textured crust that shatters with each bite.
- Quick turnaround: active prep takes about 15 minutes and frying about 30 minutes — perfect for a 45-minute dinner that feels special.
- Pantry-friendly ingredients: uses common staples like all-purpose flour, plain breadcrumbs, eggs, and canola oil — no specialty flours required.
- Make-ahead options: strips can be breaded and refrigerated for a few hours before frying; finished tenders reheat well in a low oven to restore crispness.
- Crowd-pleaser: mild seasoning keeps them kid-friendly, while paprika and cayenne add a subtle warmth for adults.
- Flexible cooking methods: deep fry for best texture or air fry for a lighter alternative when needed.
I discovered that a light dry-brine overnight makes a real difference in juiciness, and my family can tell when I’ve skipped it — the meat is noticeably more flavorful when salt has time to work its way through. Friends who tasted these at a backyard gathering swore they were from a restaurant; that’s always the best compliment.
Ingredients
- Chicken: 2 large boneless, skinless chicken breasts (about 1 1/4 to 1 1/2 pounds total). Look for plump, evenly sized breasts to make uniform tenders. If your breasts are very large, slice into more strips so cooking is even.
- Salt & Pepper: Kosher salt and freshly cracked black pepper for seasoning. I use Morton kosher for consistent salting; if using fine table salt, reduce amount slightly.
- Egg Whites: 3 egg whites, whipped until frothy to create a light adhesive layer that won’t weigh down the coating.
- Oil for Frying: About 48 ounces (6 cups) canola oil to fill a Dutch oven no more than halfway. Canola has a neutral flavor and high smoke point; peanut oil is another good option if no allergies.
- Breading: 1 cup all-purpose flour, 1/3 cup plain or Italian-style breadcrumbs, 1 1/2 teaspoons seasoned salt, 1/2 teaspoon paprika, 1/4 teaspoon cayenne pepper, and 1 teaspoon freshly ground black pepper. The combination yields flavor and the breadcrumbs add extra crunch.

Instructions
Prepare the cooling area: Set cooling racks over a baking sheet so excess oil can drip away and air circulates. This prevents sogginess and keeps the crust crisp while you fry additional batches. If you plan to hold finished tenders, preheat the oven to 200°F to keep them warm. Slice and season the chicken: Cut each breast into strips about 3/4 inch thick and 5 inches long for uniform cooking. Pat the strips completely dry with paper towels, then sprinkle lightly with salt and pepper on both sides (use roughly 1/4 to 1/2 teaspoon kosher salt per pound as a guideline). Dry meat breads better and fries to a crisper exterior. Optional dry brine: For juicier results, place seasoned strips uncovered on a tray and refrigerate on the bottom shelf for up to 4 hours. The surface dries slightly and the salt begins to penetrate, improving flavor and helping the coating adhere. Whip the egg whites: Separate 3 egg whites into a small bowl. Beat until fluffy and frothy; this aerated white clings well and creates a thin, lighter layer for the breading to grab onto without becoming gummy. Texture the meat: Place a piece of plastic wrap over the chicken and use the rough side of a meat mallet to lightly pound each strip. You’re not flattening them so much as creating a micro-textured surface for the breading to lock into — this is one chef trick for longer-lasting crunch. Combine breading: Mix the flour, breadcrumbs, seasoned salt, paprika, cayenne, and black pepper in a shallow bowl. Taste the dry mix — it should have a noticeable but not overpowering seasoning level since some salt will coat the exterior. Coat the strips: Dip each strip into the beaten egg whites, allowing the excess to drip off, then press into the breading mix so every nook and cranny is coated. For an extra-thick crust, double-dip: egg white, breading, a quick second dip in egg white, and finish in the breading again. Heat the oil: Add about 48 ounces (6 cups) of canola oil to a heavy Dutch oven, filling no more than halfway. Heat over medium to medium-high until a thermometer reads 350–375°F. Stabilize the temperature at about 360°F for even, golden browning. Fry in batches: Fry the tenders in small batches so the oil temperature doesn't drop drastically — 3 to 4 pieces per batch depending on pot size. Each side takes about 3.5 to 4 minutes to brown. Drain on the cooling racks and transfer to the 200°F oven if holding. Always check internal temperature reaches 165°F before serving.
You Must Know
- This method yields about 20 tenders and each piece is roughly 126 calories when portioned as here — a good estimate for menu planning.
- Store leftovers in an airtight container in the refrigerator for up to 3 days; reheat in a 350°F oven on a rack to restore crispness.
- These freeze well: flash-freeze on a tray, then transfer to a freezer bag for up to 3 months; reheat from frozen in the oven at 375°F until 165°F internal.
- Watch oil temperature — if it falls too low, the coating will absorb oil and become greasy; if too hot, the exterior will burn before the center cooks.
My favorite part is how simple technique transforms basic ingredients into something irresistible. Friends have asked for the "secret" and it’s always the same — attention to dryness, texture, and stable frying temperature. These tenders have shown up at game nights, casual dinners, and even holiday gatherings when I want a familiar, comforting plate.
Storage Tips
After cooling to room temperature, store leftover tenders in a single layer on a wire rack inside an airtight container to keep steam from softening the crust. Refrigerate for up to 3 days. For longer storage, flash-freeze on a baking sheet, then move to a freezer-safe zip bag for up to 3 months. To reheat, place on a rack on a baking sheet and bake at 350°F for 10–15 minutes (from refrigerator) or 20–25 minutes (from frozen), flipping halfway through, until the internal temperature reaches 165°F and the coating crisps back up.
Ingredient Substitutions
If you need gluten-free options, substitute a gluten-free all-purpose flour and gluten-free panko breadcrumbs; expect a slightly different texture. For lower heat, omit the cayenne or reduce paprika. Swap canola oil for peanut oil for a savory, nutty note (avoid if nut allergies are a concern). If you prefer a richer coating, add 1 tablespoon of cornstarch to the flour mix for extra crispness. For dairy-free adherence, this recipe is naturally dairy-free as written.
Serving Suggestions
Serve with a classic honey mustard, spicy buffalo sauce, or a tangy vinegar slaw to cut through the richness. For a meal, pair tenders with seasoned fries, a bright chopped salad, or steamed green beans. Garnish with chopped parsley and lemon wedges for freshness. For kids, offer ketchup or ranch on the side; for adults, a drizzle of warm honey and a sprinkle of flaky sea salt makes a lovely finishing touch.
Cultural Background
Fried chicken is a staple across American culinary history with regional variants — from Southern buttermilk-dipped crispies to crunchy, breaded tenders popularized by fast-casual restaurants. These tenders borrow from classic techniques: salting and drying for juiciness, pounding for texture, and a hot oil bath for crispness. The breadcrumb addition nods to panko-style coatings that produce extra crunch, a technique adapted from Japanese frying traditions but fully embraced in American kitchens for its light, shattering texture.
Seasonal Adaptations
In summer, serve with a bright corn salad and pickled red onions to complement outdoor gatherings. In cooler months, pair tenders with a warm potato mash and roasted root vegetables. Holiday variations include brushing finished tenders with a maple-sesame glaze for Thanksgiving or serving with a cranberry-mustard dipping sauce for a festive touch.
Meal Prep Tips
To streamline weeknight cooking, slice and season the chicken up to 4 hours ahead and refrigerate uncovered for the dry-brine. Set up your breading station and whip the egg whites just before frying. Cook in one go and refrigerate portions in meal-sized containers; reheat in a hot oven to preserve crunch. If freezing for later, label with date and cook-from-frozen in a hot oven for best results.
These tenders are a reminder that small technique changes — dryness, texture, and temperature control — produce a dramatically better result. Make them once and you’ll notice how simple adjustments transform a familiar dish into something special. Enjoy, and don’t be surprised if they become a dinner-night favorite at your house too.
Pro Tips
Pat the chicken completely dry before breading to help the coating adhere and stay crisp.
Monitor oil temperature with a thermometer; keep it between 350°F and 375°F for even browning.
Hold finished tenders on a cooling rack over a baking sheet and keep warm at 200°F to preserve texture.
This nourishing extra crispy fried chicken tenders recipe is sure to be a staple in your kitchen. Enjoy every moist, high protein slice — it is perfect for breakfast or as a wholesome snack any time.
Tags
Extra Crispy Fried Chicken Tenders
This Extra Crispy Fried Chicken Tenders recipe makes perfectly juicy, tender, and flavorful steak every time! Serve with potatoes and a side salad for an unforgettable dinner in under 30 minutes.
Ingredients
Protein
Seasoning
Egg
Frying Oil
Breading
Instructions
Set up cooling area
Place wire cooling racks over a baking sheet to drain excess oil and keep the coating crisp. Preheat oven to 200°F if holding cooked tenders warm.
Slice and dry chicken
Cut breasts into 3/4-inch by 5-inch strips. Pat completely dry with paper towels and season lightly with kosher salt and black pepper on both sides.
Optional dry brine
For best flavor and juiciness, refrigerate seasoned strips uncovered for up to 4 hours to allow salt to penetrate and the surface to dry slightly.
Whip egg whites
Separate 3 whites and beat until frothy; the aerated whites create a light adhesive layer for the breading.
Texture the meat
Cover chicken with plastic wrap and lightly pound with the rough side of a meat mallet to create surface texture for the breading to cling to.
Combine breading
Mix flour, breadcrumbs, seasoned salt, paprika, cayenne, and black pepper in a shallow dish. Taste the dry mix and adjust seasoning if necessary.
Coat the strips
Dip each strip into egg whites, letting excess drip off, then press into the breading until fully coated. For extra thickness, double-dip with a second egg white and breading pass.
Heat oil to 350–375°F
Fill a heavy pot with about 48 fl oz (6 cups) of oil, no more than halfway. Heat to 350–375°F and stabilize around 360°F for frying.
Fry in batches
Fry tenders in small batches for 3.5–4 minutes per side until golden brown. Avoid overcrowding to maintain oil temperature.
Drain and serve
Transfer cooked tenders to the cooling racks. Keep warm in a 200°F oven if needed. Ensure internal temp reaches 165°F before serving.
Last Step: Please leave a rating and comment letting us know how you liked this recipe! This helps our business to thrive and continue providing free, high-quality recipes for you.
Nutrition
Did You Make This?
Leave a comment & rating below or tag
@platemint on social media!
Categories:
You might also like...

Cheesy Baked Ziti Casserole
Saucy, cheesy baked ziti with ricotta and basil tastes like lasagna in half the effort, perfect for weeknights or crowds.

Juicy Cheeseburger Sliders Bake
Quick, crowd-pleasing cheeseburger sliders baked golden with melty cheddar and savory beef. Ready in 30 minutes, great for parties and easy meal prep.

Air Fryer Sweet Potato Fries
Crispy air fryer sweet potato fries with tender centers, fast-food flavor without deep frying. Ready in minutes and irresistibly snackable.
Did You Make This?
Leave a comment & rating below or tag @platemint on social media!
Rate This Recipe
Share This Recipe
Enjoyed this recipe? Share it with friends and family, and don't forget to leave a review!
Comments (1)
This recipe looks amazing! Can't wait to try it.
Comments are stored locally in your browser. Server comments are displayed alongside your local comments.

Hi, I'm Wendie!
What's Popular

30-Minute Meals!
Join to receive our email series which contains a round-up of some of our quick and easy family favorite recipes.