
>>

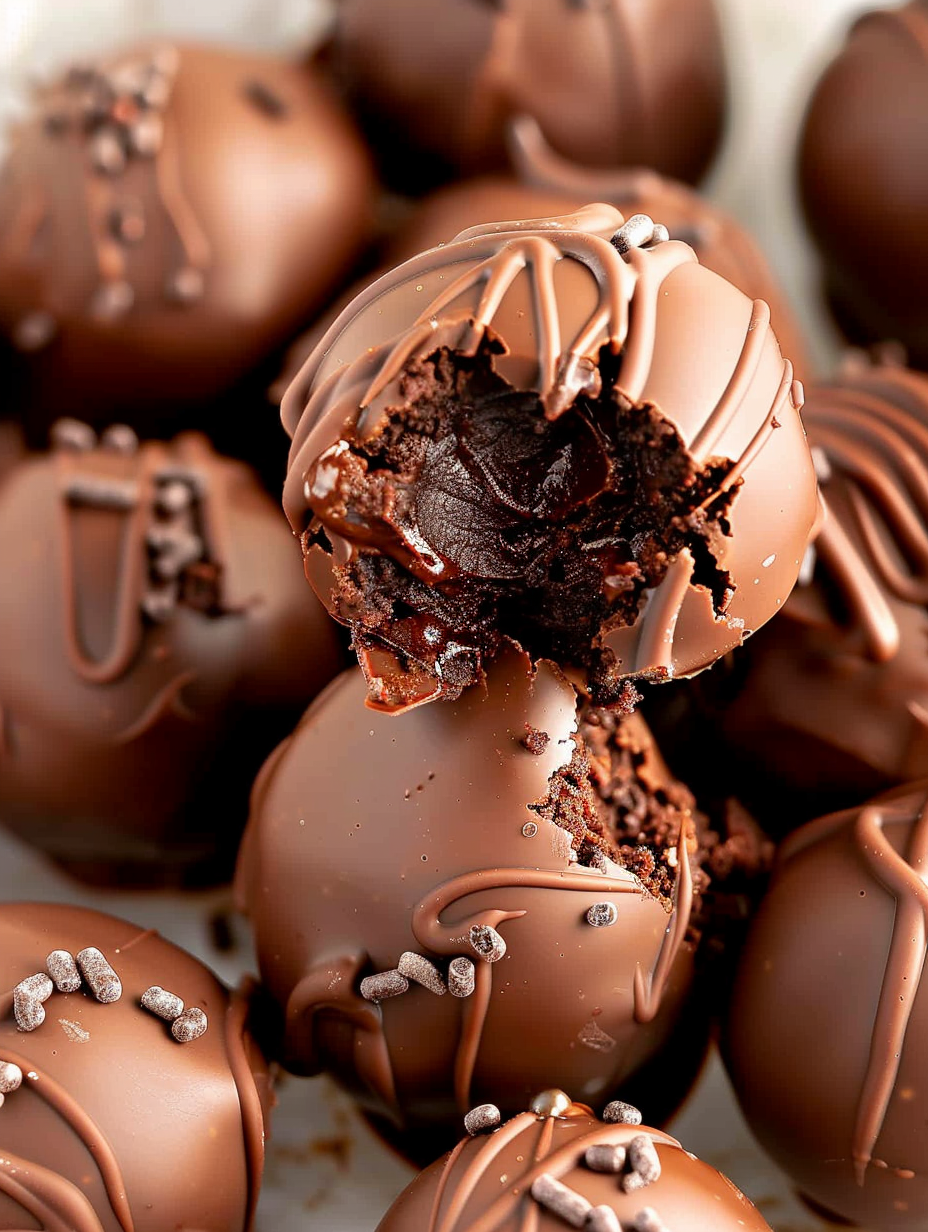
Decadent brownie pieces mixed with chocolate frosting, dipped in melted chocolate and finished with sprinkles. A super easy, crowd-pleasing no-bake treat.
This recipe for brownie balls is one of those kitchen shortcuts that behaves like a small miracle. I first made them on a rushed holiday weekend when I needed a dozen little treats to send with my neighbor. I used a boxed 18 ounce fudge brownie mix and a jar of chocolate frosting, mixed the crumbs together, rolled them into bite sized spheres and dipped them in melted chocolate. What started as a last minute rescue turned into an instant favorite. The texture is a perfect contrast between a dense, fudgy interior and a glossy chocolate shell. They keep well and travel beautifully, which makes them ideal for parties, cookie swaps and easy gifts.
I keep a mental note of which brownie mixes work best. Ghirardelli double chocolate produces a dense, flavorful crumb that holds up during shaping and coating. These bites are forgiving. Use a homemade brownie that is not overly fudgy and not so cakey that it dries out. If you make them with homemade frosting or peanut butter, refrigerate the rolled balls briefly to firm them. I love how flexible this method is. Once you get the feel for the right crumb to frosting ratio, you can adapt flavors, add mix ins or roll them in nuts for texture. The total hands on time is short and the payoff is a tray full of elegant treats that taste like something you spent hours on.
My family calls these my little troublemakers because they disappear faster than I can stack them on a plate. Once I brought them to a potluck and someone asked for the recipe, then asked if I had more to send home. They are approachable for busy cooks and impressive to guests. I always feel proud handing over a box of these as a casual gift.

My favorite detail about these is how predictable they are. Once you learn the crumb to binder ratio, you can fold in crushed cookies, nuts or dried fruit and still end up with consistent shapes. These bites have saved me for teacher gifts, last minute potluck contributions and casual dessert trays.
Store finished pieces in a single layer in an airtight container to maintain the glossy coating. If stacking is necessary, separate layers with parchment paper. At room temperature they remain pleasant for five days. Refrigerate for up to two weeks, but allow them to come to room temperature for a few minutes before eating to return the interior to a soft texture. For long term storage, freeze on a baking sheet until firm, then transfer to a freezer bag. Thaw in the refrigerator or at room temperature to prevent condensation on the coating.
If you do not have melting wafers, use semisweet or milk chocolate chips with 3 teaspoons of coconut oil added during melting to improve shine and fluidity. Swap chocolate frosting for peanut butter for a nutty variation; add an extra 10 minutes of chilling before shaping. For a gluten free option use a gluten free boxed mix and verify the frosting and wafers are certified gluten free. To make these nut free, avoid adding crushed nuts and use a seed butter in place of peanut butter if needed.
Serve these at room temperature on a decorative tray with a scattering of extra sprinkles for a casual celebration. Pair with espresso or a small scoop of vanilla ice cream for an elevated dessert plate. For a holiday platter, alternate sprinkles and crushed peppermint on half the pieces. They also work well as bite sized accompaniments to a cheese board where a little sweetness balances savory bites.
These are a modern American adaptaton of classic truffle style confections, relying on baked goods crumbs as the base binder. Using cake or brownie crumbs combined with frosting to create small, coated confections has roots in mid 20th century household baking where resourceful cooks turned leftover cake into elegant sweets. This method keeps the deep chocolate flavor of traditional brownies while presenting them in a neat, hand held format.
Change the garnish and coating to match the season. In spring use pastel sprinkles; in autumn fold in a pinch of cinnamon and top with chopped toasted pecans. For winter celebrations, add a teaspoon of peppermint extract to the melted chocolate and sprinkle with crushed candy cane. Summer versions can be dipped in white chocolate and topped with freeze dried strawberry bits for a bright contrast.
Readers frequently tell me these are their go to for last minute gatherings. One friend made a batch for her child’s school bake sale and raised more than expected because the bites were sold in tidy snack bags. Another time I swapped half the frosting for marshmallow fluff and the result was so nostalgic that my siblings kept asking for more. Those small memories are why I keep this method in my repertoire.
To prep ahead, bake the brownies and crumble them into an airtight container for up to two days. Mix with frosting and form balls the evening before serving, then refrigerate on a tray. On the day of serving, melt the coating and dip. This spreads the work across two sessions and leaves you free to focus on presentation. Use a medium cookie scoop for consistent sizing and quicker shaping.
These brownie balls are proof that simplicity can deliver elegance. Whether you are making them for a crowd or a quiet weekend treat, they hit the spot every time. Give them your personal twist and enjoy handing out little circles of chocolate comfort.
If the mixture feels too sticky to shape, chill it for 20 to 30 minutes to firm up before rolling.
Add 3 teaspoons of coconut oil to chocolate chips when melting to achieve a glossy coating similar to melting wafers.
Use a medium cookie scoop for uniform balls and faster shaping.
Store in a single layer or separate layers with parchment to protect the chocolate shell.
This nourishing easy brownie balls recipe is sure to be a staple in your kitchen. Enjoy every moist, high protein slice — it is perfect for breakfast or as a wholesome snack any time.
This Easy Brownie Balls recipe makes perfectly juicy, tender, and flavorful steak every time! Serve with potatoes and a side salad for an unforgettable dinner in under 30 minutes.
Prepare the 18 ounce boxed mix according to package directions in an 8 x 8 inch pan. Allow to cool completely at room temperature. Baking the day before is recommended for easiest shaping.
Break brownies into large chunks and place in a large bowl or stand mixer. Mix until evenly crumbled and there are no large pieces remaining.
Add 1 cup chocolate frosting to the crumbled brownies and stir until the mixture holds together when squeezed. Chill 20 to 30 minutes if too sticky.
Line a baking sheet with parchment. Use a medium cookie scoop to portion and roll the mixture into 1 inch balls. Arrange on the prepared sheet.
Melt 3 cups chocolate melting wafers in a wide mouth microwave safe bowl at 30 second intervals, stirring between each, until smooth. If using chocolate chips add 3 teaspoons coconut oil.
Drop each ball into melted chocolate, spoon to coat, lift with a fork and tap off excess. Place back on parchment and add sprinkles before setting. Let set at room temperature about 30 minutes.
Last Step: Please leave a rating and comment letting us know how you liked this recipe! This helps our business to thrive and continue providing free, high-quality recipes for you.
Leave a comment & rating below or tag
@platemint on social media!

Saucy, cheesy baked ziti with ricotta and basil tastes like lasagna in half the effort, perfect for weeknights or crowds.

Quick, crowd-pleasing cheeseburger sliders baked golden with melty cheddar and savory beef. Ready in 30 minutes, great for parties and easy meal prep.

Crispy air fryer sweet potato fries with tender centers, fast-food flavor without deep frying. Ready in minutes and irresistibly snackable.
Leave a comment & rating below or tag @platemint on social media!
Enjoyed this recipe? Share it with friends and family, and don't forget to leave a review!
This recipe looks amazing! Can't wait to try it.
Comments are stored locally in your browser. Server comments are displayed alongside your local comments.

Join to receive our email series which contains a round-up of some of our quick and easy family favorite recipes.
