
Easy Apple Danishes

Flaky, warm apple danishes made with store-bought crescent rolls, apple pie filling, and a simple vanilla glaze — an effortless weekend treat.
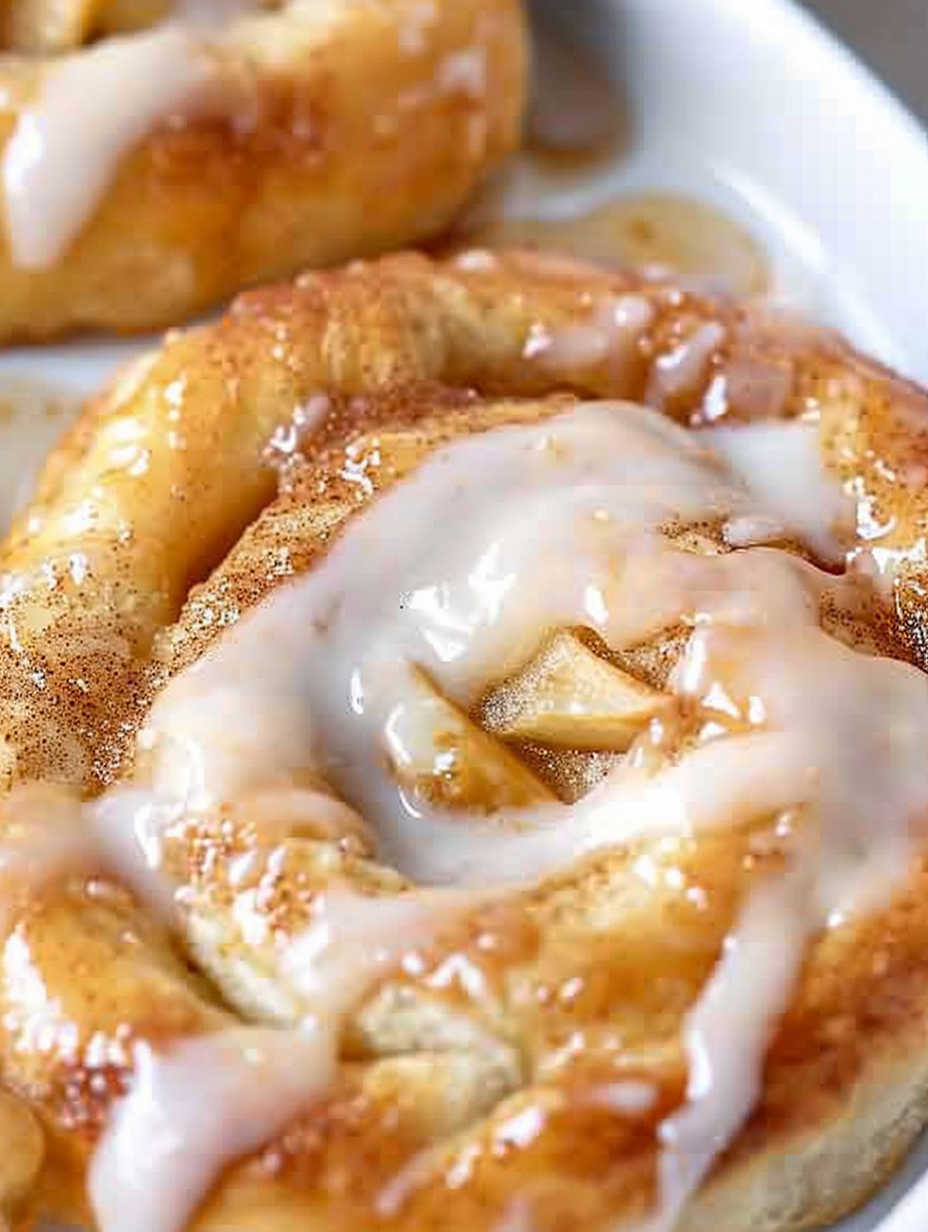
This recipe for Easy Apple Danishes has been my quick-satisfy solution for mornings when I want a bakery-worthy treat without the fuss. I first discovered this shortcut on a rainy Saturday when I had a can of apple pie filling and two tubes of crescent dough in the fridge; the result was so close to something a coffee shop would sell that my family immediately asked for it the next weekend. The danishes are lightly sweet, with tender, buttery layers from the crescent dough, soft cinnamon-tinged apples, and a glossy vanilla glaze that ties everything together. They’re perfect for an impromptu brunch or for bringing to a neighbor’s morning gathering.
What makes this preparation special is how it balances ease with texture. The crescents puff and separate into delicate layers while baking, giving a flaky bite without any laminating or chill time. The apple pie filling provides soft, spiced chunks without any chopping or caramelizing required, and the quick cinnamon-sugar and melted butter step adds a caramelized edge once baked. I remember pulling the tray from the oven the first time and watching everyone gravitate toward the kitchen — the aroma alone makes a quiet morning feel festive.
Why You'll Love This Recipe
- Ready in under 30 minutes from start to finish: 10 minutes active prep and about 18 minutes baking — ideal for last-minute brunch plans.
- Uses pantry and fridge staples — two tubes of crescent rolls and a can of apple pie filling make assembly fast and predictable.
- Minimal equipment required: a baking sheet, pastry brush, and a mixing bowl are all you need, so cleanup is simple.
- Kid-friendly and crowd-pleasing: sweet, cinnamon-forward filling with a gentle vanilla icing that even picky eaters enjoy.
- Flexible and forgiving: swap the filling, use different toppings, or make ahead the filling for even quicker mornings.
- Great for gifting or potlucks — they travel well warm or at room temperature and present beautifully in a lined box.
In my house these danishes became a weekend ritual. I like to make a double batch when friends are coming over; they warm up beautifully and the glaze can be prepped ahead. One memorable brunch I made them for a snowed-in morning — we ate them with strong coffee while watching the snow fall, and a neighbor borrowed the recipe the next week. They’re reliably comforting and rarely last past the afternoon.
Ingredients
- Crescent dough: Two 8-ounce tubes of store-bought crescent roll dough (Pillsbury or similar). Look for the refrigerated crescent roll sheet with perforations you can seal — it gives the best flaky lift and consistent browning.
- Apple pie filling: One 20-ounce can of apple pie filling. Choose a brand with slightly firm apple slices rather than a compote-style filling for better texture once baked.
- Butter: 2 tablespoons salted butter, melted. Salted adds depth; use unsalted if you prefer and add a pinch of salt to the cinnamon-sugar.
- Cinnamon sugar: About 3 tablespoons total — I use 2 tablespoons granulated sugar plus 1 teaspoon ground cinnamon mixed together for sprinkling and topping.
- Glaze: 1/2 cup powdered sugar, 1 teaspoon vanilla extract, and 3 to 4 teaspoons milk. The glaze should be thick but pourable so it drizzles in ribbons.
Instructions
Preheat and prep: Preheat the oven to 350 degrees F. Line a baking sheet with parchment paper or lightly grease it with nonstick spray. Working quickly keeps the dough cool, which helps with flakiness. Form the rectangles: Open both crescent roll tubes and unroll the dough, sealing the perforations so you have four larger rectangles from each tube (two triangles make one rectangle). Aim for eight rectangles total. Sealing the seams prevents the filling from leaking and helps layers hold together while baking. Butter and cinnamon-sugar: Brush each rectangle with the melted butter using a pastry brush or the back of a spoon. Sprinkle the prepared cinnamon-sugar evenly over each piece — press lightly so it adheres. This step caramelizes in the oven and creates a golden edge. Roll and coil: Roll each rectangle up from the long side, pinching the edges to seal the rolls. Hold one end and loosely coil each roll into a spiral, tucking the end underneath. Spread out the center of each coil gently to create a well for the filling. Prepare the apple filling: Open the can of apple pie filling. Using a knife, cut larger slices into smaller, bite-sized chunks so each danish gets a few pieces rather than one big slice. Spoon about 2 to 3 tablespoons of filling into the center of each coil, leaving the outer layers exposed so they brown. Top and bake: Sprinkle a bit more cinnamon-sugar over each filled danish. Place them on the prepared baking sheet, leaving 1 to 2 inches between each so air circulates. Bake at 350 degrees F for 15 to 18 minutes, until puffed and golden brown. The edges should be deep golden and the centers set. Make the glaze: While the pastries bake, whisk together 1/2 cup powdered sugar, 1 teaspoon vanilla extract, and 3 to 4 teaspoons milk in a small bowl. Adjust milk to reach a thick but pourable consistency. For a thinner glaze, add more milk one teaspoon at a time. Finish and serve: Allow danishes to cool for 5 minutes on the sheet so the filling sets slightly, then drizzle with the glaze. Serve warm for the best texture; they retain a pleasant flakiness even as they cool.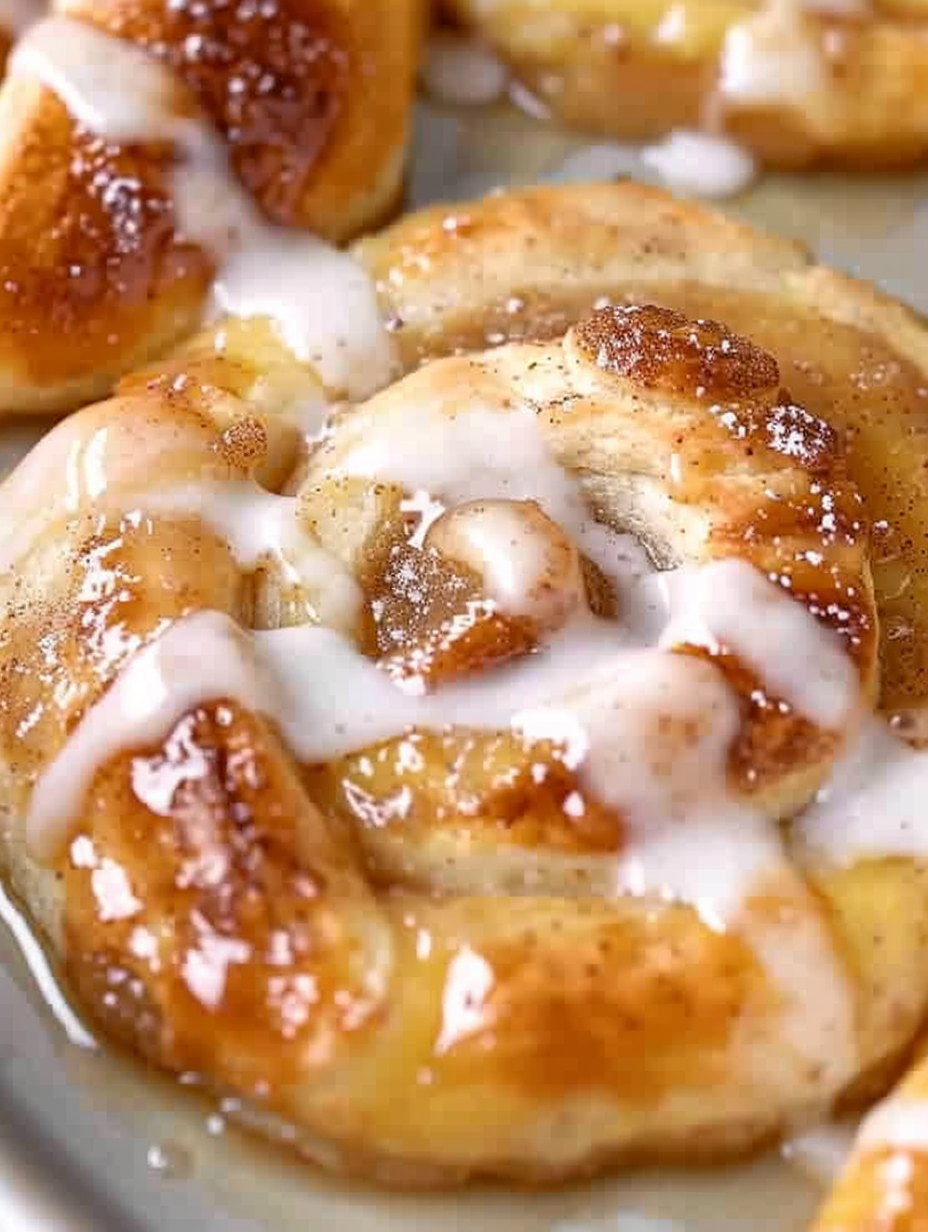
You Must Know
- These pastries are not freezer-friendly once glazed; bake and freeze unfilled or prepped coils if you need make-ahead options.
- Store at room temperature for up to 24 hours in an airtight container, or refrigerate for up to 3 days; reheat gently for best texture.
- Each serving is approximately 175 calories — moderate treat portion for a special breakfast or dessert.
- Contains common allergens: wheat and dairy. Use gluten-free dough and dairy alternatives to accommodate dietary needs.
My favorite part is how quickly the house fills with the scent of baked apples and butter. On a chilly morning, I’ve brought them to book club and watched people reach past their coffee to take one. They highlight small celebrations and weekday breakfasts alike — simple things that make ordinary days feel a little more indulgent. The method is forgiving: if a coil opens slightly while baking, it still tastes wonderful; the cinnamon-sugar edges crisp up and the glaze hides imperfections.
Storage Tips
To keep these pastries at their best, store them at room temperature in an airtight container for up to 24 hours. If you want to extend shelf life, refrigerate for up to 3 days; bring them to room temperature or reheat in a 300-degree F oven for 5 to 7 minutes to restore flakiness. For longer storage, assemble and freeze the unbaked coils on a lined sheet until firm, then transfer to a freezer bag for up to 2 months. When ready, bake from frozen adding an extra 4 to 6 minutes. Avoid freezing after glazing since the icing becomes tacky once thawed.
Ingredient Substitutions
Swap the canned apple filling for fresh apples tossed in 2 tablespoons sugar and 1 teaspoon ground cinnamon, sautéed briefly until just tender — this gives a fresher, less syrupy texture. Use light butter or a plant-based spread to make them dairy-free; replace milk in the glaze with almond or oat milk. For a gluten-free option, look for refrigerated gluten-free crescent-style dough sheets; baking times may vary slightly. Try pear filling or apricot preserves for a different fruit profile and reduce any added sugar in the glaze to balance sweetness.
Serving Suggestions
Serve warm with a dusting of extra cinnamon or a sprig of fresh mint for contrast. They pair beautifully with freshly brewed coffee, chai tea, or a lightly sweetened latte. For a brunch spread, place them alongside scrambled eggs and smoked salmon to balance sweet and savory flavors. For an afternoon treat, pair with a scoop of vanilla ice cream or a dollop of crème fraîche. Present on a wooden board lined with parchment paper for casual gatherings or place individually in paper cupcake liners for gifting.

Cultural Background
While danishes trace their origins to European pastry traditions, this simple approach leans heavily into American convenience baking — using refrigerated dough to recreate layers without laminating. The combination of crescent dough and fruit filling is reminiscent of the recognizable hybrid pastries in many home kitchens, where practical shortcuts create familiar flavors. Apples are ubiquitous in American baking culture, particularly in autumn, which is why these danishes feel seasonally appropriate and nostalgically comforting despite their simplified technique.
Seasonal Adaptations
In autumn, boost spice by adding 1/4 teaspoon nutmeg and a pinch of clove to the cinnamon-sugar. During winter holidays, fold in finely chopped toasted pecans or a tablespoon of bourbon into the filling for warmth. In spring and summer, switch to lighter fruit fillings — strawberry-rhubarb or peach preserves — and pair with a lemon-scented glaze to brighten flavors. Small seasonal tweaks keep the base method fresh and allow you to match the pastries to holiday menus or garden-fresh fruit.
Meal Prep Tips
Prep the cinnamon-sugar and glaze the night before: store them in separate airtight containers so you can assemble and bake quickly in the morning. You can also coil and place unbaked danishes on a parchment-lined sheet, cover, and refrigerate overnight; bake directly from chilled, adding a few extra minutes to the bake time. If transporting, layer between sheets of parchment in a box and keep in a cool place to avoid smudging the glaze. For office drop-offs, use insulated carriers to keep them warm for up to an hour.
These apple danishes are a small ritual of comfort — quick enough for weekday plans, impressive enough for guests. Make them your own by varying the fruit, spices, or glaze, and enjoy the way a simple pastry can brighten a morning. — Brandie Skibinski
Pro Tips
Seal the crescent perforations completely so the filling doesn't leak and layers separate while baking.
Cut larger apple slices into chunks so each danish gets several pieces and the filling distributes evenly.
Brush melted butter evenly and press cinnamon-sugar lightly so it caramelizes and creates golden edges.
This nourishing easy apple danishes recipe is sure to be a staple in your kitchen. Enjoy every moist, high protein slice — it is perfect for breakfast or as a wholesome snack any time.
FAQs about Recipes
Can I freeze these before baking?
Yes. You can freeze unbaked coils on a sheet until firm, then transfer to a bag for up to 2 months. Bake from frozen adding 4–6 minutes.
How do I reheat leftovers?
Reheat in a 300°F oven for 5–7 minutes to restore flakiness without drying them out. Avoid microwaving for best texture.
Tags
Easy Apple Danishes
This Easy Apple Danishes recipe makes perfectly juicy, tender, and flavorful steak every time! Serve with potatoes and a side salad for an unforgettable dinner in under 30 minutes.
Ingredients
Dough
Filling & Topping
Glaze
Instructions
Preheat and prepare baking sheet
Preheat oven to 350°F. Line a baking sheet with parchment paper or lightly grease. Keep dough chilled until ready to shape.
Form rectangles and seal
Unroll crescent dough and seal perforations so two triangles become one rectangle, making eight rectangles from two tubes.
Butter and sugar
Brush each rectangle with melted butter, sprinkle cinnamon-sugar evenly and press lightly to adhere for caramelization.
Roll and coil
Roll rectangles up from the long side, pinch edges to seal, then loosely coil each roll, spreading the center to create a well for filling.
Add filling and bake
Chop apple slices from the can if large, spoon 2–3 tablespoons into each coil, sprinkle a little extra cinnamon-sugar, and bake at 350°F for 15–18 minutes until golden.
Make glaze and finish
Whisk powdered sugar, vanilla, and 3–4 teaspoons milk until smooth. Drizzle over danishes after 4–5 minutes of cooling and serve warm.
Last Step: Please leave a rating and comment letting us know how you liked this recipe! This helps our business to thrive and continue providing free, high-quality recipes for you.
Nutrition
Did You Make This?
Leave a comment & rating below or tag
@platemint on social media!
Categories:
You might also like...
Cheesy Baked Ziti Casserole
Saucy, cheesy baked ziti with ricotta and basil tastes like lasagna in half the effort, perfect for weeknights or crowds.

Juicy Cheeseburger Sliders Bake
Quick, crowd-pleasing cheeseburger sliders baked golden with melty cheddar and savory beef. Ready in 30 minutes, great for parties and easy meal prep.
Air Fryer Sweet Potato Fries
Crispy air fryer sweet potato fries with tender centers, fast-food flavor without deep frying. Ready in minutes and irresistibly snackable.
Did You Make This?
Leave a comment & rating below or tag @platemint on social media!
Rate This Recipe
Share This Recipe
Enjoyed this recipe? Share it with friends and family, and don't forget to leave a review!
Comments (1)
This recipe looks amazing! Can't wait to try it.
Comments are stored locally in your browser. Server comments are displayed alongside your local comments.

Hi, I'm Wendie!
What's Popular
30-Minute Meals!
Join to receive our email series which contains a round-up of some of our quick and easy family favorite recipes.