
>>

Ridiculously easy crispy chicken tacos that combine the best of tacos, taquitos, and nachos—shredded seasoned chicken and scandalous amounts of melted cheese baked in corn tortillas until golden and crunchy.
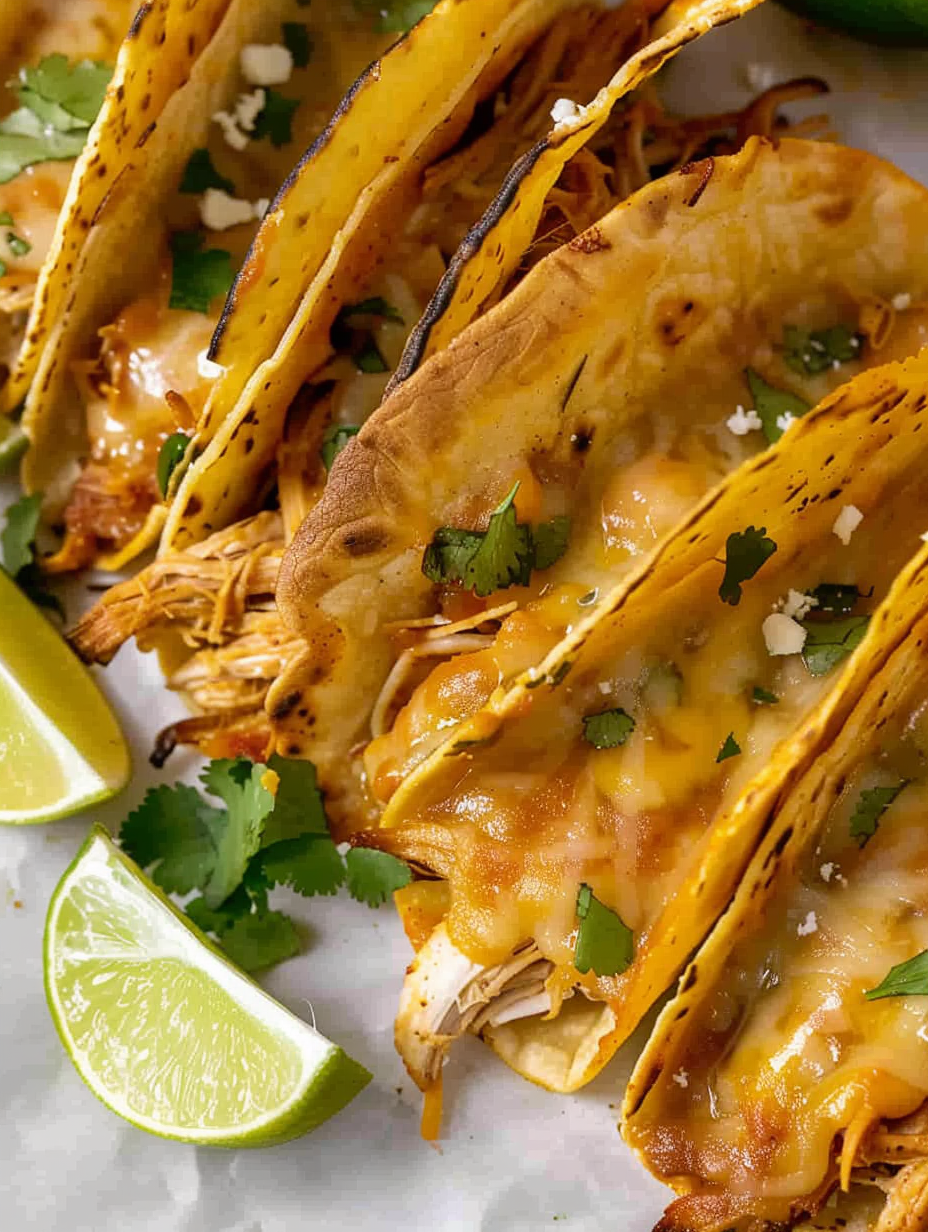
When I first served these to friends, they asked for the recipe immediately and then asked whether I’d considered selling them at our next potluck. The beauty is in how simply the flavors come together—seasoned shredded chicken provides depth, Monterey Jack brings creaminess, and a flash in a hot oven finishes everything with addictive crispness.
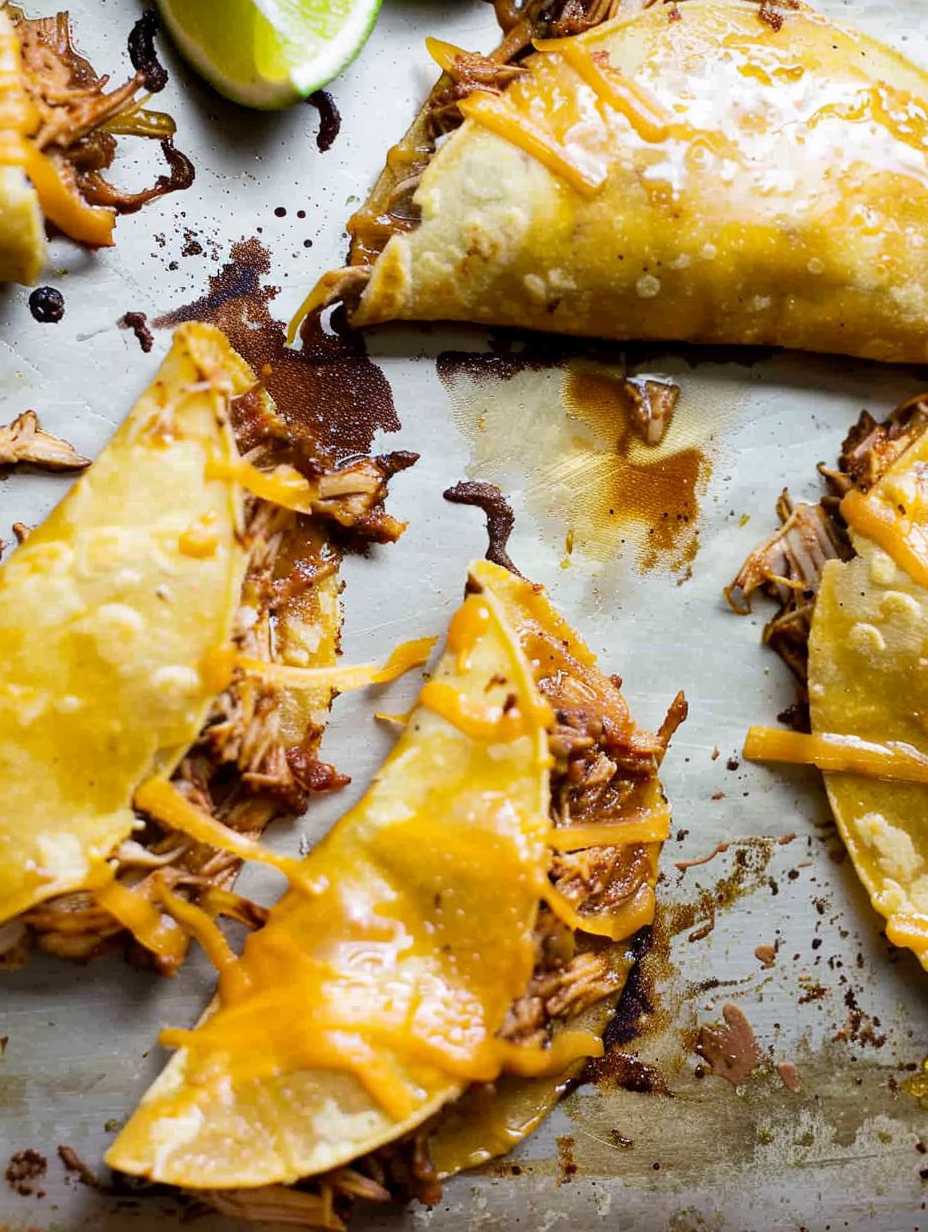
My favorite part of this dish is the way the edges caramelize—those crunchy shards of cheese are irresistible. I often prepare a big batch for game nights; everyone loves dunking, layering and customizing with their favorite toppings. The recipe’s ease and versatility make it a dependable crowd-pleaser.
Cool tacos completely before storing to avoid condensation that softens the crisp. For short-term storage, use an airtight container layered with paper towels to absorb moisture and refrigerate up to 3 days. For longer storage, freeze individual tacos on a tray until solid, then transfer to a zipper bag for up to 3 months. Reheat frozen or refrigerated tacos in a 375°F oven for 8–12 minutes; avoid the microwave if you want to retain crispness—an air fryer set to 350°F for 4–6 minutes also works well.
If you don’t have Monterey Jack, cheddar or Oaxaca cheese are great alternatives—cheddar yields sharper flavor, Oaxaca gives similar meltability. For a lower-fat option, use part-skim cheese and reduce oil by brushing lightly. Swap corn tortillas for small flour tortillas if you prefer, though the texture will differ slightly. If you don’t have shredded chicken, use cooked diced chicken breast, pulled pork, or seasoned black beans for a vegetarian twist. Adjust seasoning ratios to taste—more lime or a dash of hot sauce brightens the filling.
Serve with bright, cooling sides: shredded lettuce, sliced avocado, pico de gallo or salsa verde. A dollop of sour cream or crema and a sprinkle of chopped cilantro adds freshness. Pair with a crunchy slaw or a simple cabbage salad dressed with lime and a touch of honey to cut richness. For a party, set up a toppings bar so guests can pile on jalapeños, pickled red onion, radishes and hot sauces—this dish is a natural build-your-own experience.
These tacos riff on classic Mexican street flavors—corn tortillas, seasoned chicken, and melting cheese—while borrowing the baking technique that yields taquito-like crispness. The idea of baking folded tortillas until crunchy mirrors how Mexican home cooks transform leftovers into new, celebratory dishes. The combination of smoky seasoning, citrus, and fresh herbs nods to regional approaches across Mexico and the American Southwest, where adaptation and convenience meet bold flavor.
In summer, add fresh corn kernels and diced heirloom tomatoes to the filling for brightness. In colder months, incorporate roasted poblano peppers or caramelized onions for deeper savory notes. For holiday gatherings, swap regular cheese for a smoked variety, or dress tacos with cranberry-jalapeño salsa for a festive twist. Little changes in toppings let you tailor this to any season without altering the core crisp-and-melt technique.
Prepare the filling up to two days ahead—shred the chicken and toss with seasoning, store in the fridge. Warm tortillas just before assembly to keep them pliable, or assemble and hold in the fridge for up to 24 hours before baking. For single-serve meal prep, bake, cool and freeze individual tacos; reheat in an oven or air fryer. Pack toppings separately to keep textures fresh, and include a small lime wedge for finishing.
These tacos are an invitation to get creative. They’re practical, satisfying, and reliably adored by guests. Make them your own with toppings and spice levels that suit your table, and you’ll find they become a repeat, beloved meal.
Warm the tortillas before filling to prevent cracking and to help them seal when folded.
Brush or lightly oil each tortilla; the oil encourages even browning and crisp texture.
Flip halfway through baking so both sides develop deep golden color and the cheese crisps perfectly.
Let tacos rest 3 minutes after baking to finish crisping and make them easier to handle.
This nourishing crispy chicken tacos recipe is sure to be a staple in your kitchen. Enjoy every moist, high protein slice — it is perfect for breakfast or as a wholesome snack any time.
Yes. Fully baked tacos can be frozen for up to 3 months; thaw overnight in the refrigerator and reheat in a 375°F oven for 8–12 minutes to restore crispness.
Use a microwave-safe damp paper towel and warm tortillas for 30–60 seconds until pliable; this prevents cracking when folding.
This Crispy Chicken Tacos recipe makes perfectly juicy, tender, and flavorful steak every time! Serve with potatoes and a side salad for an unforgettable dinner in under 30 minutes.
Preheat oven to 450°F. Toss shredded chicken with chicken taco seasoning until evenly coated. Taste and adjust seasoning—add a tablespoon of lime juice if chicken seems dry.
Wrap tortillas in a damp paper towel and microwave on HIGH for 30–60 seconds until pliable; keep them warm to prevent cracking during assembly.
Spritz two half-sheet pans with nonstick spray. Brush tortillas on both sides with olive oil, stacking and brushing as you go so all are lightly coated.
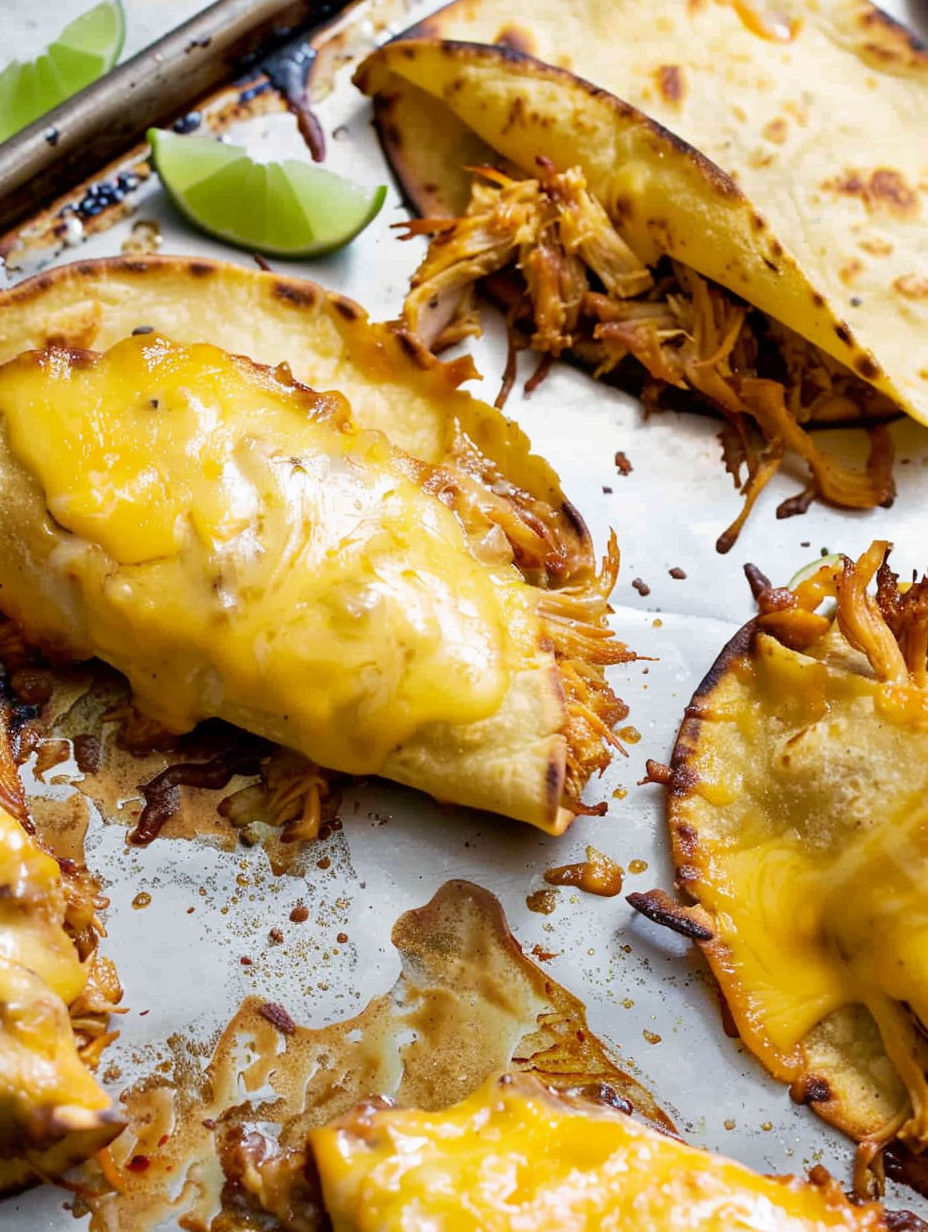
Place a tortilla on the pan, scatter ~2 tablespoons cheese on half, add 1/4 cup seasoned chicken, top with more cheese, press gently, fold and flip so the filling weights the taco closed; space tacos for air circulation.
Bake 8–10 minutes, flip carefully with a spatula, then bake another 8–10 minutes until tortillas are crispy and escaped cheese is deep golden and crunchy.
Allow tacos to rest 3 minutes to finish crisping. Squeeze lime over them and serve with desired toppings immediately.
Last Step: Please leave a rating and comment letting us know how you liked this recipe! This helps our business to thrive and continue providing free, high-quality recipes for you.
Leave a comment & rating below or tag
@platemint on social media!

Saucy, cheesy baked ziti with ricotta and basil tastes like lasagna in half the effort, perfect for weeknights or crowds.

Quick, crowd-pleasing cheeseburger sliders baked golden with melty cheddar and savory beef. Ready in 30 minutes, great for parties and easy meal prep.

Crispy air fryer sweet potato fries with tender centers, fast-food flavor without deep frying. Ready in minutes and irresistibly snackable.
Leave a comment & rating below or tag @platemint on social media!
Enjoyed this recipe? Share it with friends and family, and don't forget to leave a review!
This recipe looks amazing! Can't wait to try it.
Comments are stored locally in your browser. Server comments are displayed alongside your local comments.

Join to receive our email series which contains a round-up of some of our quick and easy family favorite recipes.
