
>>

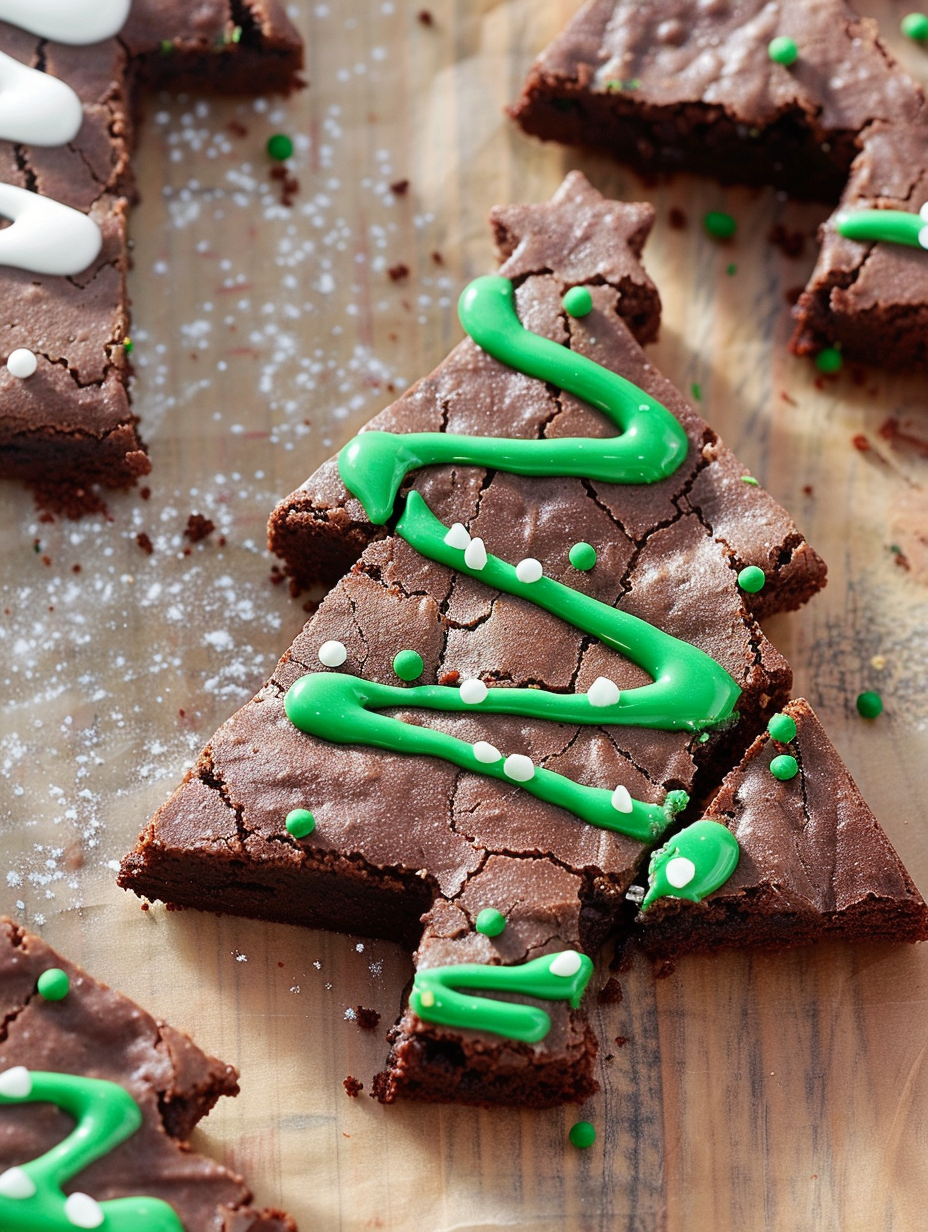
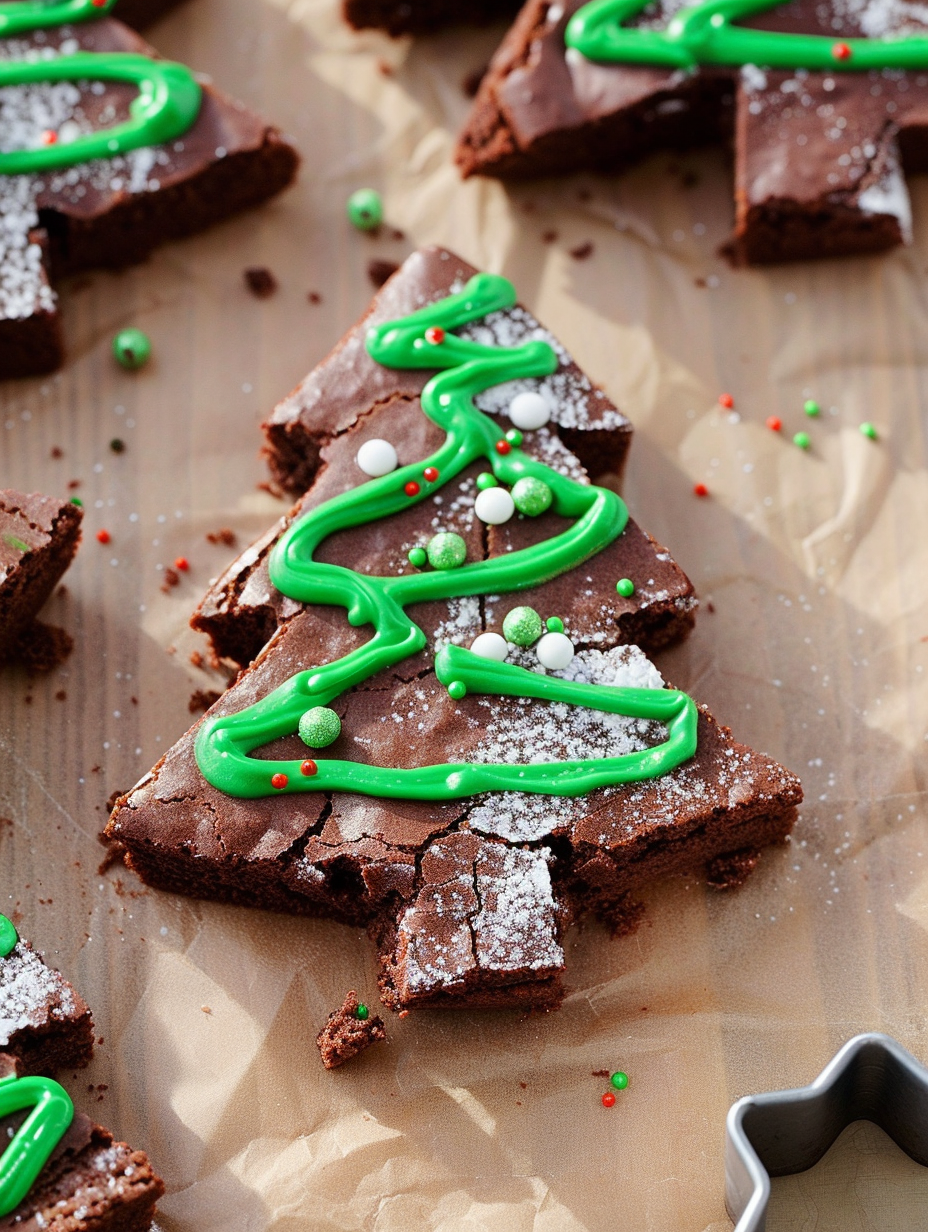
Fudgy brownies cut into festive Christmas tree shapes and decorated with simple piped icing — a joyful, kid-friendly holiday activity.
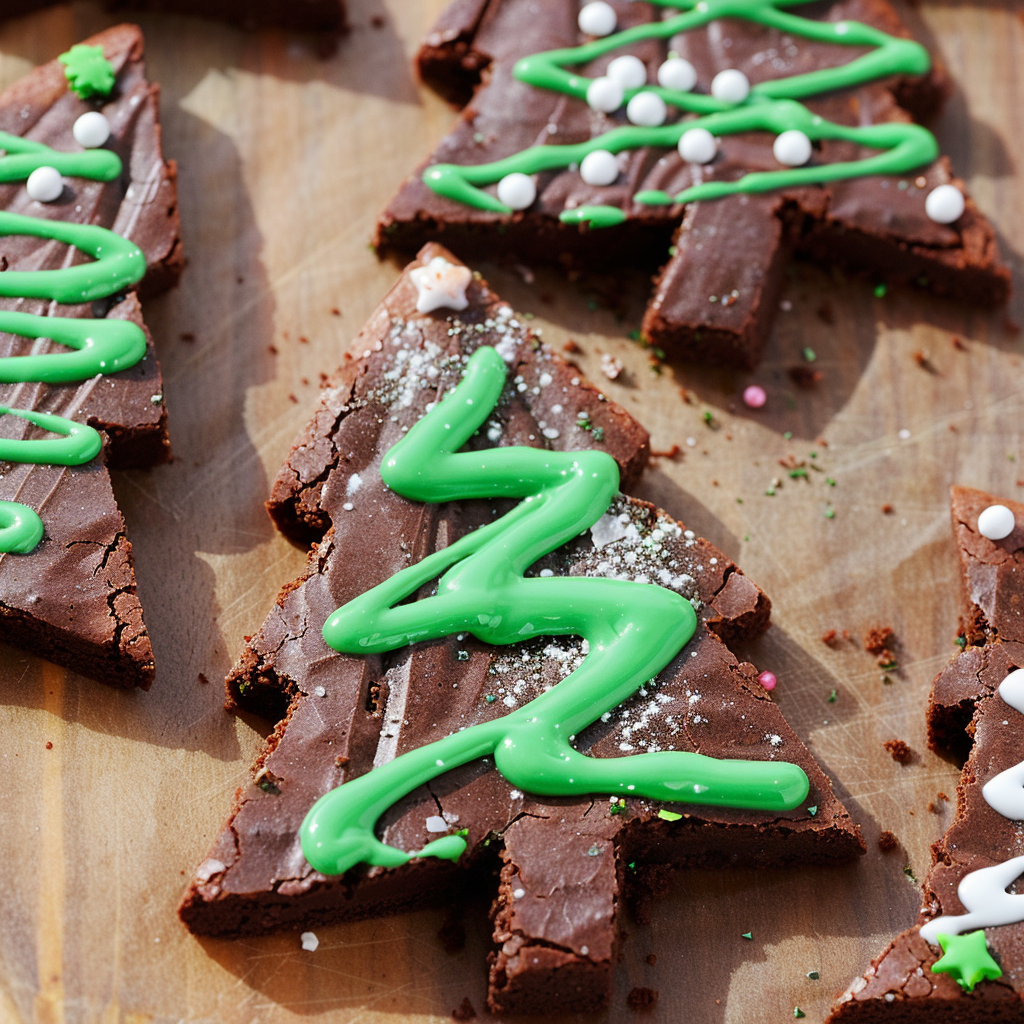
This holiday treat has become a seasonal tradition in our house: Christmas Tree Brownies that are as much fun to decorate as they are irresistible to eat. I first made these on a sleepy December afternoon when the kids wanted to bake and I wanted something quick, chocolaty, and festive. What started as a way to use a basic brownie batter soon turned into a ritual — we bake, chill, cut, and then everyone gets a turn piping garlands and choosing sprinkles. The brownie base stays fudgy and brownie-rich while the iced decorations add a playful crunch and sweetness that kids (and adults) adore.
These are particularly special because they combine a straightforward, dependable batter with an easy decorating method that’s perfect for little hands. The batter is forgiving — you won’t ruin it if you over-mix a touch — and the icing is nothing more than powdered sugar thinned with a splash of milk, split into green and white for piping. What makes this recipe memorable is not just the final result, but the time spent decorating together, the laughter when a tiny hand snags an extra sprinkle, and the proud smiles when everyone’s tray of trees looks unique. Serve them warm with a glass of milk or boxed up as neighborly gifts.
Every year my kids ask for the same playlist and the same apron for decorating day. We discovered a trick of cutting trees from the edges in tight rows to maximize the yield — it’s become a running joke that every square of leftover brownie must be turned into a tiny ‘ornament’ bite. Neighbors and family request these because they’re festive, portable, and always disappear first at holiday gatherings.
My favorite part is watching the kids get meticulous about which sprinkles they place where — it’s oddly calming. We learned early to add sprinkles immediately after piping so they stick, and to test the piping hole size on a plate first for consistent lines. These small rituals make the process as memorable as the finished treats.
For the freshest texture, keep undecorated trees in a single layer in an airtight container at room temperature for up to 48 hours. If you need longer storage, freeze undecorated pieces in a single layer on a baking sheet, then transfer to a freezer bag with parchment between pieces — they'll keep for up to three months. Thaw at room temperature before decorating. If already iced, refrigeration helps keep the icing intact for up to five days; bring to room temperature before serving for the best flavor.
Swap melted butter with an equal amount of neutral oil (vegetable or canola) for slightly softer edges and a dairy-free option, though flavor will be less buttery. For a gluten-free version, use a 1:1 gluten-free flour blend and ensure cocoa and other ingredients are certified gluten-free. Replace eggs with a commercial egg replacer or 3/4 cup unsweetened applesauce combined with 1 tablespoon vinegar for each egg (note: texture shifts toward cakier). Use dairy-free margarine and a plant-based milk for the icing to make the decorations dairy-free.
Present the trees on a platter lined with parchment and garnish with small candy canes or edible glitter for parties. Pair with hot cocoa, mulled cider, or whipped cream for an indulgent plate. For an after-dinner platter, alternate sizes and add a few salted caramel squares to balance the sweetness. They also travel well in bakery boxes for gifting.
Decorating baked goods is a holiday tradition across many cultures. Shaped sweet breads and cut cookies were historically used to celebrate seasonal festivals; this brownie adaptation modernizes that idea by pairing a classic American chocolate treat with festive shapes. The tree motif nods to evergreen symbols of winter solstice festivities and has become a universal emblem of holiday cheer in contemporary baking.
In winter, add a pinch of ground cinnamon or espresso powder to the batter for warmth and depth. For spring or other holidays, change the cutters and icing colors — pastel or floral sprinkles for Easter, orange and black for Halloween. Swap cocoa for white chocolate chips and tint the icing accordingly for a snowy, elegant look at winter parties.
Make the brownie slab a day ahead and chill it overnight for easier cutting. Prepare the icings in small containers and keep them covered in the refrigerator; they’ll stay pipeable for a day. If preparing for a cookie exchange, freeze undecorated trees and transfer to the exchange frozen — they’ll thaw and keep structure while being transported.
These Christmas Tree Brownies are about community as much as they are about flavor. The best part is seeing everyone’s unique decorations — no two trees look the same, and that’s the point. Make a double batch for larger gatherings and let everyone decorate a few to take home.
Chill the brownie slab for 30–60 minutes before cutting to get clean edges and more precise shapes.
Test the piping hole on a plate before decorating to control icing flow and avoid oversized holes.
Add sprinkles immediately after piping so they adhere to the wet icing, preventing them from falling off.
Start cutters at the edges and place them close together to maximize the number of trees from a single slab.
This nourishing christmas tree brownies recipe is sure to be a staple in your kitchen. Enjoy every moist, high protein slice — it is perfect for breakfast or as a wholesome snack any time.
Yes. Bake the slab, cool, then freeze undecorated trees on a baking sheet. Once solid, transfer to a freezer bag for up to 3 months. Thaw before decorating.
Chill the baked slab for 30–60 minutes before cutting to ensure cleaner shapes and less crumbling.
This Christmas Tree Brownies recipe makes perfectly juicy, tender, and flavorful steak every time! Serve with potatoes and a side salad for an unforgettable dinner in under 30 minutes.
Preheat oven to 325°F. Grease a 9×13-inch dish and line with parchment paper so you can lift the slab out after baking.
In a medium bowl, whisk together 3/4 cup flour, 3/4 cup cocoa powder, and 3/4 teaspoon kosher salt until even; set aside.
In a large bowl, beat 15 tablespoons melted butter with 1 1/2 cups sugar and 2 teaspoons vanilla. Add 3 eggs one at a time, mixing until just combined.
Fold the dry ingredients into the wet mixture until just combined. Spread batter into the prepared pan and bake at 325°F for 30 minutes or until a toothpick shows moist crumbs.
Cool completely on a rack; chill 30–60 minutes for cleaner cuts. Lift slab from pan and use a tree-shaped cookie cutter, starting at the edges to maximize yield.
Mix 1 cup powdered sugar with 1–2 tablespoons milk to piping consistency. Split and tint half green. Transfer to zip-top bags, snip the corner, pipe zigzags, and add sprinkles immediately.
Last Step: Please leave a rating and comment letting us know how you liked this recipe! This helps our business to thrive and continue providing free, high-quality recipes for you.
Leave a comment & rating below or tag
@platemint on social media!

Saucy, cheesy baked ziti with ricotta and basil tastes like lasagna in half the effort, perfect for weeknights or crowds.

Quick, crowd-pleasing cheeseburger sliders baked golden with melty cheddar and savory beef. Ready in 30 minutes, great for parties and easy meal prep.

Crispy air fryer sweet potato fries with tender centers, fast-food flavor without deep frying. Ready in minutes and irresistibly snackable.
Leave a comment & rating below or tag @platemint on social media!
Enjoyed this recipe? Share it with friends and family, and don't forget to leave a review!
This recipe looks amazing! Can't wait to try it.
Comments are stored locally in your browser. Server comments are displayed alongside your local comments.

Join to receive our email series which contains a round-up of some of our quick and easy family favorite recipes.
