
Chocolate Peanut Butter Hot Cocoa Bombs

Warm, playful, and irresistibly creamy — these chocolate peanut butter hot cocoa bombs are a perfect cozy treat for cold nights, gift-giving, or making memories with kids.
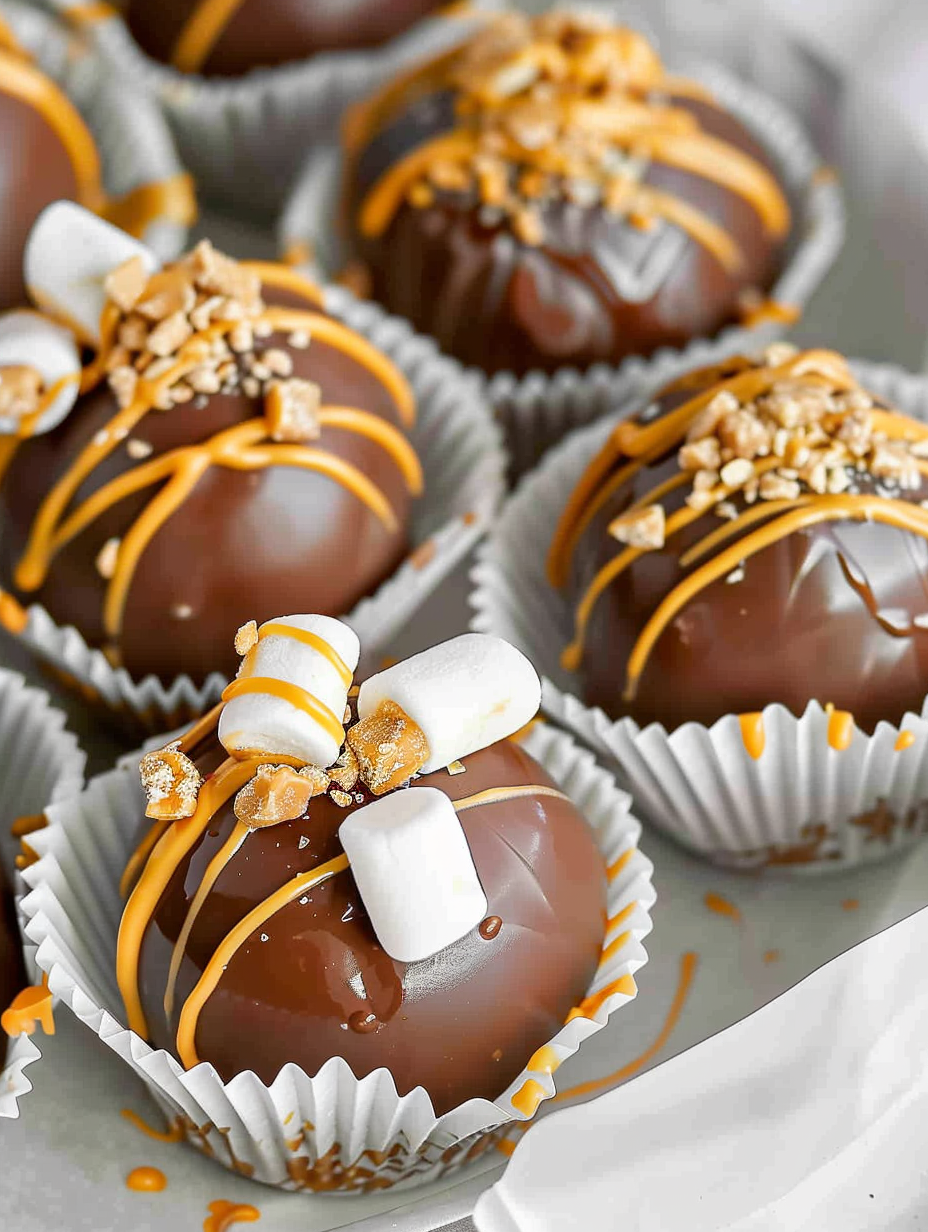
This recipe for Chocolate Peanut Butter Hot Cocoa Bombs has become my go-to cozy activity during long winter evenings and holiday afternoons. I first made these on a snowbound weekend when my niece came over looking for something fun to do; we turned the kitchen into a candy lab. The result was more than just a cute cocoa delivery system — the peanut butter surprise inside cut through the rich chocolate and hot milk for a silky, nostalgic cup that made us both grin. I love how these feel like a small, handmade gift in a mug, and the ritual of cracking one open is almost as comforting as the drink itself.
What makes this version special is the balance: sturdy chocolate shells that melt smoothly into hot milk, a concentrated pocket of hot cocoa powder to deepen the flavor, and genuine mini peanut butter cups for a burst of salty-sweet richness. The marshmallows add that familiar texture and foaminess we all chase in hot chocolate. I discovered a few technique tweaks early on — like thickening the shell in two layers and sealing the halves on a warm pan — that prevent leaky bombs and make them durable enough to package for friends. This is a recipe you can easily scale, decorate, and adapt to dietary needs, and it’s delightful for cooks of any skill level.
Why You'll Love This Recipe
- This treat is delightfully interactive: pour hot milk over the sphere and watch it melt, releasing a peanut buttery center and mini marshmallows for a dramatic presentation.
- Ready in about 20 minutes of hands-on time using pantry-friendly ingredients like candy melts, hot cocoa powder, and mini peanut butter cups.
- Perfect for gift boxes, winter parties, family activities with kids, or a cozy night in where presentation matters as much as taste.
- Make-ahead friendly — prepare up to 2 weeks in advance and store in an airtight container for quick comforting drinks on demand.
- Customizable: swap fillings, use dairy-free melts, or skip the peanut butter for an allergy-friendly version without losing the theatrical effect.
My family’s reaction the first time I served these was instant nostalgia — grown-ups remarked on the perfect balance of sweet and salty, and kids loved the marshmallow shower. Making these with a niece and nephew turned an ordinary afternoon into a mini celebration: they loved filling the molds and choosing sprinkles. The simple technique means it’s an accessible project that still looks impressively professional.
Ingredients
- Chocolate candy melts (6 ounces): Use good-quality candy melts or couverture-style melting wafers for a smooth, glossy shell. I prefer brands that list cocoa butter for shine. Keep the melts dry and work in small batches to avoid seizing.
- Hot cocoa powder (6 tablespoons): Use a rich, instant-style cocoa mix for best dissolvability in milk. Brand choice affects sweetness — if yours is very sweet, reduce to 5 tablespoons.
- Mini marshmallows (30): These give a classic fluffy mouthfeel. If you prefer vegetarian marshmallows, check the label for agar or alternative gelling agents.
- Mini peanut butter cups (4 total): Use three for quartering inside the bombs and finely chop one to sprinkle on top for texture and appearance. The real peanut butter flavor makes the center feel indulgent.
- Peanut butter candy melts (2 ounces): These melt easily for drizzling and sealing decorations. If you can’t find peanut butter-flavored melts, use white candy melts mixed with a small spoon of creamy peanut butter.
- Sprinkles (optional): Use heat-safe decorative sprinkles to add color and a festive finish. Avoid large non-melting decorations that won’t adhere well to the drizzle.
Instructions
Melt the chocolate: Use a double boiler or microwave-safe bowl. If microwaving, heat in 20–30 second bursts, stirring between each interval until fully melted and glossy. Overheating can cause graininess; aim for a velvety sheen and smooth texture. Coat the molds: Spoon melted chocolate into twelve 2-inch silicone half-sphere molds. Tilt each mold so chocolate coats the interior walls. Refrigerate for about 5 minutes to set, then add a second, slightly thicker layer and chill again to create a durable shell. Two thin coats are better than one thick pour to prevent air pockets. Unmold gently: Once set, carefully pop each half-sphere from the silicone. If edges look uneven, use a small paring knife to trim. Handle the shells by the edges to avoid leaving fingerprints or soft spots from body heat. Assemble the filling: Place six half-spheres open-side up. Into each add 1 tablespoon hot cocoa powder, five mini marshmallows, and two quartered pieces of mini peanut butter cup. Press the filling slightly so it sits low in the shell and won’t force the top off when sealed. Seal the bombs: Warm a pan over low heat for a minute, then remove it from the heat. Place an empty half-sphere briefly on the warm pan edge to melt the rim slightly. Immediately pick it up and place it over a filled half-sphere, aligning edges and pressing gently to seal. Smooth the seam with a fingertip or the back of a spoon. Repeat for all six. Decorate: Melt peanut butter candy melts until smooth. Pour into a small zip-top bag and snip a tiny corner. Drizzle over each sealed bomb in a decorative pattern and sprinkle with chopped peanut butter cup and sprinkles while the drizzle is still tacky. Serve: Place one bomb in a mug and pour 8 to 10 ounces of hot milk over it. Stir until the shell fully melts and the filling has dissolved into the milk. This takes a few minutes; stirring helps meld chocolate and peanut butter into a smooth drink.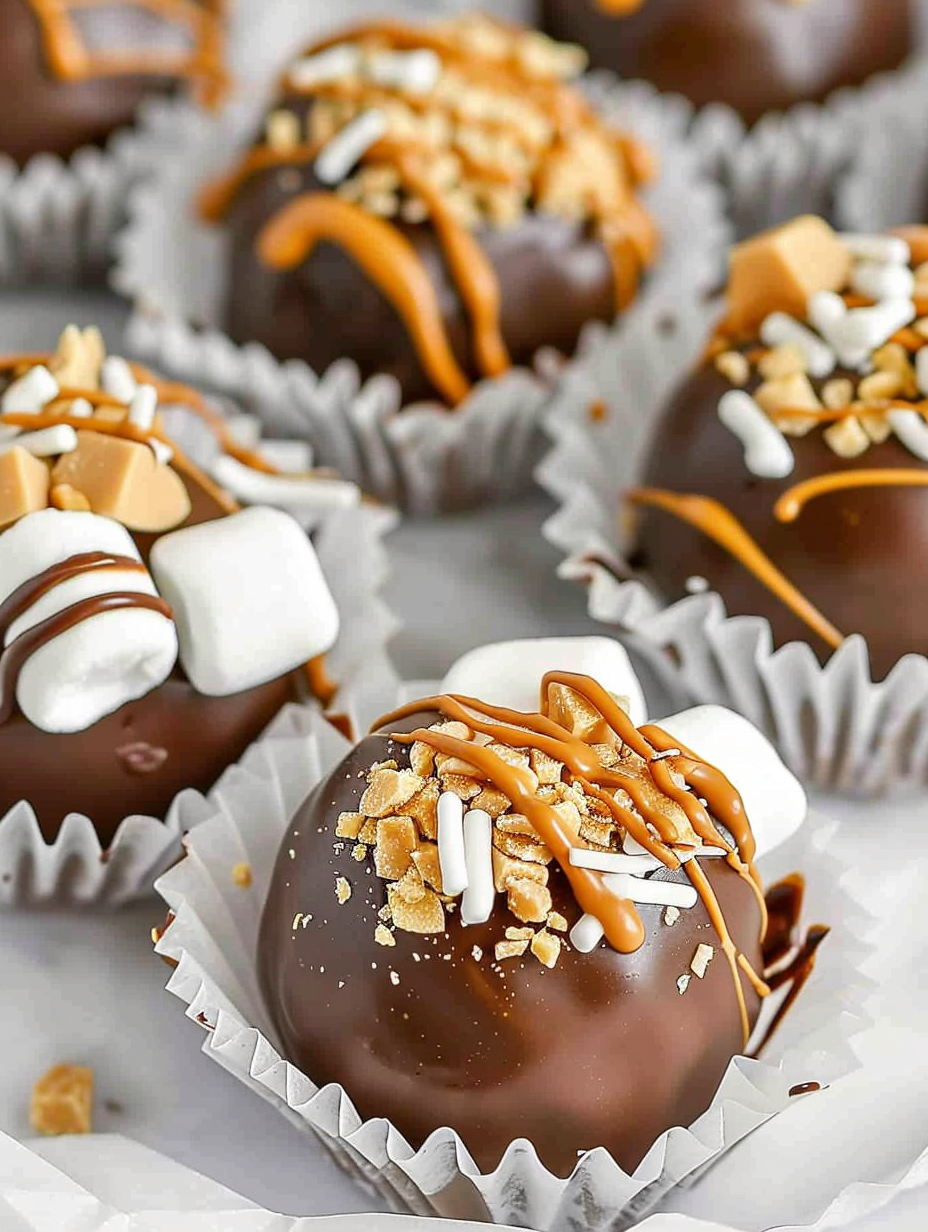
You Must Know
- These hold well in an airtight container at room temperature for up to 2 weeks; refrigeration will shorten longevity due to condensation on the chocolate.
- High in flavor and moderately high in calories — an average serving is about 178 kcal, so enjoy as an occasional indulgence.
- Freeze for up to 3 months in a single layer inside a sealed container; thaw at room temperature to avoid condensation forming on the chocolate shell.
- Use full-fat milk for the creamiest result; plant-based milks work but may change mouthfeel slightly.
My favorite aspect is the reveal: the way the molten lake of peanut butter and cocoa swirls into the milk feels celebratory. I’ve gifted these in small treat bags with instructions, and the recipients loved both the novelty and the unmistakable classic flavors. They’re also a great kid-friendly activity that results in an adult-worthy beverage.
Storage Tips
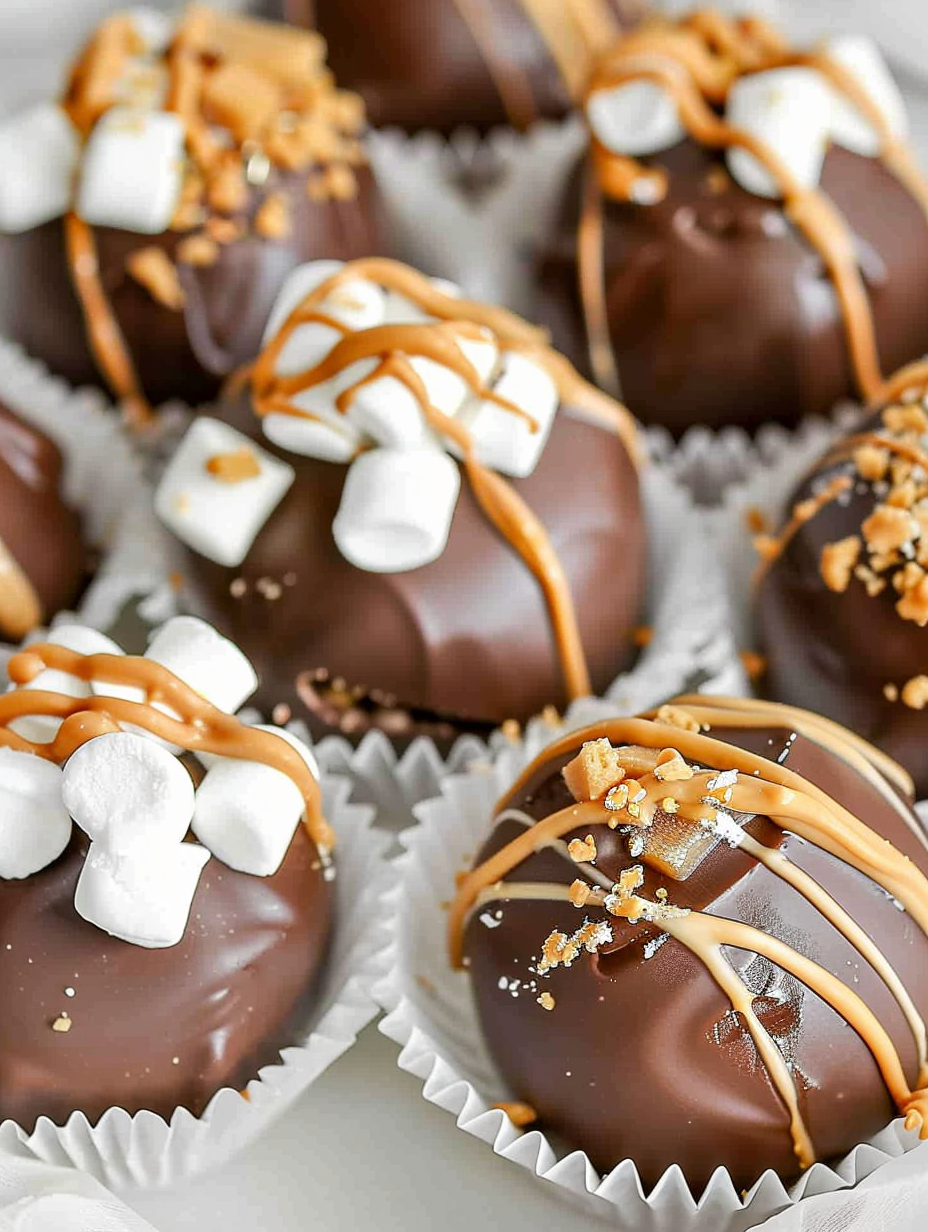
Store finished spheres in a single layer in an airtight container at cool room temperature away from direct sunlight. Avoid refrigeration if possible; the temperature swings cause condensation that dulls the chocolate shine and can make the shells sticky. If you need to refrigerate because of warm ambient temperatures, place parchment between layers and let bombs come to room temperature before serving. For long-term storage, freeze on a baking sheet until solid, then transfer to a freezer-safe container with parchment between layers. Thaw for 30–60 minutes at room temperature before decorating or gifting.
Ingredient Substitutions
To make a dairy-free version, choose dairy-free candy melts and substitute plant-based milk such as oat or almond for serving; use dairy-free marshmallows labeled vegan. If someone has a peanut allergy, swap the mini peanut butter cups for chocolate chips or caramel-filled candies and use a caramel-flavored drizzle. For a richer ganache-style filling, mix 1 tablespoon of powdered cocoa with 1 teaspoon of powdered sugar and a small dollop of marshmallow fluff instead of marshmallows; note that adding fresh spreads may shorten shelf life.
Serving Suggestions
Serve these in heatproof mugs with a small whisk or long spoon for easy stirring. Garnish with whipped cream, a dusting of cocoa, or extra chopped peanut butter cup on top. These are perfect for holiday brunch stations, movie nights, or packaged as party favors with custom gift tags explaining how to pour hot milk over the bomb and stir until melted. Pair with salted shortbread or a slice of banana bread to complement the peanut butter notes.
Cultural Background
While the concept of hot cocoa is centuries old, the hot cocoa bomb is a modern twist born out of the social-media era — a playful reinvention of instant hot chocolate that combines confectionery technique with presentation theater. This Americanized take leans into familiar candy flavors like peanut butter cups, echoing the tradition of pairing chocolate and nuts that spans many baking cultures. It’s an example of contemporary comfort food where ritual and flavor meet in a single serveable item.
Seasonal Adaptations
For winter holidays, swap sprinkles for crushed peppermint and use dark chocolate shells with white drizzle. In spring, use pastel sprinkles and white chocolate shells with a fruit-flavored powder inside such as raspberry hot cocoa. For autumn, add a pinch of cinnamon to the hot cocoa powder and use caramel drizzle instead of peanut butter. Small changes in filling and garnish tailor the drink to any seasonal menu.
Success Stories
I once prepared a batch for a local holiday craft fair; customers loved the personal touch of choosing the drizzle and mini candy on top. A friend told me she used the bombs as stocking stuffers and received dozens of delighted texts showing steaming mugs and smiling children. Many readers have told me they simplified the process by using pre-made silicone sphere kits and found sealing easier with a warm metal spoon rather than a hot pan edge — both methods work well.
Meal Prep Tips
To prepare for a gathering, make the shells a day ahead and keep them layered in a box with parchment between layers. Assemble the fillings the morning of the event, then seal and decorate an hour before serving to keep decorations fresh. If making many at once, designate stations: one for melting and molding, one for filling, and one for sealing. A muffin tin is an excellent holder for bombs while decorating so they don’t roll away.
These hot cocoa bombs are as much about the memory as the drink: they invite slow, attentive sips, conversation, and that satisfying hush when everyone pauses to enjoy a little luxury in a mug. Try them once and you’ll understand why they make winter nights feel just a little more special.
Pro Tips
Use two thin coats of melted chocolate for the shell instead of one thick coat to avoid air pockets and fragile shells.
Warm the pan just enough to melt the rim of the shell — if it's too hot the shell will warp; a quick 3–5 second contact is usually enough.
If candy melts begin to thicken while working, stir in a teaspoon of neutral oil (vegetable or coconut) to restore smoothness.
Allow bombs to come to room temperature after refrigeration to reduce condensation before serving or packaging.
When packaging as gifts, include a small note with instructions: 'Place bomb in mug, pour 8–10 oz hot milk, stir until melted.'
This nourishing chocolate peanut butter hot cocoa bombs recipe is sure to be a staple in your kitchen. Enjoy every moist, high protein slice — it is perfect for breakfast or as a wholesome snack any time.
Tags
Recipe data validation failed
Please check the recipe data format. See console for details.
Categories:
You might also like...
Cheesy Baked Ziti Casserole
Saucy, cheesy baked ziti with ricotta and basil tastes like lasagna in half the effort, perfect for weeknights or crowds.
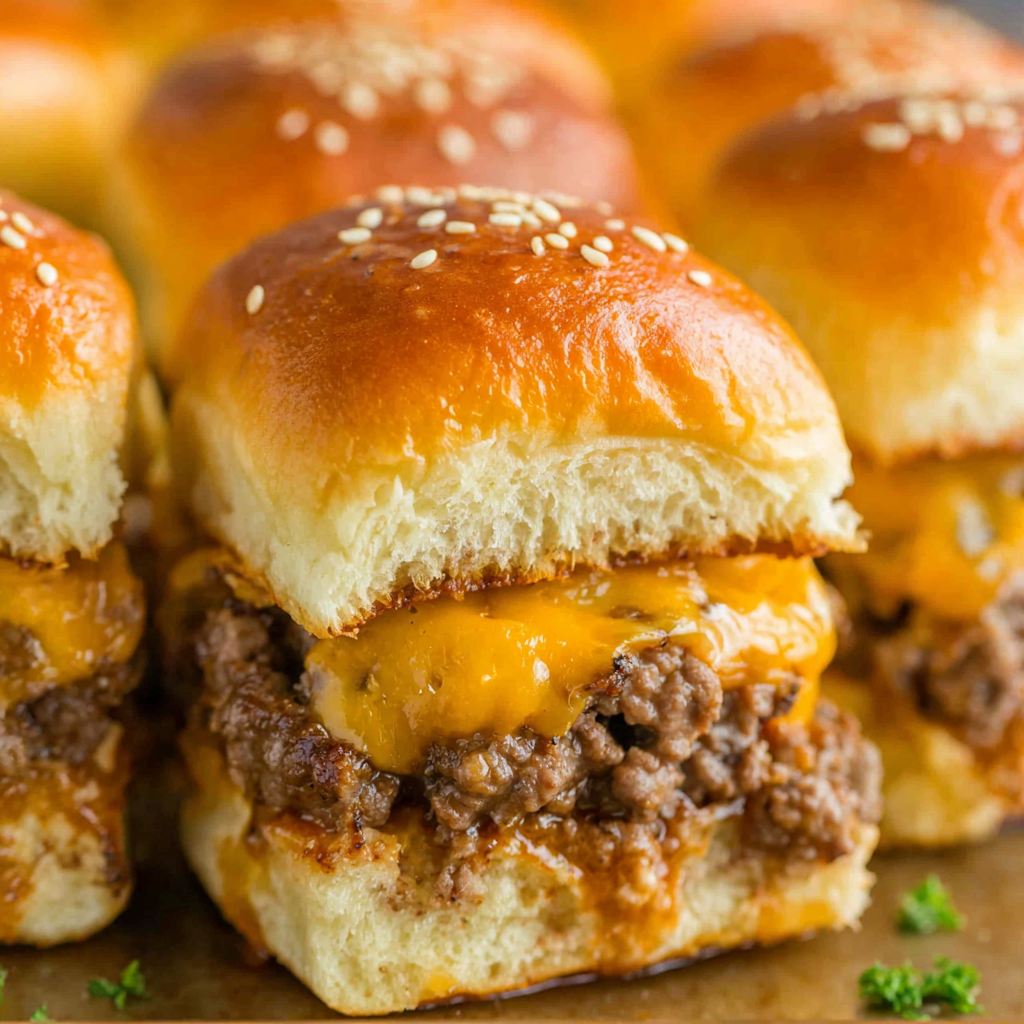
Juicy Cheeseburger Sliders Bake
Quick, crowd-pleasing cheeseburger sliders baked golden with melty cheddar and savory beef. Ready in 30 minutes, great for parties and easy meal prep.
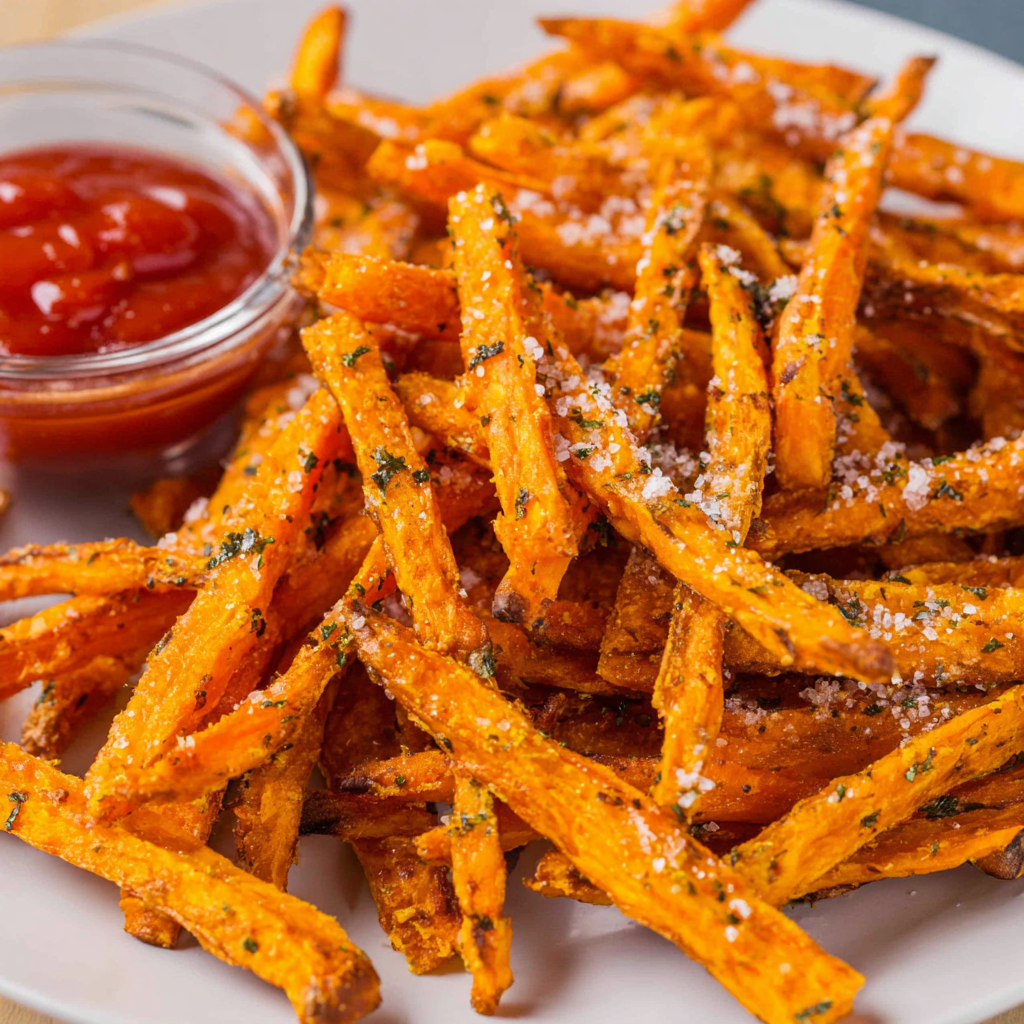
Air Fryer Sweet Potato Fries
Crispy air fryer sweet potato fries with tender centers, fast-food flavor without deep frying. Ready in minutes and irresistibly snackable.
Did You Make This?
Leave a comment & rating below or tag @platemint on social media!
Rate This Recipe
Share This Recipe
Enjoyed this recipe? Share it with friends and family, and don't forget to leave a review!
Comments (1)
This recipe looks amazing! Can't wait to try it.
Comments are stored locally in your browser. Server comments are displayed alongside your local comments.

Hi, I'm Wendie!
What's Popular
30-Minute Meals!
Join to receive our email series which contains a round-up of some of our quick and easy family favorite recipes.