
Chocolate Chip Cherry Bars

A favorite blondie base studded with juicy cherries and semi-sweet chips — reliably tender, slightly chewy, and irresistibly fruity.
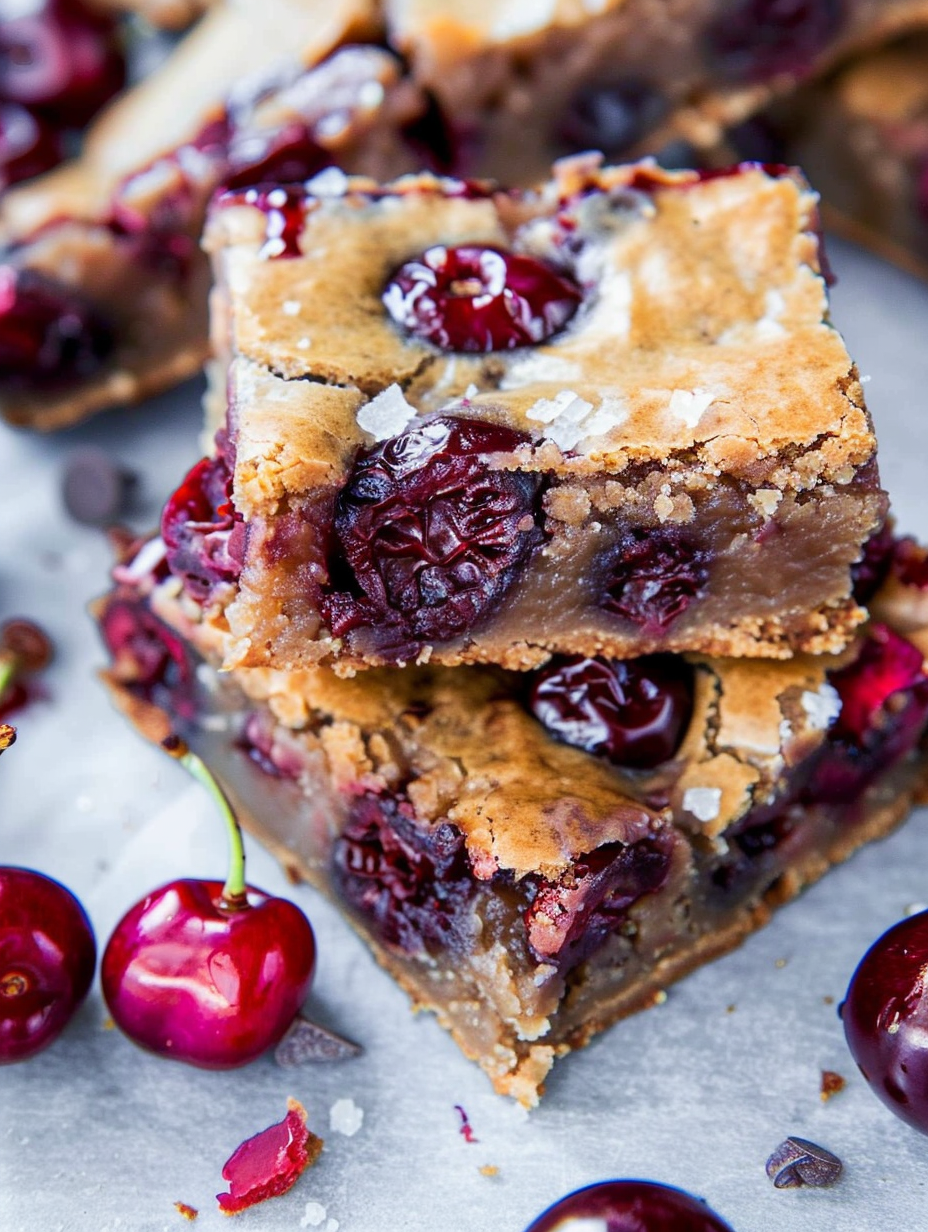
This recipe for Chocolate Chip Cherry Bars is one of those reliably comforting treats I return to again and again. I first stumbled on this combination when I wanted a twist on a classic blondie: the buttery, caramel notes from brown sugar paired with bursts of tart-sweet cherries and pockets of melted chocolate. The result is a bar that's both nostalgic and a little bit grown-up — tender at the center, slightly crisp at the edges, and studded with fresh or frozen cherries that add vibrant color and a juicy pop with every bite. I remember bringing a pan to a neighborhood potluck and watching it disappear faster than anything else on the table.
What makes these bars special is their simplicity and consistency. The batter is forgiving — no creaming method, just melted butter and brown sugar folded with one egg and flour — which keeps the texture dense and satisfying like a blondie rather than a cakey square. I developed this version over several mornings of testing so I could recommend precise baking cues, how to handle fresh versus frozen fruit, and the ideal chip-to-cherry ratio. Whether you make them for an afternoon pick-me-up, a picnic, or a casual dessert after dinner, these bars come together quickly and almost always elicit a second helping request.
Why You'll Love This Recipe
- Ready in under an hour start to finish: 10 minutes active prep, about 30 minutes baking, and a short cooling time.
- Uses pantry staples — butter, brown sugar, flour, and chocolate — with the simple addition of cherries for fresh flavor.
- Flexible with fruit: works equally well with fresh or frozen cherries and adapts to other summer fruits like peaches and raspberries.
- Make-ahead friendly: bars store well at room temperature or in the fridge and freeze beautifully for quick treats later.
- Perfect balance of textures — slightly crisp edges, tender middle, and juicy fruit pockets; great for lunchboxes or coffee breaks.
- Minimal equipment and beginner-friendly steps; you don’t need creaming skills to get great results.
In my family these bars have become synonymous with warm-weather gatherings. My nephew loves the big cherry chunks, while my father insists on warm slices with a scoop of vanilla ice cream. Over time I adjusted the sugar balance and baking window so the center sets while the cherries stay juicy — those small changes are the difference between a good bar and a memorable one.
Ingredients
- Unsalted butter (1/2 cup / 1 stick, melted): Melting the butter gives the base its tender, slightly fudgy texture and caramel flavor. Use high-quality butter for best taste; I prefer a European-style butter for richness, but standard unsalted works fine.
- Light brown sugar (1 cup, packed): The molasses in light brown sugar deepens the caramel notes and keeps the bars chewy. Pack the cup lightly for consistent sweetness; if you like a darker flavor, use dark brown sugar.
- Large egg (1): Binds the batter and contributes structure. Room-temperature eggs incorporate more smoothly — pull one out of the fridge about 10 minutes before you start.
- Vanilla extract (2 teaspoons): Adds aromatic warmth that complements cherries and chocolate. Use pure vanilla for the best flavor, not imitation.
- All-purpose flour (1 cup): The only dry ingredient that sets the structure; measure by spooning into the cup and leveling for accuracy. Avoid overmeasuring, which can make the bars dry.
- Salt (1/4 teaspoon, optional): If using unsalted butter, a pinch of salt brightens flavors. Skip only if on a strict sodium-free plan.
- Semi-sweet chocolate chips (3/4 to 1 cup): Melt into pockets of bittersweet richness. I use 3/4 cup for a more fruit-forward bite and 1 cup when serving chocolate lovers.
- Cherries (1 cup, fresh or frozen): Fresh offers brightness and texture; frozen are convenient and work especially well outside cherry season. If using frozen, do not thaw completely — toss frozen fruit gently into the batter to avoid excess juices.
Instructions
Step 1 — Preheat and prepare pan:Preheat the oven to 350°F and line an 8 x 8 inch pan with aluminum foil, leaving an overhang for easy removal. Lightly spray the foil with cooking spray or grease with a bit of butter to prevent sticking. Proper pan prep ensures clean slices and easy cleanup.Step 2 — Melt butter and combine with sugar:In a medium microwave-safe bowl, melt the butter for about 60 seconds until just liquefied. Add the packed brown sugar to the warm butter and stir until smooth; the warmth helps dissolve the sugar and creates a silky base that contributes to chewiness.Step 3 — Add egg and vanilla:Whisk in the large egg and vanilla extract until the mixture is glossy and slightly aerated. The egg adds structure and richness; mix until homogenous but do not overbeat, which would incorporate excess air and change the final texture.Step 4 — Fold in dry ingredients:Sift or add the cup of all-purpose flour and the optional 1/4 teaspoon salt, folding gently with a spatula until just combined. Overmixing develops gluten and makes blondies tough, so stop when you no longer see streaks of flour.Step 5 — Add the cherries and chocolate:Fold in 3/4 to 1 cup chocolate chips and 1 cup cherries. I prefer leaving cherries whole for chunkiness; if using large cherries, halve them. Spoon the batter into the prepared pan and smooth lightly with an offset spatula for even baking.Step 6 — Bake and test doneness:Bake at 350°F for 27 to 32 minutes, rotating halfway if your oven runs hot. Look for edges that start to pull away and a center that looks set but slightly glossy. A toothpick may not come out completely clean because of melted chips and fruit — that’s okay if the center is just set.Step 7 — Cool and slice:Allow the bars to cool in the pan for at least 1 hour so the structure firms up; use the foil overhang to lift them out, then slice into 9 equal bars. Cooling prevents them from falling apart and ensures clean slices.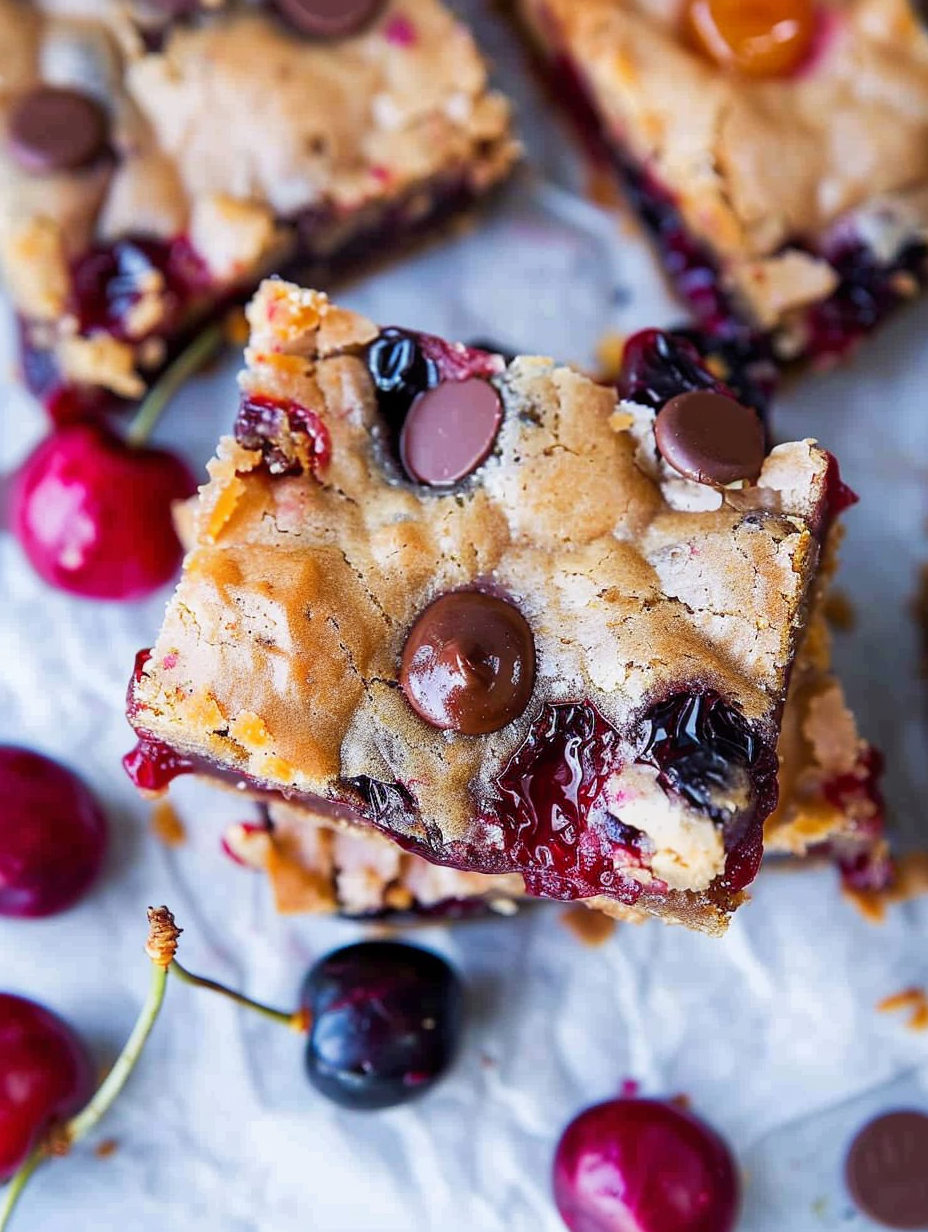
You Must Know
- Bars keep at room temperature in an airtight container for up to 1 week; refrigerate to extend freshness slightly, or freeze for up to 3 months.
- Nudging bake time by a few minutes affects gooeyness: bake longer for firmer slices, shorter for a chewier, fudgier center.
- If using frozen cherries, toss them in a tablespoon of flour before folding in to absorb excess moisture and prevent sinking.
- Calories are approximately 309 per serving (calculated for 9 bars) with roughly 43 g carbohydrates and 15 g fat.
My favorite part of making these bars is the aroma while they bake — warm brown sugar and butter with fruity steam from the cherries. Family members often comment that the bars taste like summer condensed into a square: buttery, slightly caramel, with bright fruit notes. I’ve given trays to teachers, neighbors, and friends; I once received an email asking for the recipe the next day because they couldn’t stop thinking about the texture.
Storage Tips
Store cooled bars in an airtight container at room temperature for up to one week — place parchment between layers to prevent sticking. For longer storage, wrap portions tightly in plastic wrap and freeze in a labeled freezer-safe bag for up to three months. To reheat refrigerated or frozen squares, warm briefly in a 300°F oven for 8 to 12 minutes (covered with foil if they risk overbrowning) or microwave a single bar for 20 to 30 seconds for a soft, just-warm bite. Look for shiny, moist centers and a lightly crisp edge as indicators of freshness.
Ingredient Substitutions
If you need to swap ingredients, try using coconut oil in place of butter at a one-to-one volume ratio, which will lend a subtle tropical scent but still give a tender texture. For a lower-sugar option, reduce brown sugar to 3/4 cup and increase cherries slightly, though the bars will be less chewy. Use a gluten-free 1:1 baking flour to make them gluten-free — expect a slightly different crumb and possibly a drier texture, so reduce baking time by a few minutes. Dark chocolate chunks work well instead of chips for richer, less-sweet pockets.

Serving Suggestions
Serve warm with a scoop of vanilla ice cream and a drizzle of cherry syrup for an effortless dessert. For brunch, cut into smaller squares and arrange on a platter with fresh berries and a dusting of powdered sugar. These bars pair well with coffee or a lightly sweet rosé; for a decadent touch, top each warm square with whipped cream and a few chopped toasted almonds. For portable snacks, wrap individually and add to lunchboxes or picnic baskets.
Cultural Background
Blondie-style bars are an American adaptation of bar cookies, celebrated for their brown-sugar-driven flavor rather than cocoa. Adding fruit like cherries reflects regional fruit traditions and summer baking practices — stone fruits in particular have long paired with chocolate in American home baking. These bars bridge the classic American blondie with fruit-forward European tarts, creating a hybrid that's familiar yet refreshing.
Seasonal Adaptations
In summer use ripe sweet cherries or a mix of cherries and raspberries for brightness; in late summer try sliced peaches or nectarines. For winter, switch to dried cherries rehydrated briefly in orange juice for concentrated flavor, or fold in cranberries and orange zest for holiday flair. Adjust bake time slightly depending on fruit moisture: higher-moisture fruits require a few extra minutes to prevent a soggy center.
Meal Prep Tips
To meal-prep, bake a double batch and freeze individual squares on a sheet tray before transferring to a freezer bag for quick grab-and-go snacks. Portion into reusable containers for lunch additions or breakfast treats. Label with date and use within three months. For weekday mornings, warm a square in the toaster oven for 5 to 7 minutes for a near-fresh texture.
These Chocolate Chip Cherry Bars are a dependable crowd-pleaser that balances ease with flavor nuance — making and sharing them has become one of my favorite ways to celebrate simple moments and seasonal fruit. Give them a try and make small tweaks to suit your household; they adapt beautifully and almost always deliver smiles.
Pro Tips
If using frozen cherries, toss them in a tablespoon of flour before folding in to reduce excess moisture in the batter.
Allow bars to cool completely for at least one hour before slicing to ensure clean edges and set centers.
Use room-temperature egg for smoother incorporation; whisk briefly with the melted butter and sugar for a glossy batter.
Rotate the pan halfway through baking if your oven has hot spots to ensure even browning.
This nourishing chocolate chip cherry bars recipe is sure to be a staple in your kitchen. Enjoy every moist, high protein slice — it is perfect for breakfast or as a wholesome snack any time.
Tags
Chocolate Chip Cherry Bars
This Chocolate Chip Cherry Bars recipe makes perfectly juicy, tender, and flavorful steak every time! Serve with potatoes and a side salad for an unforgettable dinner in under 30 minutes.
Ingredients
Base
Mix-ins
Instructions
Preheat and prepare pan
Preheat oven to 350°F. Line an 8 x 8 inch pan with aluminum foil leaving an overhang and lightly spray or grease the foil so bars release easily. Proper pan prep ensures tidy slices and easy removal.
Melt butter and combine with sugar
Melt 1/2 cup (1 stick) unsalted butter in a microwave-safe bowl for about 60 seconds. Stir in 1 cup packed light brown sugar until glossy and combined; the warmth helps dissolve the sugar and creates a smooth base for the batter.
Add egg and vanilla
Whisk in 1 large room-temperature egg and 2 teaspoons vanilla extract until the mixture is shiny and uniform. Do not overbeat; mixing just until combined preserves a dense, tender texture.
Fold in dry ingredients
Add 1 cup all-purpose flour and 1/4 teaspoon salt (optional), folding gently with a spatula until just combined. Avoid overmixing to prevent gluten development, which leads to tough bars.
Add cherries and chocolate
Fold in 3/4 to 1 cup semi-sweet chips and 1 cup cherries (fresh or gently handled frozen). Spoon the batter into the prepared pan and smooth the top with an offset spatula for even baking.
Bake until set
Bake at 350°F for 27 to 32 minutes or until the edges pull slightly away from the pan and the center appears set. Because of melted chocolate and fruit, a toothpick may not be fully clean but center should not be overly jiggly.
Cool and slice
Cool the bars in the pan for at least 1 hour to firm up. Use the foil overhang to lift the slab from the pan and slice into 9 squares. Store in an airtight container at room temperature up to 1 week, refrigerate, or freeze for longer storage.
Last Step: Please leave a rating and comment letting us know how you liked this recipe! This helps our business to thrive and continue providing free, high-quality recipes for you.
Nutrition
Did You Make This?
Leave a comment & rating below or tag
@platemint on social media!
Categories:
You might also like...
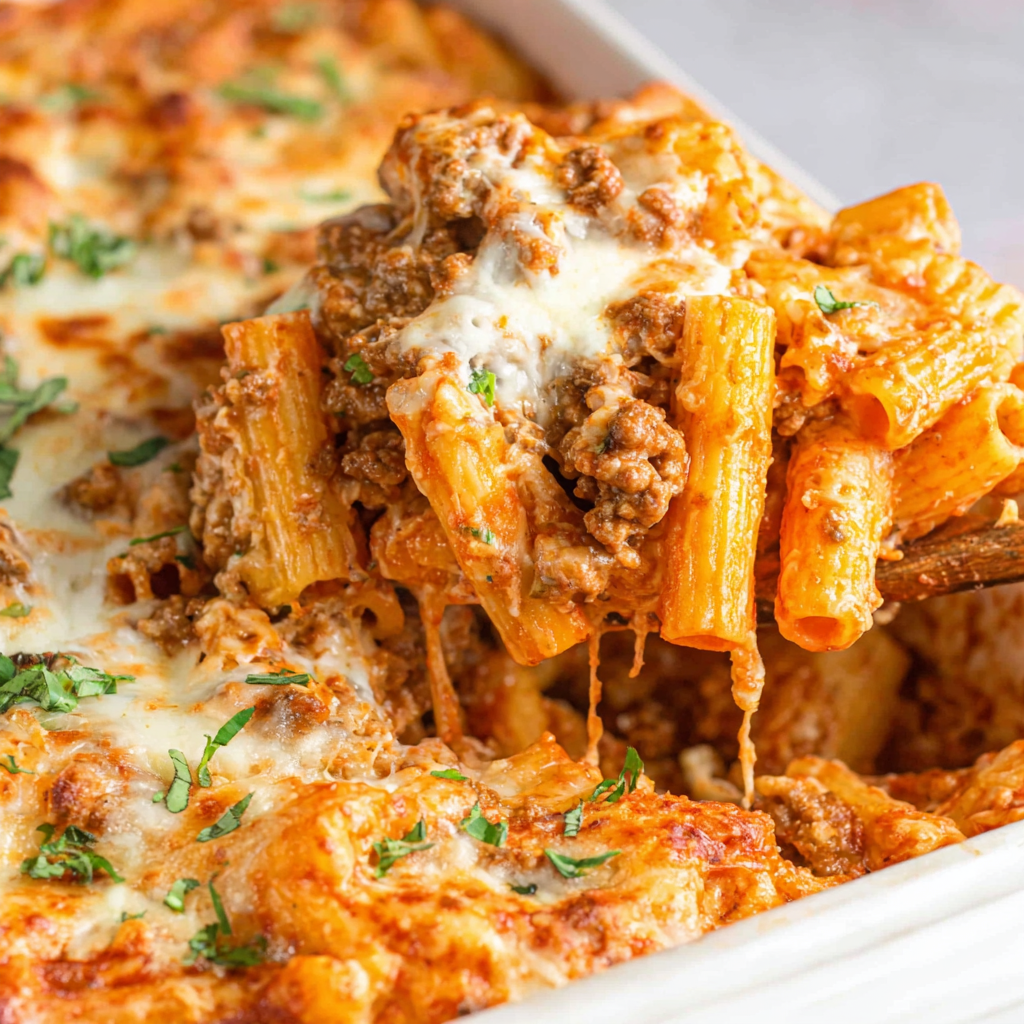
Cheesy Baked Ziti Casserole
Saucy, cheesy baked ziti with ricotta and basil tastes like lasagna in half the effort, perfect for weeknights or crowds.
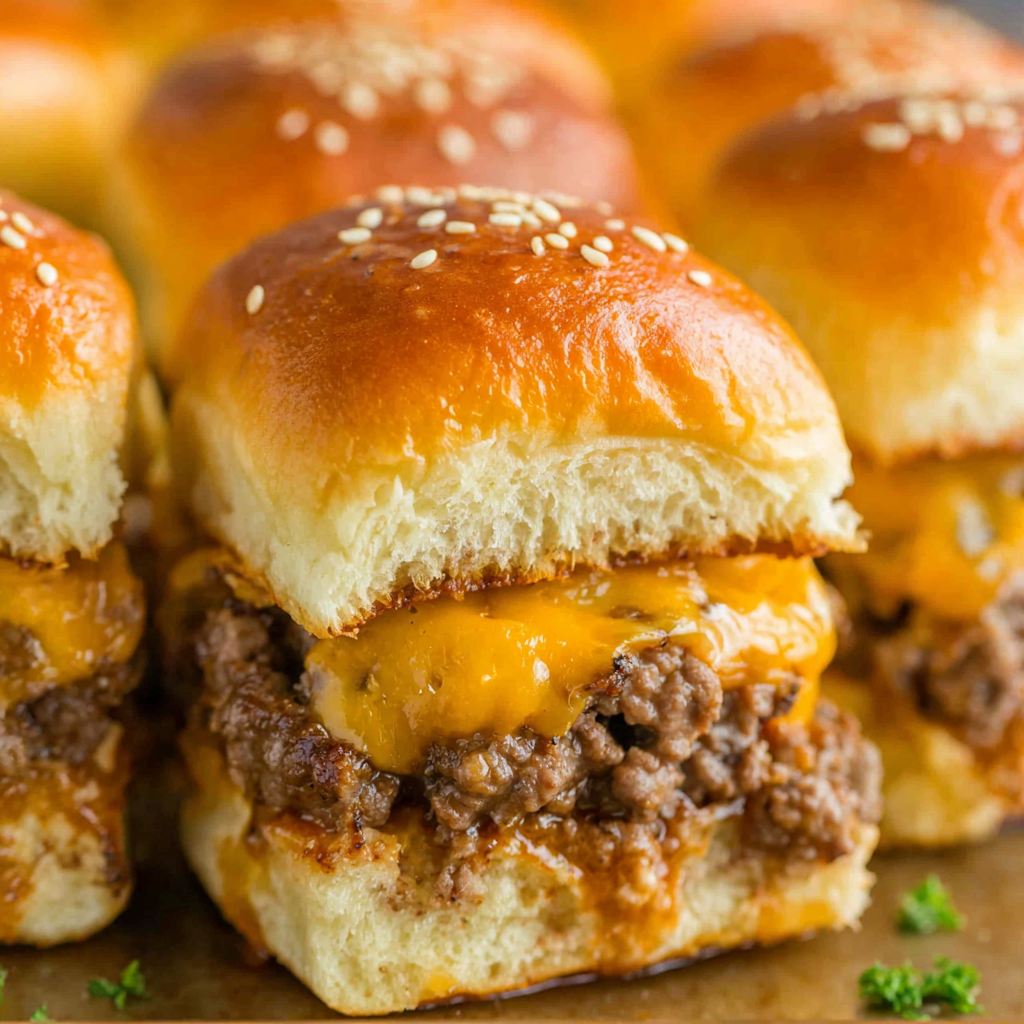
Juicy Cheeseburger Sliders Bake
Quick, crowd-pleasing cheeseburger sliders baked golden with melty cheddar and savory beef. Ready in 30 minutes, great for parties and easy meal prep.
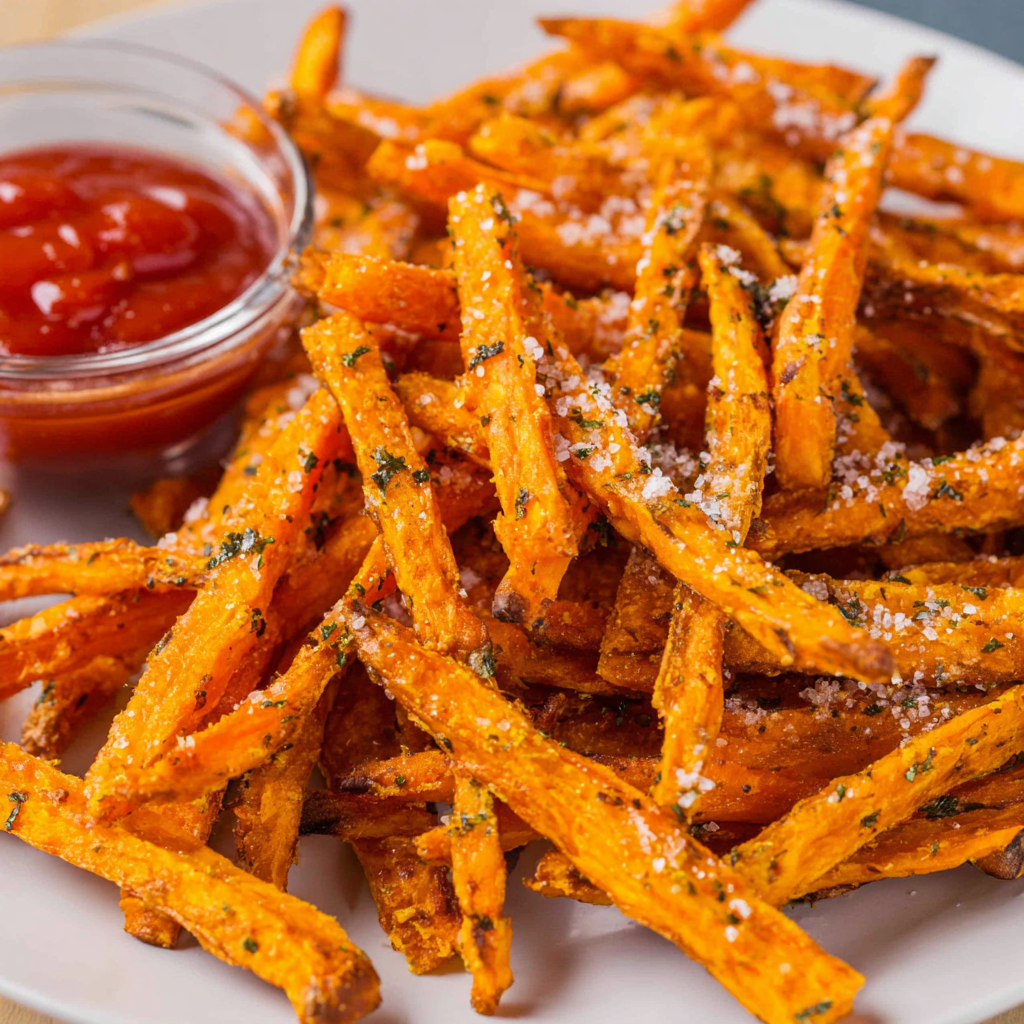
Air Fryer Sweet Potato Fries
Crispy air fryer sweet potato fries with tender centers, fast-food flavor without deep frying. Ready in minutes and irresistibly snackable.
Did You Make This?
Leave a comment & rating below or tag @platemint on social media!
Rate This Recipe
Share This Recipe
Enjoyed this recipe? Share it with friends and family, and don't forget to leave a review!
Comments (1)
This recipe looks amazing! Can't wait to try it.
Comments are stored locally in your browser. Server comments are displayed alongside your local comments.

Hi, I'm Wendie!
What's Popular
30-Minute Meals!
Join to receive our email series which contains a round-up of some of our quick and easy family favorite recipes.