
>>

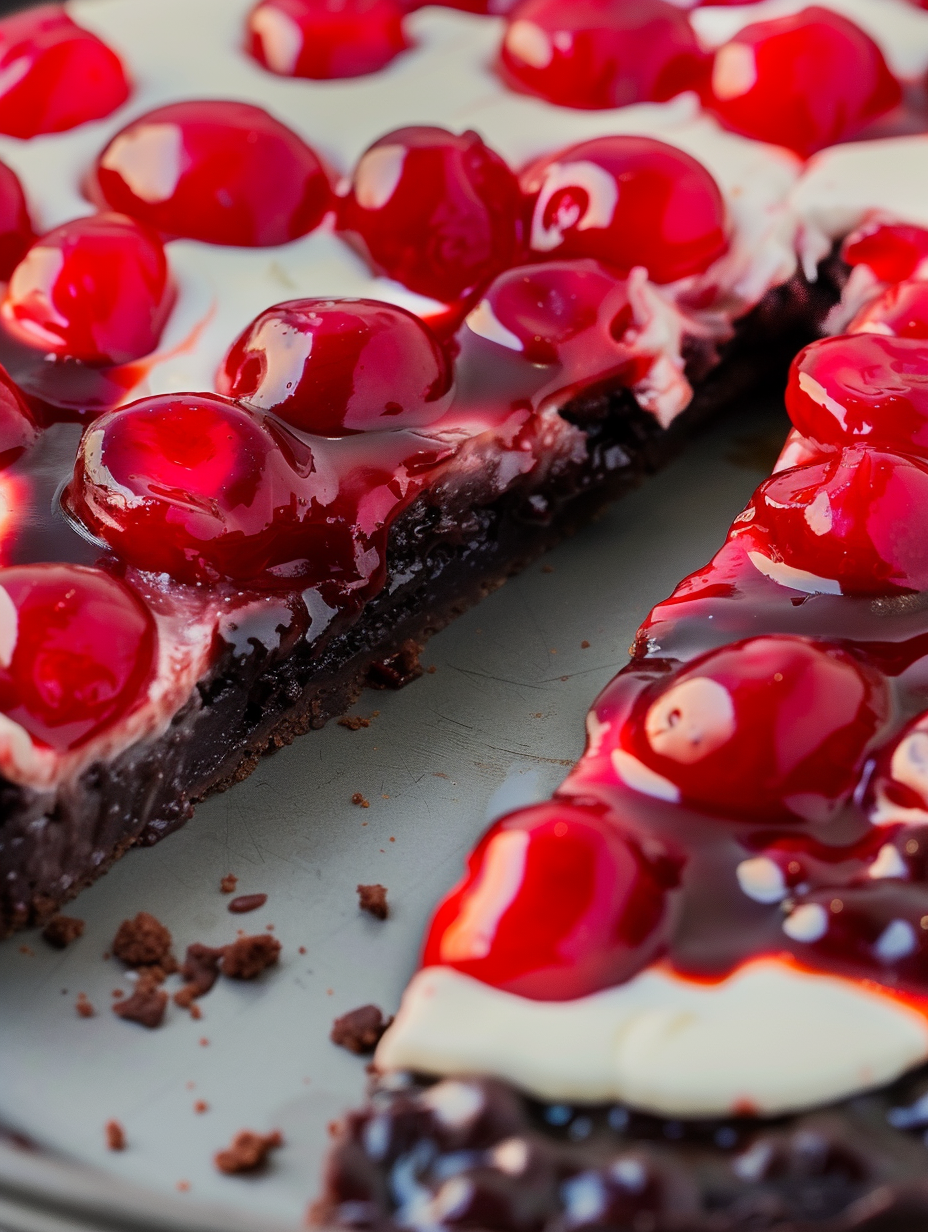
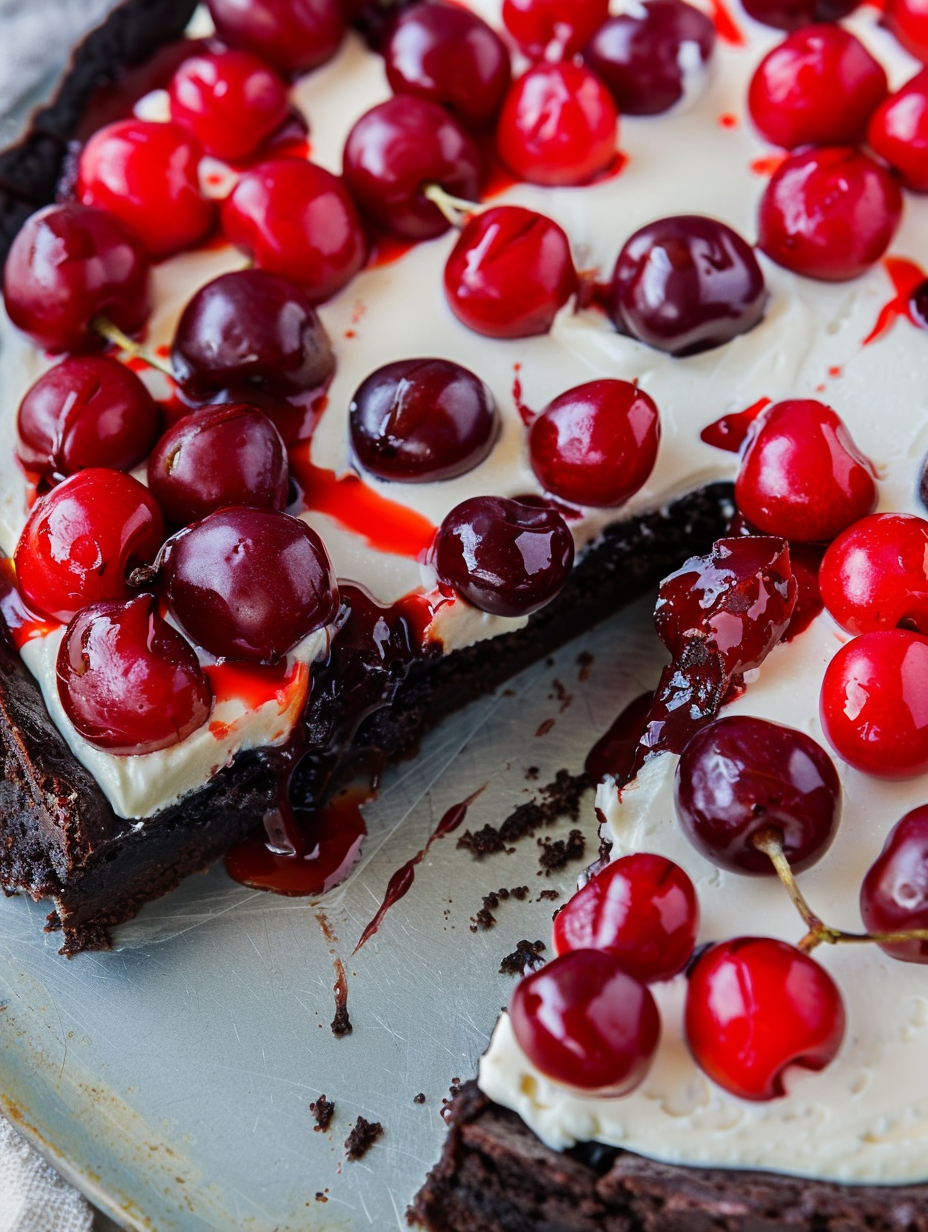
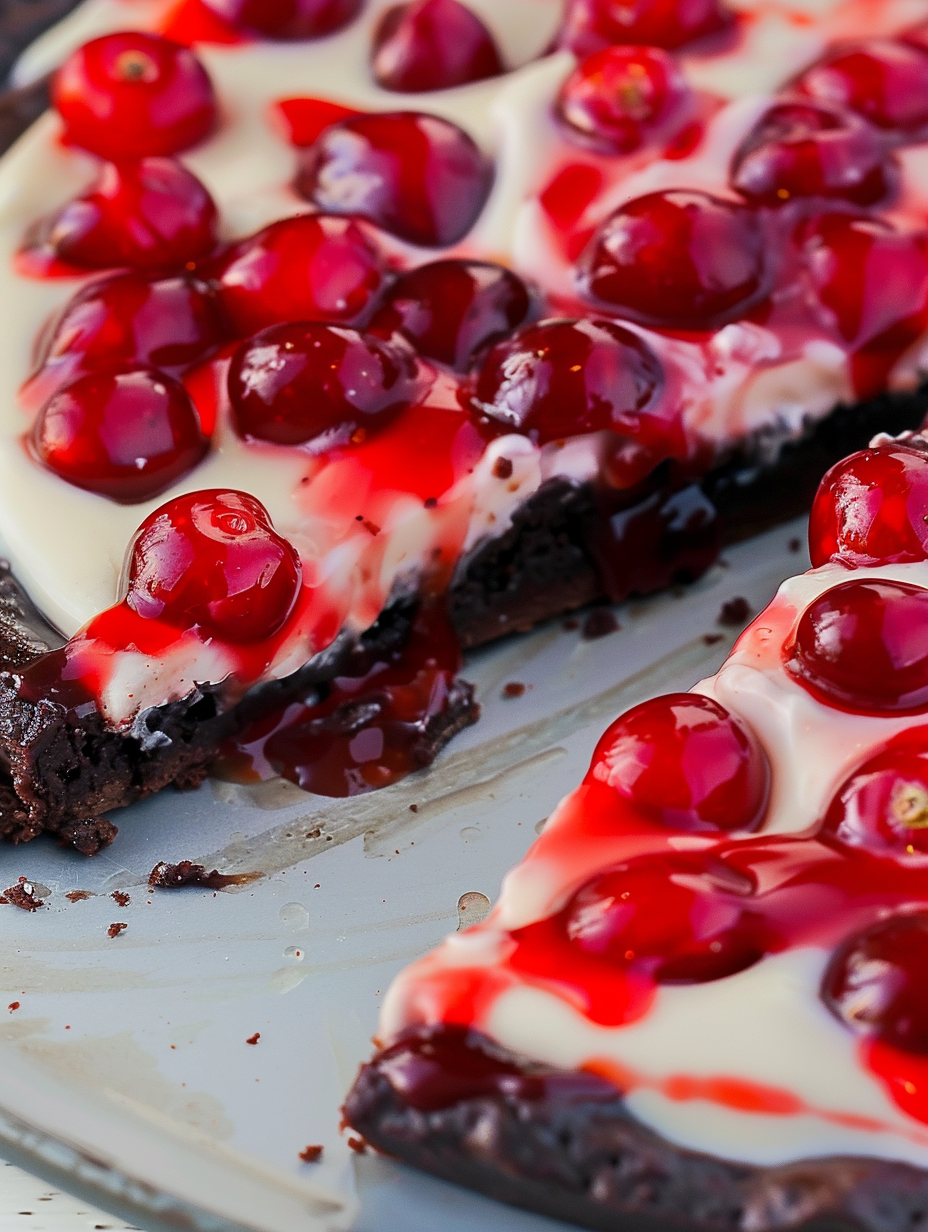
A crowd-pleasing dessert that layers fudgy brownie, tangy cream cheese, and glossy cherry pie filling into a 12-inch dessert pizza—perfect for parties and potlucks.
This dessert pizza began as a weekend experiment when I wanted something dramatic for a family gathering but didn’t have the time for individual pastries. The idea of turning a classic brownie into a sliceable, shareable pizza fascinated me. I discovered this combination one winter afternoon while flipping through an old baking magazine and adapting the proportions to suit my family’s sweet tooth. The result is a slab of dense, fudgy chocolate with a silky cream cheese layer and a bright cherry topping that cuts through the richness. It’s the kind of dessert that looks like you slaved all day, yet comes together in under an hour.
What makes this dessert special is the contrast of textures and flavors: the brownie base is chewy and slightly crisp on the edges, the cream layer is tangy and smooth, and the cherry pie filling adds a glossy, fruity finish. We serve it at celebrations, potlucks, and lazy Sunday dinners. Kids love the cherry topping and adults appreciate the balance provided by the cream cheese. I first made this for a neighborhood block party and watched it disappear within minutes—people came back for seconds and strangers asked for the recipe. It’s reliably impressive and wonderfully forgiving.
I remember serving this for my sister’s birthday; the cherry’s acidity cut through the dense chocolate so well that even guests who usually avoid overly sweet desserts asked for another wedge. The simplicity is deceptive: a few quality ingredients and small techniques—like not overmixing the batter—make all the difference. After that first party, it became my go-to dessert for last-minute celebrations because it looks elegant but is completely approachable.
One of my favorite aspects is how adaptable the layers are: swap the cherry for raspberry preserves, or add toasted almonds to the top for texture. At a family reunion, I experimented with a maraschino cherry garnish and a drizzle of melted dark chocolate—guests loved the visual contrast. Watching everyone reach across the table for the last slice is a small but reliable measure of success for this dessert.
Store the dessert covered in the refrigerator for up to 4 days. Use an airtight cake carrier or wrap the pizza pan tightly with plastic wrap to prevent the cream cheese from absorbing other aromas. For longer storage, cut into wedges, place single layers on a baking sheet to freeze until solid, then transfer to a freezer-safe container separated by parchment paper; they keep well for up to 3 months. To serve from frozen, thaw in the refrigerator overnight and then let sit at room temperature for 10 to 15 minutes before slicing to restore the best texture.
If you need to modify ingredients, there are easy swaps that maintain texture and flavor. Replace the cherry pie filling with blueberry or mixed berry pie filling for seasonal variety; reduce added syrup by half to control sweetness. For a lighter cream layer, blend 6 ounces of cream cheese with 1/2 cup Greek yogurt and 1 cup powdered sugar, though the filling will be softer. If avoiding dairy, use a firm vegan cream cheese and a dairy-free butter substitute in the base, but expect a slight change in mouthfeel. To make it gluten-free, substitute a 1-to-1 gluten-free flour blend for the all-purpose flour and bake as directed, watching timing closely.
Present the dessert pizza on a wooden board or cake stand, sliced into 12 wedges. Garnish each wedge with a fresh cherry or a light dusting of cocoa for a restaurant-style finish. Serve alongside vanilla ice cream or a dollop of lightly whipped cream to balance the richness. For an adult crowd, add a sprinkle of flaked sea salt or a drizzle of liqueur-spiked ganache. Pair with coffee, dessert wine, or a fruity sparkling beverage to complement the cherries and chocolate.
Adjust this dessert for every season: in summer, top the cream layer with macerated fresh cherries and a light spoon of cherry syrup for a brighter finish. In fall, fold a pinch of cinnamon into the cream layer and use spiced cherry filling for warm notes. Around winter holidays, swap cherries for cranberry-orange compote and garnish with toasted pecans. The base remains the same, so you can adapt toppings to match seasonal produce or holiday flavors without changing the baking technique.
I once brought this to a winter office party where a coworker compared it to his grandmother’s black forest torte because of the chocolate-cherry combination. A potluck host later told me that people kept asking where I bought it. The dessert’s visual appeal on a large pan makes it a conversation starter, and I’ve had multiple friends ask for the recipe to make for birthdays and school bake sales. The most memorable time was when my niece requested it for her classroom celebration; the teacher reported that even children who usually skip dessert happily enjoyed a wedge.
To streamline prep, bake the brownie base the day before and keep it tightly wrapped at room temperature. Prepare the cream layer in the morning and refrigerate until ready to assemble. If bringing to an event, assemble the layers at the host’s house to avoid transporting a chilled pan; this keeps the cherry topping glossy and prevents sweating. Use a sharp serrated knife warmed under hot water and dried between cuts for cleaner slices when serving.
This dessert pizza is one of those specials that adapts to your pantry and schedule while delivering consistent, crowd-pleasing results. It’s rich, yet balanced, and the layered presentation always feels celebratory. Make it your own with toppings and garnishes that reflect the season and your tastes—then enjoy watching it disappear.
Do not overmix the batter; stir just until combined to keep the base fudgy.
Chill the assembled dessert for at least 1 hour for cleaner slices.
Let slices sit 10 to 15 minutes at room temperature before serving for optimal texture.
This nourishing chocolate cherry brownie dessert pizza recipe is sure to be a staple in your kitchen. Enjoy every moist, high protein slice — it is perfect for breakfast or as a wholesome snack any time.
This Chocolate Cherry Brownie Dessert Pizza recipe makes perfectly juicy, tender, and flavorful steak every time! Serve with potatoes and a side salad for an unforgettable dinner in under 30 minutes.
Preheat oven to 350 degrees F. Grease a 12-inch rimmed pizza pan with nonstick spray and set aside to ensure easy release after baking.
Melt 10 tablespoons butter and let cool slightly. In a medium bowl whisk together the melted butter, 1 1/4 cups sugar, 2 large eggs, and 1 teaspoon vanilla until glossy, about 1 minute.
Add 3/4 cup cocoa powder, 1/2 cup all-purpose flour, 1/2 teaspoon salt, and 1/4 teaspoon baking powder to the wet mixture. Stir just until combined, about 50 strokes, to avoid overmixing.
Spread batter into the prepared pan and bake for 25 to 30 minutes. The center should be set but slightly moist; a toothpick should come out with moist crumbs. Cool on a rack.
Beat 8 ounces softened cream cheese with 1 1/2 cups powdered sugar for about 2 minutes until smooth and spreadable. Chill briefly if too soft.
Spread the cream cheese mixture over the cooled brownie base and spoon the can of cherry pie filling evenly across the top. Refrigerate until serving and let sit 10 to 15 minutes at room temperature before slicing.
Last Step: Please leave a rating and comment letting us know how you liked this recipe! This helps our business to thrive and continue providing free, high-quality recipes for you.
Leave a comment & rating below or tag
@platemint on social media!

Saucy, cheesy baked ziti with ricotta and basil tastes like lasagna in half the effort, perfect for weeknights or crowds.

Quick, crowd-pleasing cheeseburger sliders baked golden with melty cheddar and savory beef. Ready in 30 minutes, great for parties and easy meal prep.

Crispy air fryer sweet potato fries with tender centers, fast-food flavor without deep frying. Ready in minutes and irresistibly snackable.
Leave a comment & rating below or tag @platemint on social media!
Enjoyed this recipe? Share it with friends and family, and don't forget to leave a review!
This recipe looks amazing! Can't wait to try it.
Comments are stored locally in your browser. Server comments are displayed alongside your local comments.

Join to receive our email series which contains a round-up of some of our quick and easy family favorite recipes.
