
>>

Rich, fudgy chocolate cookies filled with warm caramel and finished with melted chocolate and optional toppings—perfect for holidays, cookie swaps, or a midnight treat.
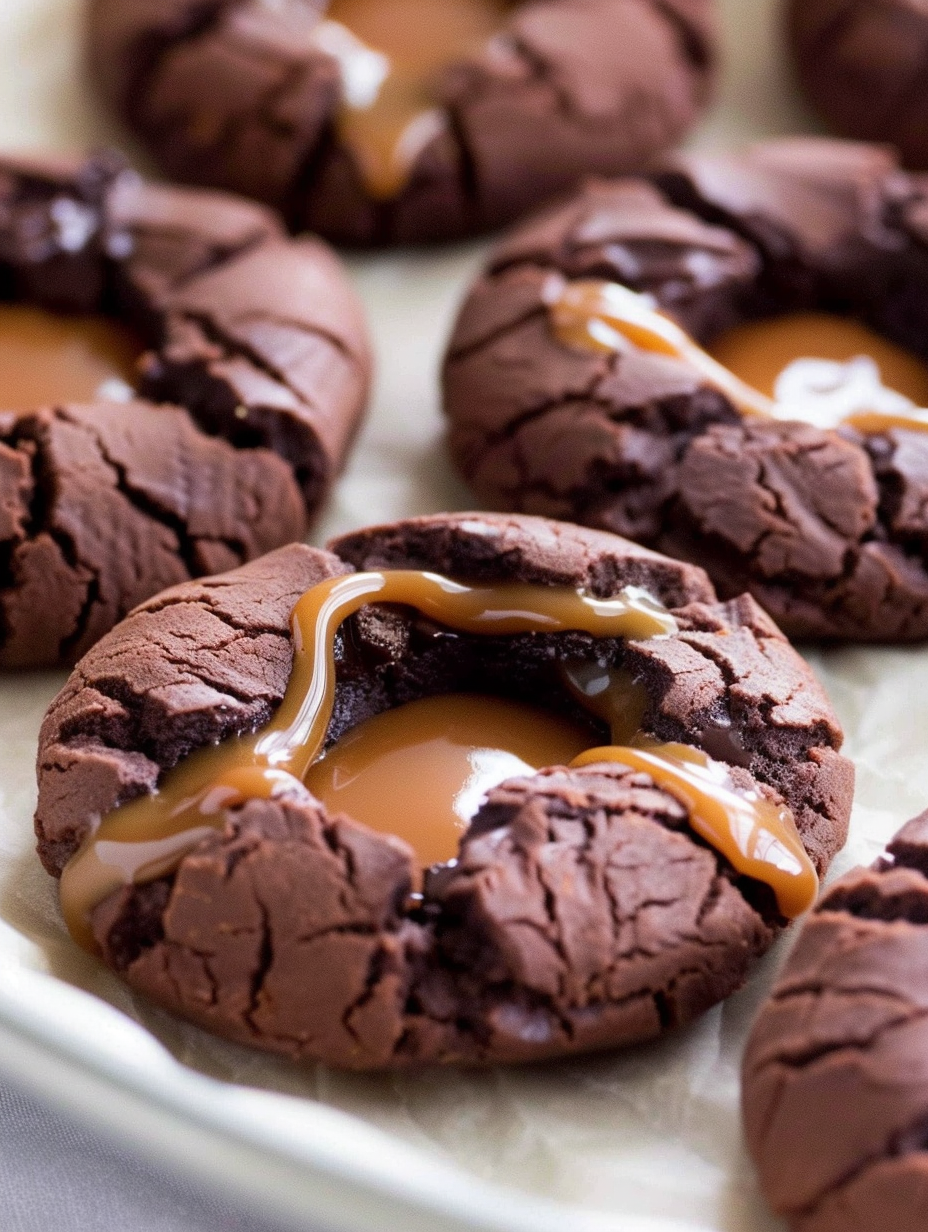
This recipe for Chocolate Caramel Thumbprint Cookies has been my go-to when I want something that tastes indulgent but comes together quickly. I first discovered the combination of deep chocolate and molten caramel one year at a holiday cookie swap; I adapted the technique to a thumbprint style and the result felt like a small, handheld brownie with a gooey center. The texture balances a tender, slightly crackled edge with a soft center that gives way to warm caramel and a glossy chocolate finish.
I often make a double batch for Thanksgiving dessert trays and again in December for gift tins. These cookies are forgiving—if the dough spreads a little more than expected, the thumbprint still holds shape, and a quick blast of cooled caramel seals the center beautifully. Eating one warm with a glass of milk or a cup of coffee is a small ritual in my kitchen: chocolate, caramel, and just the right crunch from optional mix-ins like toffee or nuts.
When I first served these at a small family gathering, everyone reached for seconds and asked for the recipe. The thumbprint design makes them feel special even though the technique is simple—my nephews loved pressing their thumbs into the dough and choosing their own toppings, which turned baking into a shared, joyful activity.
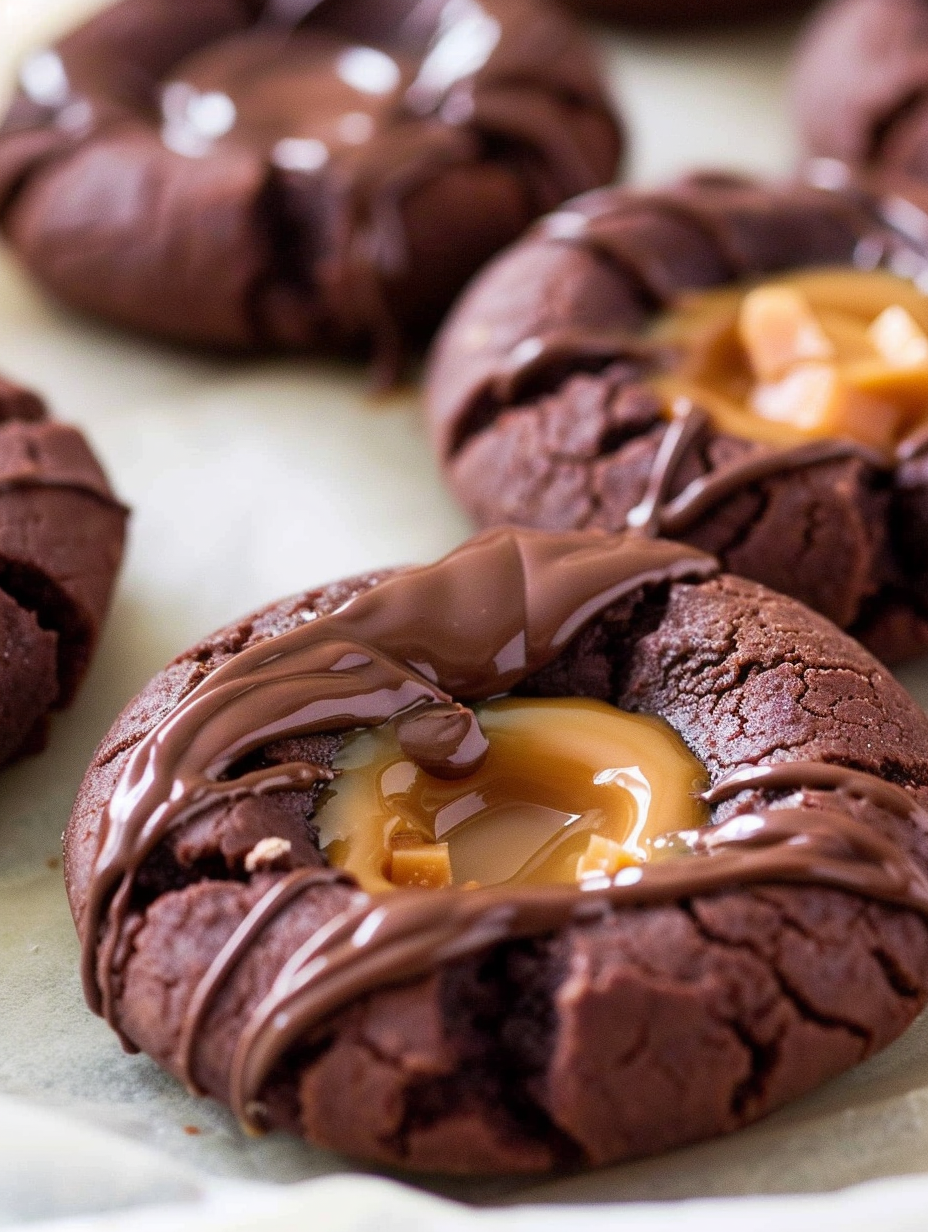
My favorite part is watching the caramel glisten as you spoon it into each well—there's a tiny moment of triumph every time it settles perfectly. At a cookie swap the presentation always sparks conversations: the glossy chocolate tops, sprinkle confetti, and occasional chopped nuts make these feel elegant even though they are straightforward to prepare.
Store the cookies in a single layer or with parchment between layers in an airtight container at room temperature for up to 3 days. If you live in a warm climate, keep them in the refrigerator to prevent the caramel from softening excessively, but allow cookies to come back to room temperature before serving for best texture. To freeze, place the cooled cookies on a tray until firm, then transfer to a freezer-safe bag or container with parchment between layers. Thaw overnight in the refrigerator and bring to room temperature before enjoying. Avoid long refrigeration of assembled cookies as it can cause the chocolate to bloom and the caramel to harden.
If you need dairy-free options, substitute butter with a plant-based stick butter and use coconut cream instead of heavy cream for the caramel—note flavor and texture will differ slightly. For a gluten-free variation, replace the all-purpose flour with a 1:1 gluten-free flour blend that contains xanthan gum; the cookies may spread a touch more, so chill the dough briefly before shaping. Swap caramels for soft caramel disks or chopped soft caramels from candy sections; if you'd rather make your own caramel, heat sugar with butter and cream to 245°F (118°C) and cool slightly before filling. For lower sweetness, pick dark chocolate chips and reduce sprinkle toppings.
Serve alongside a glass of cold milk or a small espresso for contrast. For a festive platter, alternate thumbprints with powdered sugar cookies and biscotti to offer different textures. Garnish with a light dusting of sea salt or flaky Maldon on top of the chocolate to heighten the caramel flavor. Pair with warm spiced cider in autumn or peppermint hot chocolate in winter; mini versions work beautifully for dessert buffets or bite-sized samplers.
Thumbprint-style confections trace back to European baking traditions where small wells in dough were filled with jam or preserves. This American adaptation swaps jam for caramel, marrying the deep cocoa flavors common in modern American baking with the classic thumbprint format. Combining store-bought caramels with home-baked cookies is a practical convenience that became popular in mid-20th-century home baking as processed candies became widely available. The result is a hybrid: traditional technique with contemporary flavors.
In winter, add a pinch of cinnamon or orange zest to the dough for seasonal warmth. For the holidays, replace half of the chocolate top with white chocolate and sprinkle crushed candy canes for a peppermint twist. Summer variations can include chopped toasted almonds and a drizzle of salted caramel. For St. Patrick's Day, use mint bits and swap semi-sweet chips for dark chocolate to complement the mint notes.
Make the dough a day ahead and refrigerate tightly wrapped; this actually develops flavor and makes shaping easier. You can also freeze shaped dough balls on a tray then transfer to a bag; bake from frozen, adding 2–3 minutes to the bake time. Prepare the caramel filling in advance and warm briefly to make it pourable before filling. Store unfilled baked cookies in an airtight container and fill them the day you plan to serve for cleaner presentation.
These cookies are a small, joyful indulgence—perfect for sharing, gifting, or saving for a bright moment in your day. Give them a try and make the finishing touches your own.
Soften butter to room temperature for proper creaming and a tender texture.
Warm caramels slowly in 30-second microwave intervals, stirring between to avoid scorching.
If dough seems too soft to shape, chill for 15–20 minutes to firm up.
Press thumbprints gently to avoid cracking the edges too much; cracks add character once baked.
This nourishing chocolate caramel thumbprint cookies recipe is sure to be a staple in your kitchen. Enjoy every moist, high protein slice — it is perfect for breakfast or as a wholesome snack any time.
Yes. Store in an airtight container at room temperature for up to 3 days or freeze for up to 3 months.
Use plant-based butter and coconut cream for dairy-free, and use a 1:1 gluten-free flour blend if needed.
This Chocolate Caramel Thumbprint Cookies recipe makes perfectly juicy, tender, and flavorful steak every time! Serve with potatoes and a side salad for an unforgettable dinner in under 30 minutes.
Preheat oven to 350°F and line a baking sheet with parchment paper. Prepare a second sheet if needed for batches.
Beat softened butter and sugar until light and fluffy, then add egg and vanilla and mix until incorporated.
Sift cocoa powder, flour, espresso powder, baking soda, baking powder, and salt together to ensure even distribution.
Slowly add dry ingredients to wet at low speed. Add milk and mix until the dough is thick and just combined.
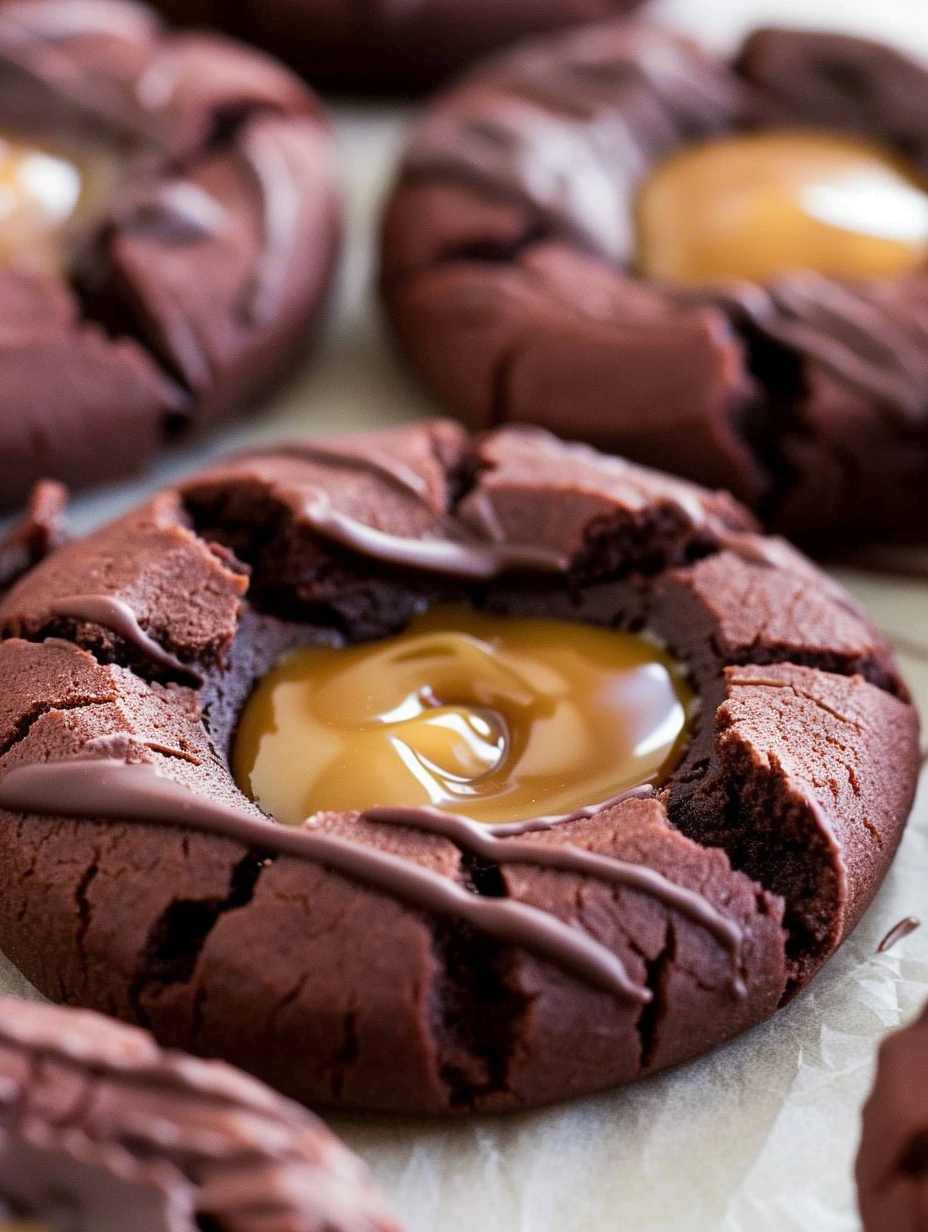
Roll into 1–2 tablespoon balls, place on sheet, and press thumb into center to create a well for filling.
Bake for 10–11 minutes until set but still soft in the center; let cool slightly on the sheet.
Melt caramels with heavy cream in 30-second microwave intervals, stirring until smooth, then spoon into each well.
Melt chocolate chips in a double boiler or microwave and spoon a little over each caramel; add toppings while chocolate is wet and let set.
Last Step: Please leave a rating and comment letting us know how you liked this recipe! This helps our business to thrive and continue providing free, high-quality recipes for you.
Leave a comment & rating below or tag
@platemint on social media!

Saucy, cheesy baked ziti with ricotta and basil tastes like lasagna in half the effort, perfect for weeknights or crowds.

Quick, crowd-pleasing cheeseburger sliders baked golden with melty cheddar and savory beef. Ready in 30 minutes, great for parties and easy meal prep.

Crispy air fryer sweet potato fries with tender centers, fast-food flavor without deep frying. Ready in minutes and irresistibly snackable.
Leave a comment & rating below or tag @platemint on social media!
Enjoyed this recipe? Share it with friends and family, and don't forget to leave a review!
This recipe looks amazing! Can't wait to try it.
Comments are stored locally in your browser. Server comments are displayed alongside your local comments.

Join to receive our email series which contains a round-up of some of our quick and easy family favorite recipes.
