
>>

Buttery, melt-in-your-mouth thumbprint cookies filled with bright cherry pie filling — a simple, nostalgic treat that’s perfect for holidays and everyday baking.
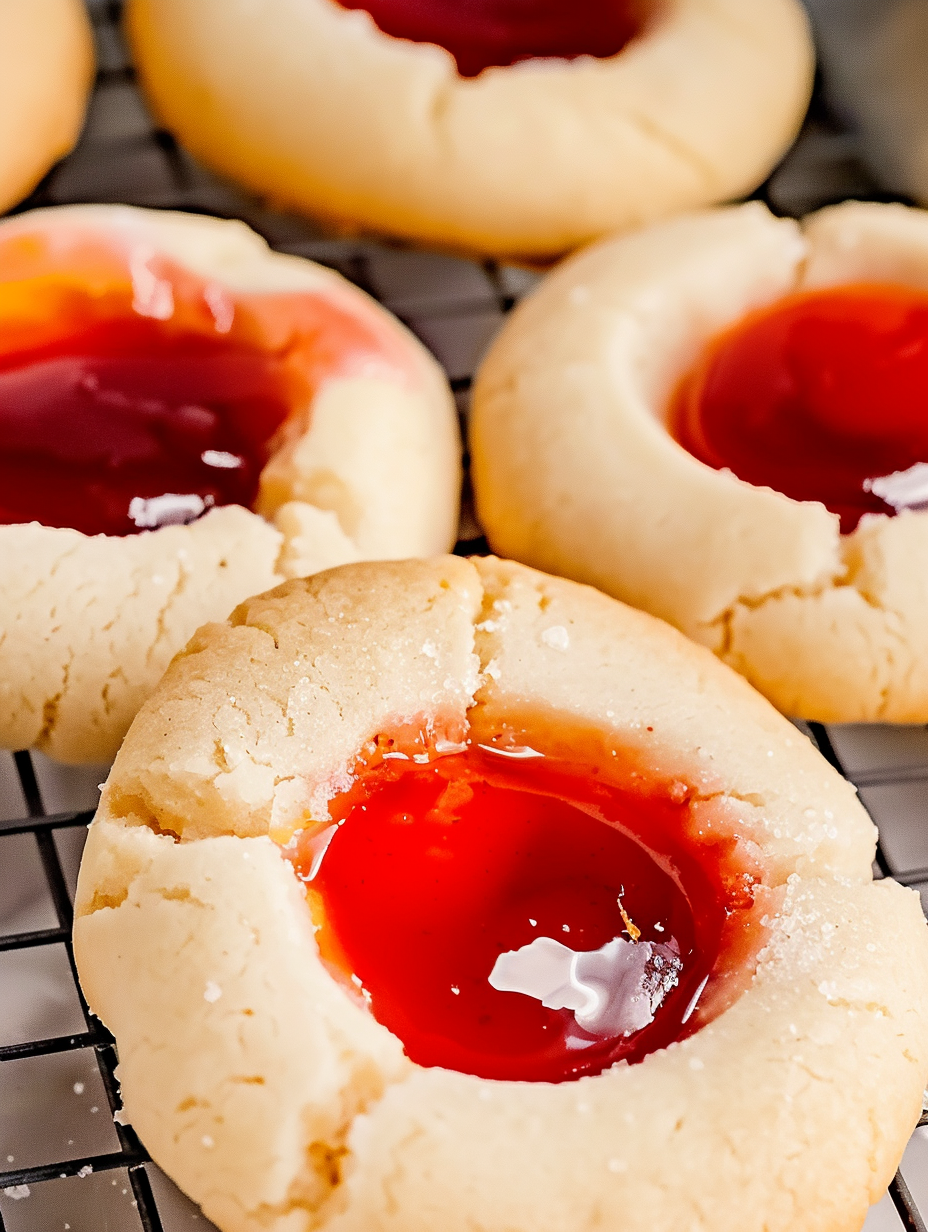
This Cherry Thumbprint Cookies recipe lives in my kitchen like a well-worn postcard from childhood: buttery, tender, and dotted with bright cherry centers. I first made this version on a rainy afternoon when I wanted something simple that would still feel special for a small tea with a friend. The dough comes together quickly with pantry staples, and the single spoonful of cherry pie filling tucked into each indentation adds a jewel-like burst of flavor. Every bite balances the richness of butter with the sweet-tart pop of cherry, and the texture — crisp at the edges and soft in the middle — keeps people reaching for more.
I love how forgiving these cookies are: the dough is sturdy enough to roll and shape, yet soft enough to melt on your tongue. I remember making a batch for a holiday cookie exchange; someone mistook them for an heirloom recipe because they looked so polished. The truth is, they’re incredibly approachable — no chilling required, no advanced techniques — yet they produce a refined result. The cherry filling keeps them festive, but you can also adapt them for jam, lemon curd, or even savory options. For busy bakers, they’re a dependable crowd-pleaser that travel well and freeze perfectly.
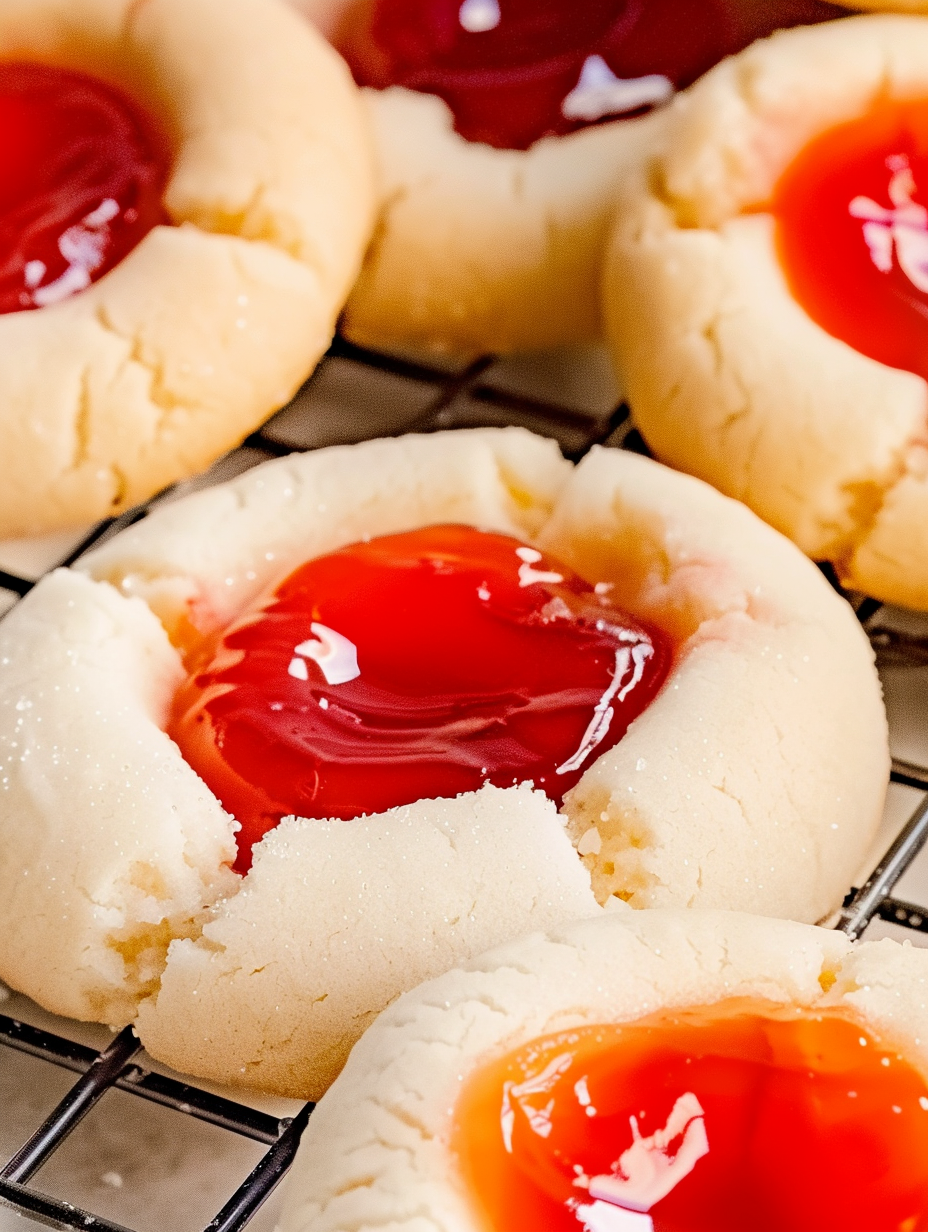
My family always asks for these when cherries are in season or when I bring out a jar of pie filling. I’ve learned small tweaks over time — a gentle press for the perfect indentation, rolling the dough in sugar for sparkle — that make them look bakery-made. They’re the kind of cookie that makes weekday afternoons feel like a celebration.
What I love most about this recipe is its reliability. Whether I’m making a quick batch for a weekday treat or assembling plates for holiday guests, the results are consistent. Friends often comment on how homemade they look, yet the process is simple — just a few thoughtful steps yield bakery-quality presentation. I still smile when someone asks for the recipe because it always starts conversation about family baking memories.
Store cooled cookies in an airtight container at room temperature for up to 4 days. Layer them with parchment or wax paper to prevent sticking, especially if filling is syrupy. For longer storage, freeze baked cookies in a single layer on a sheet, then transfer into a freezer-safe container with parchment between layers — they’ll keep up to 3 months. Thaw at room temperature for 15–20 minutes before serving, and if you like a slightly crisp exterior, warm them in a 300°F oven for 5 minutes.
If you need to swap ingredients, you have options: replace the egg yolks with 2 tablespoons of yogurt plus 1 tablespoon milk for a slightly different texture (results will be less rich). Use a vegan butter alternative and a commercial egg replacer to make them dairy-free and vegan, though texture will be slightly different. For gluten-free versions, substitute an all-purpose gluten-free flour blend cup-for-cup and add a teaspoon of xanthan gum if it’s not already included. Different jam or curd fillings will change sweetness and moisture — reduce syrupy fillings slightly to avoid spreading.
Serve these cookies on a tiered platter with tea or coffee for afternoon gatherings, or box them with parchment for thoughtful gifts. Garnish with a light dusting of powdered sugar or a thin ribbon of vanilla glaze for visual contrast. They pair wonderfully with a bright citrus salad or a creamy hot chocolate for winter celebrations, and a scoop of vanilla ice cream makes a delightful dessert when you want something more indulgent.
Thumbprint-style cookies are found across many baking traditions, often called jam cookies or tartlets. They evolved as a practical way to add fruit preserves to small butter cookies, offering both a textural and flavor contrast. Historically, filling cookies with preserves was an economical method of using seasonal fruits and stretching richer ingredients while still celebrating flavor — a practice that remains beloved in holiday baking traditions around the world.
In summer, use fresh cherry compote or raspberry jam for brighter fruit notes; in winter, opt for spiced pear or cranberry-orange preserves to echo holiday flavors. You can fold a teaspoon of orange zest into the dough for a citrus lift, or add a pinch of cinnamon to complement autumn fillings. For Valentine’s Day, choose a red fruit filling and finish with a light dusting of powdered sugar for a romantic touch.
For easy entertaining, shape the dough into balls ahead of time and refrigerate on a tray covered for up to 48 hours, then press indentations and fill just before baking. Alternatively, freeze shaped dough balls on a sheet, then transfer to a bag; bake from frozen, adding 2–3 minutes to the baking time. This approach lets you pull out fresh-baked cookies with minimal last-minute effort.
These cherry thumbprint cookies are one of those small joys that feel artisanal without the fuss. They’re adaptable, friendly for bakers of all levels, and reliably delicious. Gather your ingredients, press those perfect wells, and enjoy the warm, buttery aroma that will fill your kitchen.
Roll the dough balls in granulated sugar before baking for a subtle sparkle and slightly crisper edge.
If the indentation springs back, chill the shaped dough 10 minutes before adding filling to hold the well.
Drain very syrupy pie filling on a paper towel so the cookies don’t spread during baking.
Bake on the middle rack and rotate sheets if baking more than one for even browning.
To refresh texture after freezing, warm cookies 3–5 minutes at 300°F before serving.
This nourishing cherry thumbprint cookies — clean recipe recipe is sure to be a staple in your kitchen. Enjoy every moist, high protein slice — it is perfect for breakfast or as a wholesome snack any time.
This Cherry Thumbprint Cookies — Clean Recipe recipe makes perfectly juicy, tender, and flavorful steak every time! Serve with potatoes and a side salad for an unforgettable dinner in under 30 minutes.
Preheat oven to 350°F (175°C). Line a baking sheet with parchment paper or a silicone mat and place oven rack in the center position.
Cream softened butter and sugar until light and fluffy, about 2–3 minutes. Add the egg yolks and vanilla, mixing until smooth. Stir in flour and salt on low speed until a soft dough forms. Adjust with a few drops of milk if dry or chill briefly if too sticky.
Roll dough into 1-inch balls and place on the prepared baking sheet about 1 inch apart. Press an indentation into each ball with your thumb or the back of a small spoon. If dough is warm, chill shaped balls 10 minutes so wells hold their shape.
Spoon a small amount of cherry pie filling into each indentation, aiming for one cherry and a teaspoon of syrup. Avoid overfilling to prevent spreading during baking.
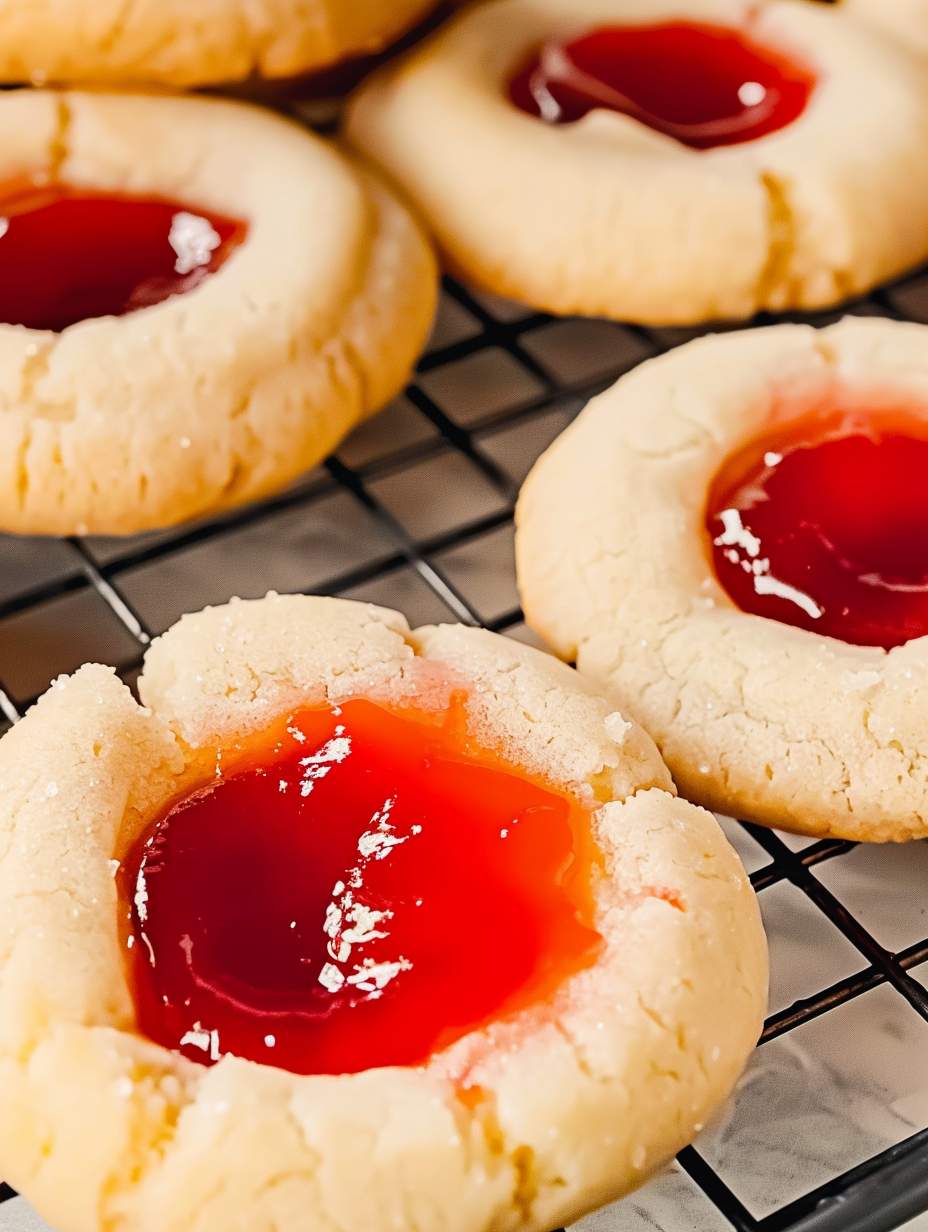
Bake for 12–14 minutes until edges are lightly golden. Cool on the baking sheet for 5 minutes, then transfer to a wire rack to cool completely. Optionally dust with powdered sugar or drizzle with vanilla glaze once cooled.
Last Step: Please leave a rating and comment letting us know how you liked this recipe! This helps our business to thrive and continue providing free, high-quality recipes for you.
Leave a comment & rating below or tag
@platemint on social media!

Saucy, cheesy baked ziti with ricotta and basil tastes like lasagna in half the effort, perfect for weeknights or crowds.

Quick, crowd-pleasing cheeseburger sliders baked golden with melty cheddar and savory beef. Ready in 30 minutes, great for parties and easy meal prep.

Crispy air fryer sweet potato fries with tender centers, fast-food flavor without deep frying. Ready in minutes and irresistibly snackable.
Leave a comment & rating below or tag @platemint on social media!
Enjoyed this recipe? Share it with friends and family, and don't forget to leave a review!
This recipe looks amazing! Can't wait to try it.
Comments are stored locally in your browser. Server comments are displayed alongside your local comments.

Join to receive our email series which contains a round-up of some of our quick and easy family favorite recipes.
