
>>

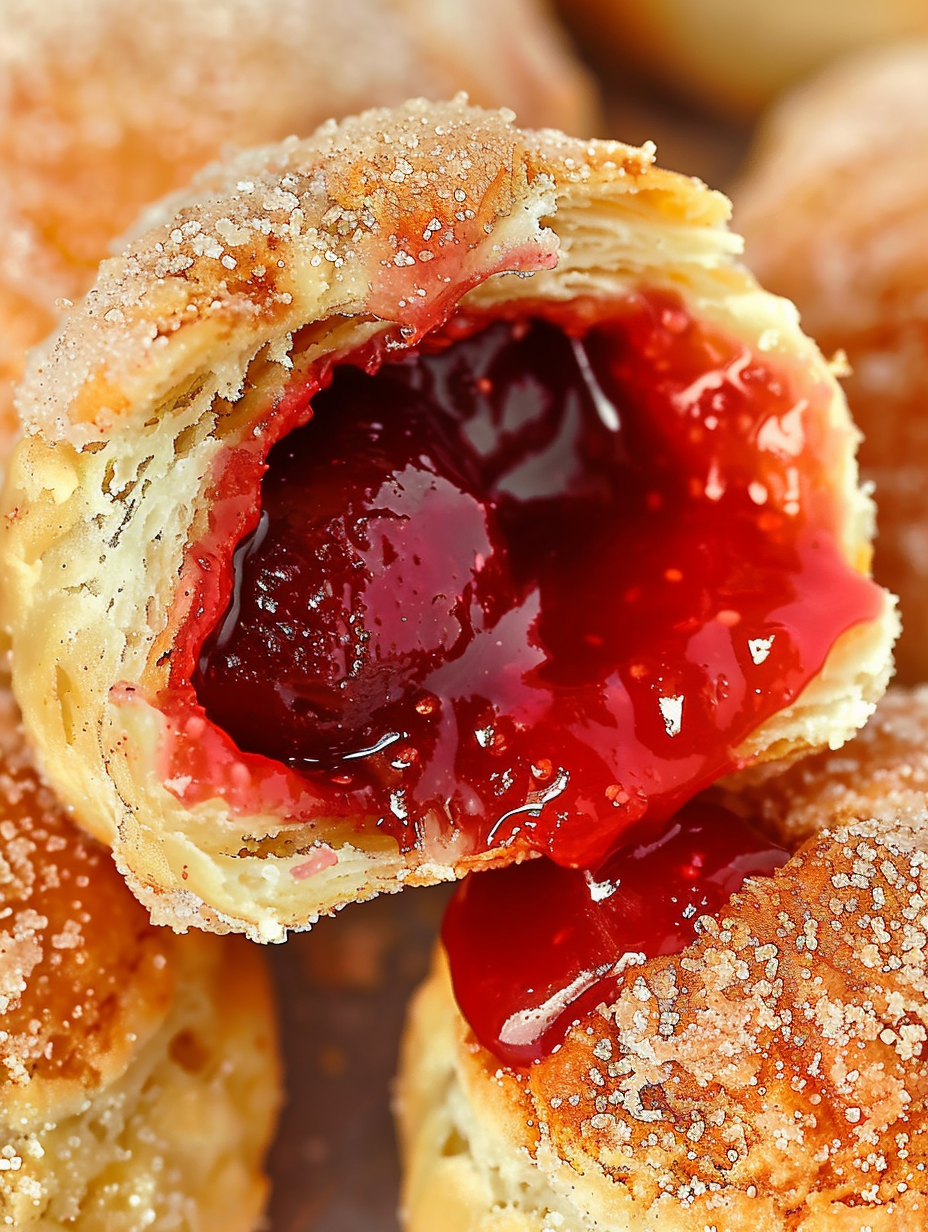
Sweet cherry pie filling wrapped in biscuit dough, coated in cinnamon sugar, and cooked until golden — ready in minutes in an air fryer or baked in the oven. Perfect for spring and summer gatherings.
This little handheld delight has been my go-to party treat whenever cherries are in season. I first made these on a warm May afternoon when a neighbor dropped off a bag of ripe cherries; I wanted something fast, nostalgic, and shareable. The idea of bright, jammy cherry centers wrapped in pillowy biscuit dough and finished in crunchy cinnamon sugar felt like an instant hit. They disappeared in minutes at my backyard brunch and have since become a requested contribution at every potluck.
The contrast is the real magic: a soft, tender interior with a warm, molten cherry center, and an exterior that crackles with sweet cinnamon crunch. The dough I use is the store-bought Grand biscuits (the 8-count, not the flaky layers), which saves time and gives a reliable texture that browns beautifully in an air fryer. The homemade cherry filling option also gives you control over sweetness and tartness, especially when using fresh or frozen cherries. These are easy enough for a weeknight dessert yet festive for celebrations.
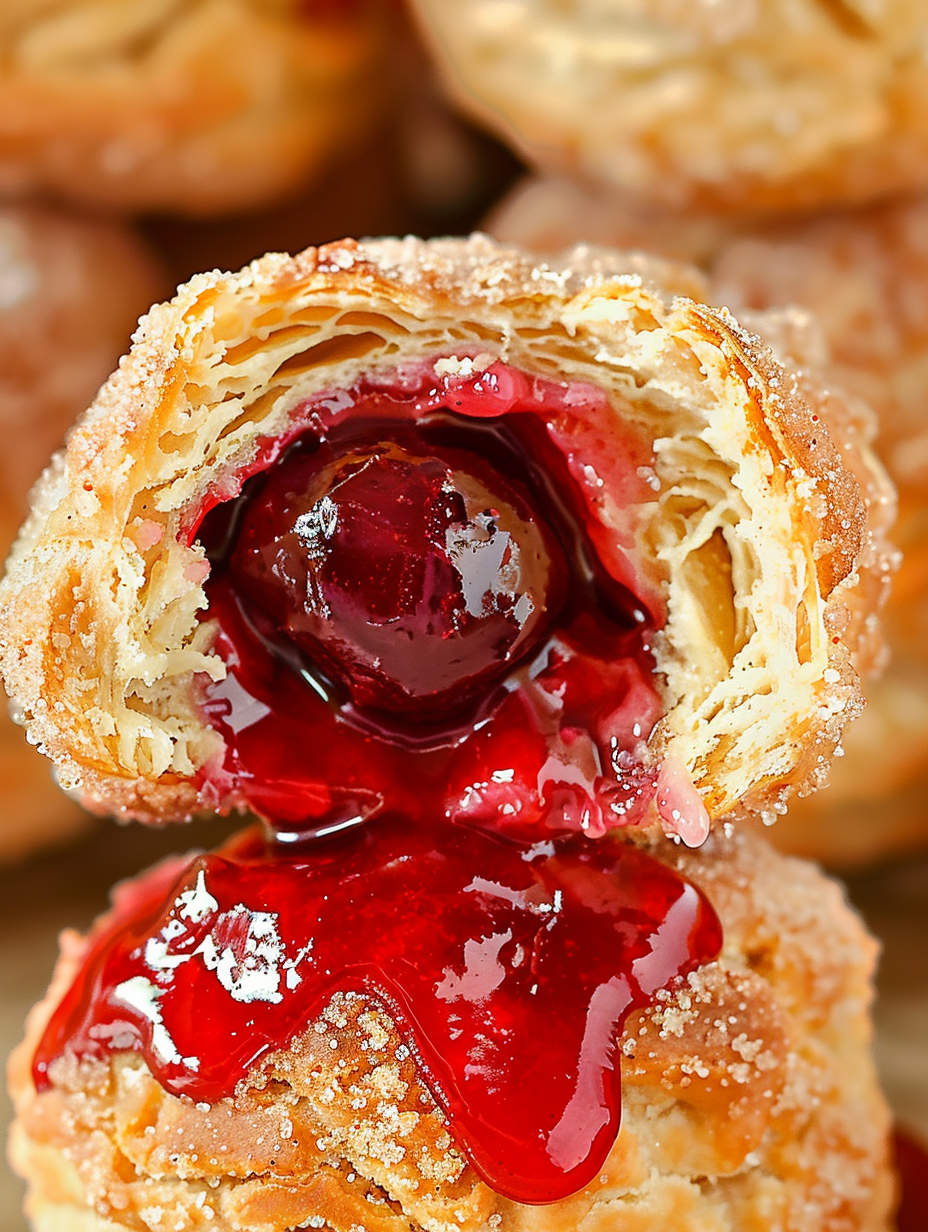
At my house, these are always the first to go. I love how easy they are to double or triple for larger groups, and how reliably the cinnamon-sugar coating gives a little nostalgia—like a doughnut hole, but juicier. My kids call them "cherry bombs," which, admittedly, feels very on-brand when one erupts with gooey filling the moment you bite in.

My favorite part is the moment someone bites into one and the sweet cherry filling oozes out—always gets a laugh and a few surprised exclamations at parties. I remember serving these at a neighborhood block party where an older gentleman told me they reminded him of fair treats; moments like that make simple recipes feel special.
To preserve texture, let the bombs cool completely at room temperature before storing. For short-term storage (up to 3 days), keep them in a single layer in an airtight container lined with a paper towel to absorb moisture. For longer storage, freeze on a baking sheet until solid, then transfer to a labeled freezer bag for up to 1 month. Reheat frozen bombs in an air fryer at 330°F for 4–6 minutes or in a 375°F oven for 10–12 minutes until warmed through and crisp. Avoid microwaving if possible; it will make the coating soggy.
If you’d like to avoid dairy, use a vegan buttery spread or melted coconut oil for brushing—coconut will add a subtle flavor. For gluten-free, use a gluten-free biscuit dough or small rounds of puff pastry made from gluten-free flour blends; note texture will differ and browning may be less pronounced. Swap cherries for apple filling (finely chopped apples cooked with sugar and a splash of lemon) or use blueberry pie filling for a different fruit profile. For a richer treat, add a teaspoon of almond extract to the cherry filling for a nutty aroma.
Serve warm on a platter with a dusting of powdered sugar or a drizzle of vanilla glaze for an elegant touch. Pair with vanilla ice cream or a dollop of whipped cream for contrast in temperature and texture. For brunch, arrange with coffee and a citrus fruit salad to cut the sweetness. Garnish with fresh mint or a few whole cherries skewered on toothpicks to make them festive for outdoor parties.
These handheld treats are a modern, casual riff on classic American fruit pastries and pie bites. The idea of enclosing fruit filling in dough echoes traditional fruit dumplings and hand pies that date back centuries, but the use of canned biscuit dough is a contemporary convenience that became popular in mid-20th-century American home cooking. Variations of filled dough can be found in many cultures—from empanadas to kolaches—making these Cherry Pie Bombs part of a broader lineage of portable, comfort-filled pastries.
During spring and summer, use fresh sweet cherries or a mix of sweet and tart cherries for complexity. In fall, swap in apple-cinnamon or pear-ginger fillings and use pumpkin spice in the sugar coating. For holidays, try cran-apple filling with a pinch of nutmeg, or brush with maple butter and sprinkle toasted pecans on top for a festive twist. Adjust spice levels and sugar depending on the fruit’s natural sweetness.
Prep the dough and filling separately for faster assembly: make the cherry filling a day ahead and refrigerate. On the morning of your event, separate biscuits into layers and roll them while the filling comes to room temperature. Fill, seal, and either refrigerate (short term) or freeze. If refrigerating filled bombs for later that day, keep them covered and cold until cooking. For large gatherings, cook in batches and keep finished bombs warm in a low oven (200°F) on a wire rack set over a sheet pan to preserve crispness.
These Cherry Pie Bombs are simple, adaptable, and endlessly shareable. Whether you’re making a quick dessert or prepping for a party, they deliver warm, nostalgic flavors with minimal fuss—don’t be surprised if they become a new family favorite.
Roll the biscuit layers gently to avoid tearing; if a tear happens, pinch a small scrap of dough to patch.
Brush with melted butter right before rolling in cinnamon sugar so the coating adheres evenly.
Space the bombs at least 2 inches apart in the air fryer to allow for expansion and even browning.
If filling is especially juicy, let it cool and thicken before filling to prevent leaks.
For extra crunch, double-dip in butter and cinnamon sugar just before cooking.
This nourishing cherry pie bombs recipe is sure to be a staple in your kitchen. Enjoy every moist, high protein slice — it is perfect for breakfast or as a wholesome snack any time.
Store cooled bombs in an airtight container in the refrigerator for up to 3 days. Reheat in an air fryer or oven to regain crispness.
Yes — assemble and freeze on a tray until solid, then transfer to a freezer bag. Air fry from frozen adding 2–4 minutes to the cook time.
This Cherry Pie Bombs recipe makes perfectly juicy, tender, and flavorful steak every time! Serve with potatoes and a side salad for an unforgettable dinner in under 30 minutes.
Open the can and separate each biscuit into two thin layers to yield 16 rounds. Roll each round to about 4 inches in diameter, keeping dough pliable but not warm.
Place 1 tablespoon of filling in the center of each circle. Gather edges up, pinch tightly to seal, and roll between palms into a smooth ball. Patch any tears with small dough pieces.
Brush each ball with melted butter on all sides, then roll in the cinnamon-sugar mixture until evenly coated. For extra crunch, repeat the brush and roll once more.
Preheat air fryer to 330°F. Lightly spray the basket and arrange bombs 2 inches apart. Air fry for 6–7 minutes, then check and air fry another 1–2 minutes until golden and cooked through.
Preheat oven to 375°F and line a sheet with parchment. Place bombs 2 inches apart and bake 12–15 minutes until golden brown. Allow to cool slightly before serving.
Last Step: Please leave a rating and comment letting us know how you liked this recipe! This helps our business to thrive and continue providing free, high-quality recipes for you.
Leave a comment & rating below or tag
@platemint on social media!

Saucy, cheesy baked ziti with ricotta and basil tastes like lasagna in half the effort, perfect for weeknights or crowds.

Quick, crowd-pleasing cheeseburger sliders baked golden with melty cheddar and savory beef. Ready in 30 minutes, great for parties and easy meal prep.

Crispy air fryer sweet potato fries with tender centers, fast-food flavor without deep frying. Ready in minutes and irresistibly snackable.
Leave a comment & rating below or tag @platemint on social media!
Enjoyed this recipe? Share it with friends and family, and don't forget to leave a review!
This recipe looks amazing! Can't wait to try it.
Comments are stored locally in your browser. Server comments are displayed alongside your local comments.

Join to receive our email series which contains a round-up of some of our quick and easy family favorite recipes.
