
Cherry Crumble Bars

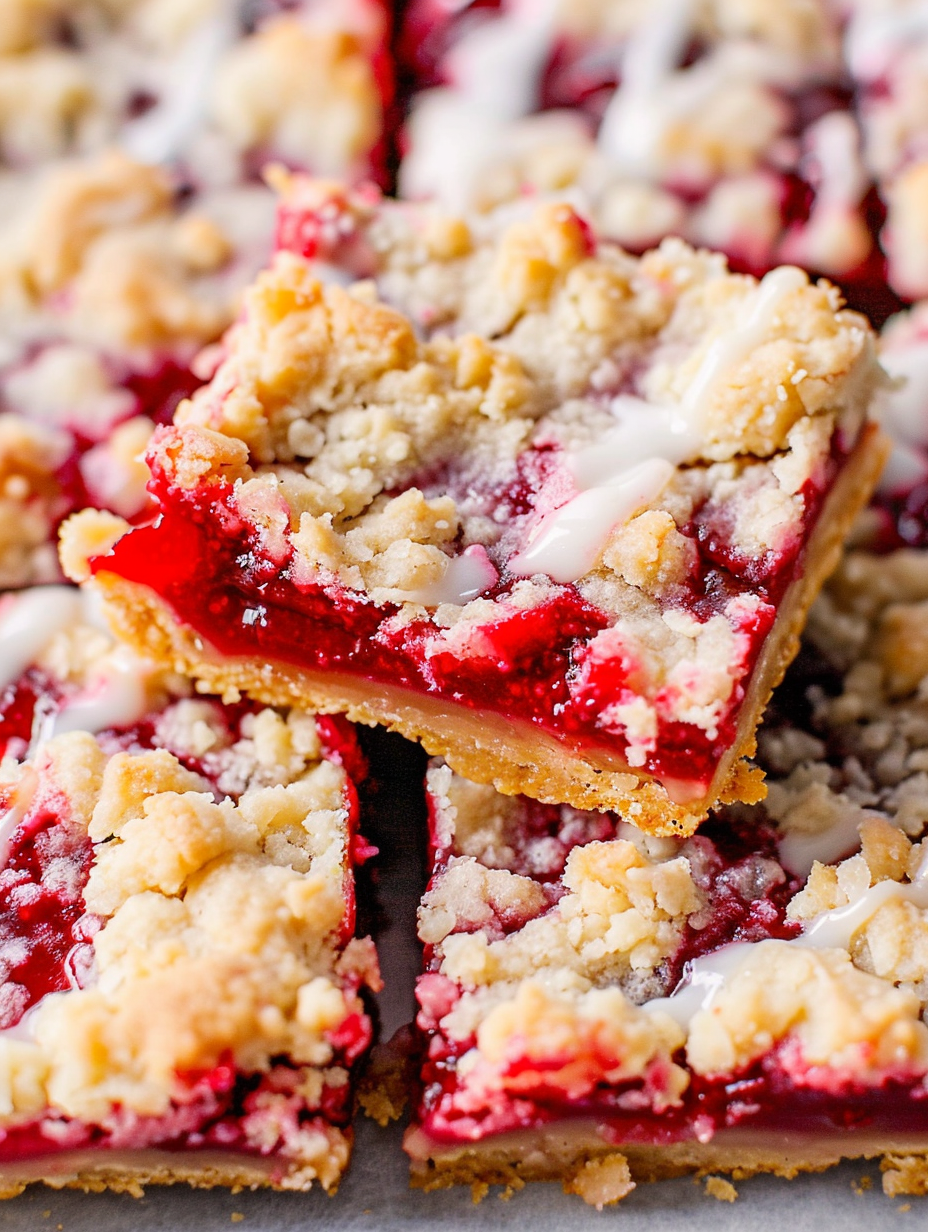
Simple, buttery bars with a tender crumb and a glossy cherry filling, finished with a sweet vanilla icing. Minimal ingredients and maximum comfort.
Why You'll Love This Recipe
- Ready with minimal hands on time, about 15 minutes of preparation and standard baking periods, which makes it excellent for busy afternoons and last minute guests.
- Uses pantry staples and two cans of cherry pie filling, so you do not need specialty ingredients or advanced techniques to get bakery style results.
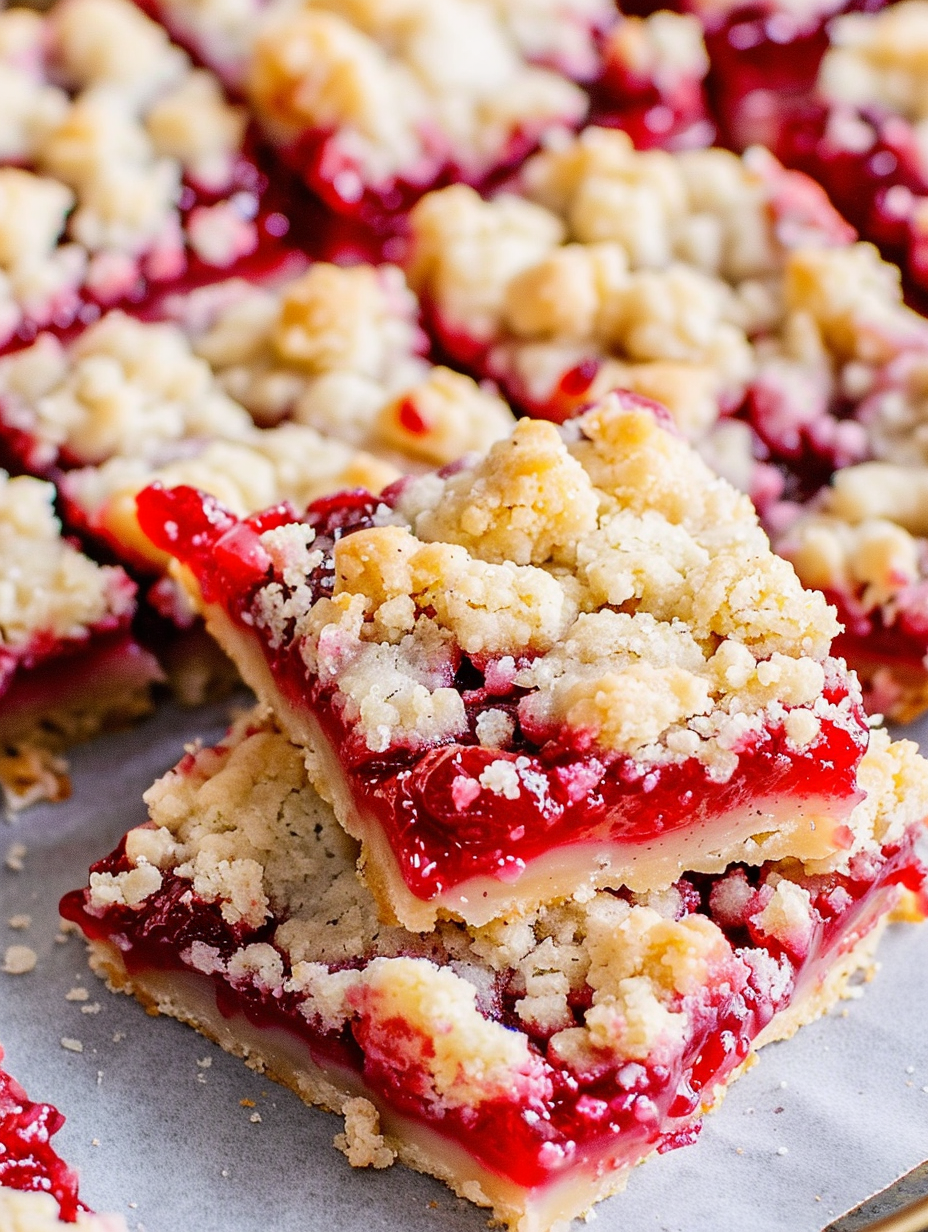
- Two textures in one, a dense buttery base and a lightly crisp crumble topping, with a glossy, fruity center that stays moist after cooling.
- Make ahead friendly, keeps well refrigerated for several days and freezes beautifully for longer storage, perfect for batch baking and meal prep.
- Customizable, swap the cherry filling for other pie fillings or fresh fruit with a simple thickener, making this a versatile template for seasonal variations.
In my kitchen these bars became a ritual during summer months. My kids loved drizzling the icing and I loved how forgiving the dough is. At potlucks everyone complimented the balance of sweetness and texture, and I learned that pressing the base firmly but not overworking it gives the best crumb structure.
Ingredients
- All purpose flour: 2 1/2 cups sifted. I prefer King Arthur for consistent results, but any unbleached all purpose flour will do. Sifting removes lumps and yields a lighter crumb.
- Granulated sugar: 1 cup. Regular white sugar for a clean sweetness that helps the base brown evenly. You can substitute part with light brown sugar for a deeper caramel note.
- Baking powder: 3/4 teaspoon. Provides a touch of lift in the crumb. Measure precisely for consistent rise.
- Salt: 1/2 teaspoon. Balances the sweetness and enhances the butter flavor.
- Unsalted butter: 2 sticks or 1 cup, room temperature and cubed. Great butter gives the best flavor, I often use Plugra or Challenge for richness.
- Large egg: 1. Adds structure and a tender texture to the dough.
- Vanilla extract: 1 teaspoon. Use pure vanilla for aroma; imitation works in a pinch but the flavor will be less nuanced.
- Cherry pie filling: Two 20 ounce cans. Use high quality store brands for consistent texture and taste, or homemade filling if you prefer.
- For the icing: 1 cup powdered sugar, 1 to 2 tablespoons milk, and 1 teaspoon vanilla extract. The icing should be slightly thick so it drizzles but does not immediately run off the bars.
Instructions
Preheat and prepare the pan: Set the oven to 350F and position the rack in the center. Line a jelly roll pan about 15 by 10 inches with parchment, leaving an overhang for easy lift out, or spray with non stick spray. A well prepared pan prevents sticking and helps the bars release cleanly once cooled. Combine dry ingredients: Whisk together the sifted flour, granulated sugar, baking powder and salt in a large bowl until homogeneous. This ensures even distribution of leavening and salt which affects both flavor and texture. Cut in butter to form crumbs: Using an electric mixer set on low, add the cubed butter in 4 to 5 additions. Beat until the mixture resembles coarse crumbs with pea sized bits. Avoid over mixing, you want pockets of butter to remain so the base stays tender and slightly flaky. Add egg and vanilla: Beat in the egg and vanilla just until incorporated. The dough should be slightly sticky but crumblike. If it feels dry add a teaspoon of milk, one at a time, until it holds together when pressed. Press base and parbake: Press about half of the dough evenly into the prepared pan to form a uniform base about 1/4 inch thick. Use the bottom of a measuring cup to compact the dough. Bake for 12 to 15 minutes until it takes on a light golden tint. This step prevents the filling from soaking into the crust. Layer filling and top with crumble: Spread the cherry pie filling in an even layer over the warm parbaked crust. Crumble the remaining dough over the filling, covering most of it but leaving some cherry peeking through. The crumble will crisp and color during the final bake. Bake to finish: Return the pan to the oven and bake for 30 to 40 minutes, or until the top is a light golden color and the filling bubbles at the edges. Baking times vary with pan depth and oven accuracy, so watch for gentle bubbling as a readiness indicator. Make the icing and cool: While the bars bake whisk powdered sugar, 1 tablespoon milk, and vanilla together. Add more milk in small increments until the icing reaches a thin drizzle consistency. Let the bars cool in the pan for 20 minutes, then drizzle the icing and allow it to set for about 15 minutes before slicing into 12 bars.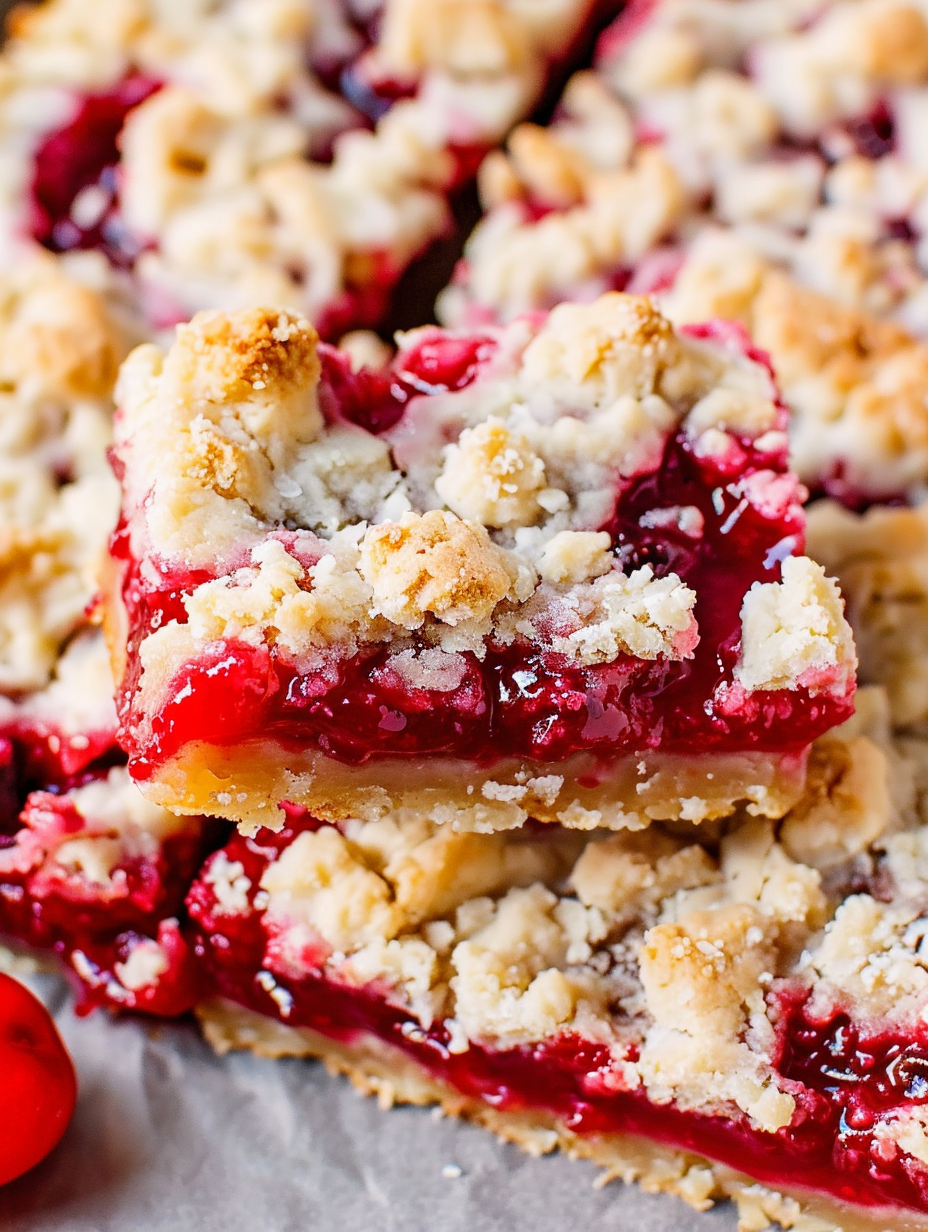
You Must Know
- These bars keep well when stored in an airtight container in the refrigerator for up to 5 days, or freeze individual portions for up to 3 months.
- They are not gluten free or dairy free in the standard version. To serve guests with allergies, follow the substitution notes below.
- For best slicing results let the icing set and the bars cool so the filling firms slightly, warm bars may be gooey and harder to cut cleanly.
- If the topping browns too quickly, tent the pan loosely with foil towards the end of baking to avoid over coloring while the filling finishes cooking.
One of my favorite things is how adaptable this batter is. I have used it with blueberry and apple fillings with great success. At holiday gatherings I double the cinnamon in the crust for apple filling and the bars disappear quickly. The balance of buttery base and bright fruit is what keeps people coming back for another square.
Storage Tips
Store the cooled bars in an airtight container at room temperature for up to two days. For longer storage refrigerate in a single layer with parchment between to prevent sticking and keep them fresh for up to five days. To freeze, wrap individual bars tightly in plastic wrap and place in a freezer safe container for up to three months. Thaw overnight in the refrigerator, then bring to room temperature before serving, or warm for 10 to 15 seconds in the microwave for a just baked feel.
Ingredient Substitutions
If you need dairy free bars use a plant based stick butter substitute measured one to one, and check that your powdered sugar is processed without bone char if that is a concern. To make them gluten free, replace the flour with a cup for cup all purpose gluten free blend that contains xanthan gum. For a lower sugar option swap the filling for fresh fruit macerated with a touch of maple syrup and a teaspoon of cornstarch to thicken; the flavor will be brighter and less jammy.
Serving Suggestions
Serve warm with a scoop of vanilla ice cream or a dollop of whipped cream for a classic pairing. For a simple afternoon treat present squares on a platter dusted with extra powdered sugar and a few fresh cherries or mint sprigs for contrast. These bars also pair nicely with strong coffee or a mellow black tea, and they make an elegant addition to brunch spreads or dessert tables.
Cultural Background
This style of fruit on a short crust with a crumb topping draws on American pantry traditions, where canned fillings became popular for convenience and reliability. The approach is related to classic fruit bars and cobblers, combining elements of shortbread with a lattice free fruit layer. Using canned fillings became a mid 20th century shortcut that remains popular for quick baking and consistent sweetness.
Seasonal Adaptations
In spring swap cherries for strawberry rhubarb filling, in late summer try fresh cherry compote thickened with a little cornstarch, and in autumn use spiced apple pie filling with a pinch of cinnamon and nutmeg in the crumble. For holiday gatherings add a tablespoon of orange zest to the base for a festive citrus note that complements many fillings.
Meal Prep Tips
For batch prep make two pans and freeze one, then pull it out the night before a gathering. Cut bars after chilling to prevent crumbling and pack them in single layers with parchment for easy transport. If you need to speed up cooling, pop the pan briefly in a cool area of the kitchen but avoid the refrigerator until the icing sets to prevent condensation that can soften the topping.
These cherry squares are simple enough for busy weeks and special enough for celebrations. I hope you find as much joy in sharing them as my family and I have. Make them your own by experimenting with fillings and spices, and enjoy watching how a small, buttery bar can make a big impression.
Pro Tips
Press the base evenly using the bottom of a measuring cup for a uniform crust.
Parbake the base so the filling does not soak in and the bars hold their shape.
Let bars cool before slicing to get clean edges and prevent the filling from running.
This nourishing cherry crumble bars recipe is sure to be a staple in your kitchen. Enjoy every moist, high protein slice — it is perfect for breakfast or as a wholesome snack any time.
Tags
Cherry Crumble Bars
This Cherry Crumble Bars recipe makes perfectly juicy, tender, and flavorful steak every time! Serve with potatoes and a side salad for an unforgettable dinner in under 30 minutes.
Ingredients
Base and Crust
Filling
Icing
Instructions
Preheat and prepare the pan
Preheat oven to 350F and line a jelly roll pan about 15 by 10 inches with parchment paper or spray with non stick spray. Proper pan preparation prevents sticking and makes removal easy.
Mix dry ingredients
Whisk together the sifted flour, sugar, baking powder and salt in a large bowl until evenly combined. This ensures uniform distribution of leavening and salt.
Cut in butter
Using an electric mixer on low, add cubed butter in 4 to 5 additions and beat until the mixture forms coarse crumbs with pea sized pieces. Avoid over mixing to retain tender flakes.
Add egg and vanilla
Beat in the large egg and vanilla extract until just incorporated. The dough should be slightly sticky and hold when pressed. Add a teaspoon of milk only if needed.
Press base and parbake
Press half of the dough evenly into the prepared pan about 1/4 inch thick. Parbake for 12 to 15 minutes until lightly golden to prevent the filling from soaking into the crust.
Add filling and crumble topping
Spread the cherry pie filling in an even layer over the warm parbaked crust. Crumble the remaining dough over the filling, covering most but not all of the fruit.
Final bake and icing
Bake for 30 to 40 minutes until the top is lightly golden and filling bubbles at the edges. Mix the icing by combining powdered sugar, 1 tablespoon milk and vanilla, adding more milk if needed. Cool bars 20 minutes, drizzle icing, then set 15 minutes before slicing.
Last Step: Please leave a rating and comment letting us know how you liked this recipe! This helps our business to thrive and continue providing free, high-quality recipes for you.
Nutrition
Did You Make This?
Leave a comment & rating below or tag
@platemint on social media!
Categories:
You might also like...
Cheesy Baked Ziti Casserole
Saucy, cheesy baked ziti with ricotta and basil tastes like lasagna in half the effort, perfect for weeknights or crowds.
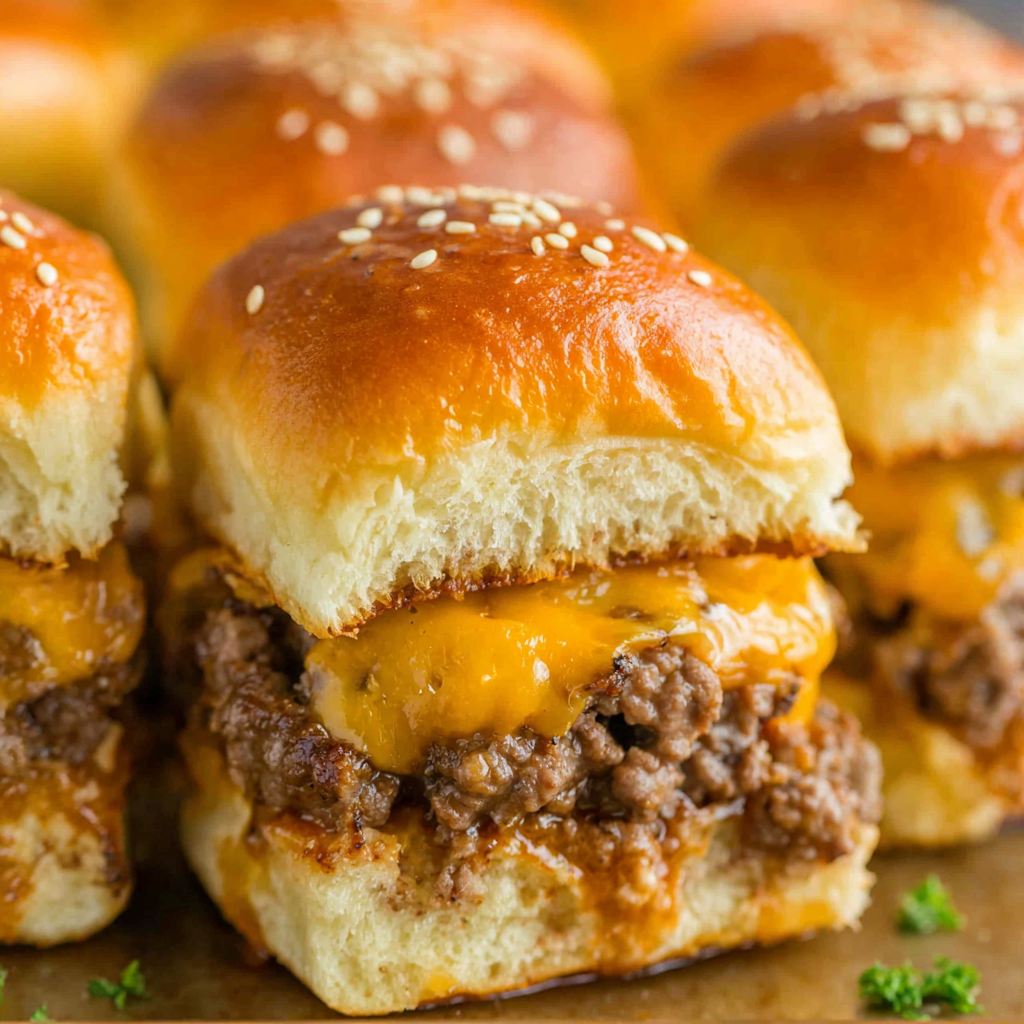
Juicy Cheeseburger Sliders Bake
Quick, crowd-pleasing cheeseburger sliders baked golden with melty cheddar and savory beef. Ready in 30 minutes, great for parties and easy meal prep.
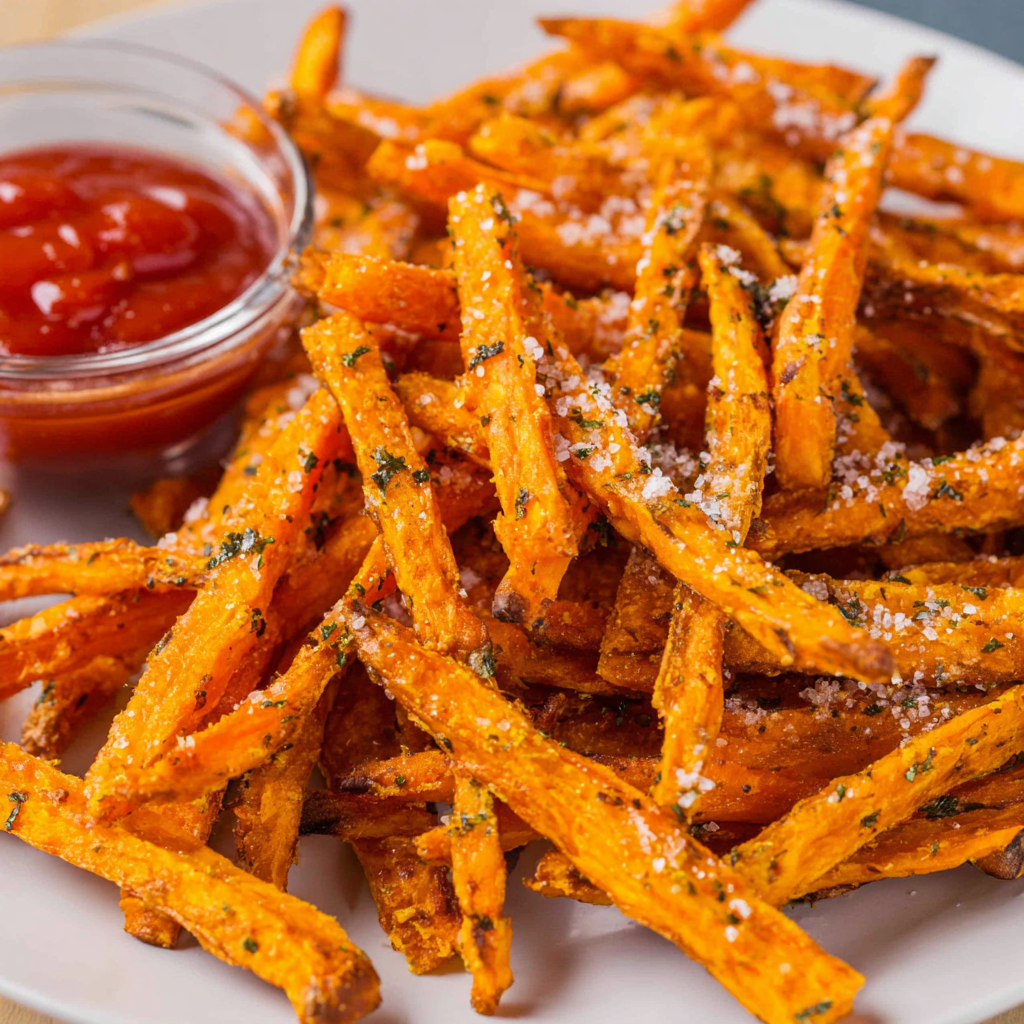
Air Fryer Sweet Potato Fries
Crispy air fryer sweet potato fries with tender centers, fast-food flavor without deep frying. Ready in minutes and irresistibly snackable.
Did You Make This?
Leave a comment & rating below or tag @platemint on social media!
Rate This Recipe
Share This Recipe
Enjoyed this recipe? Share it with friends and family, and don't forget to leave a review!
Comments (1)
This recipe looks amazing! Can't wait to try it.
Comments are stored locally in your browser. Server comments are displayed alongside your local comments.

Hi, I'm Wendie!
What's Popular
30-Minute Meals!
Join to receive our email series which contains a round-up of some of our quick and easy family favorite recipes.