
>>

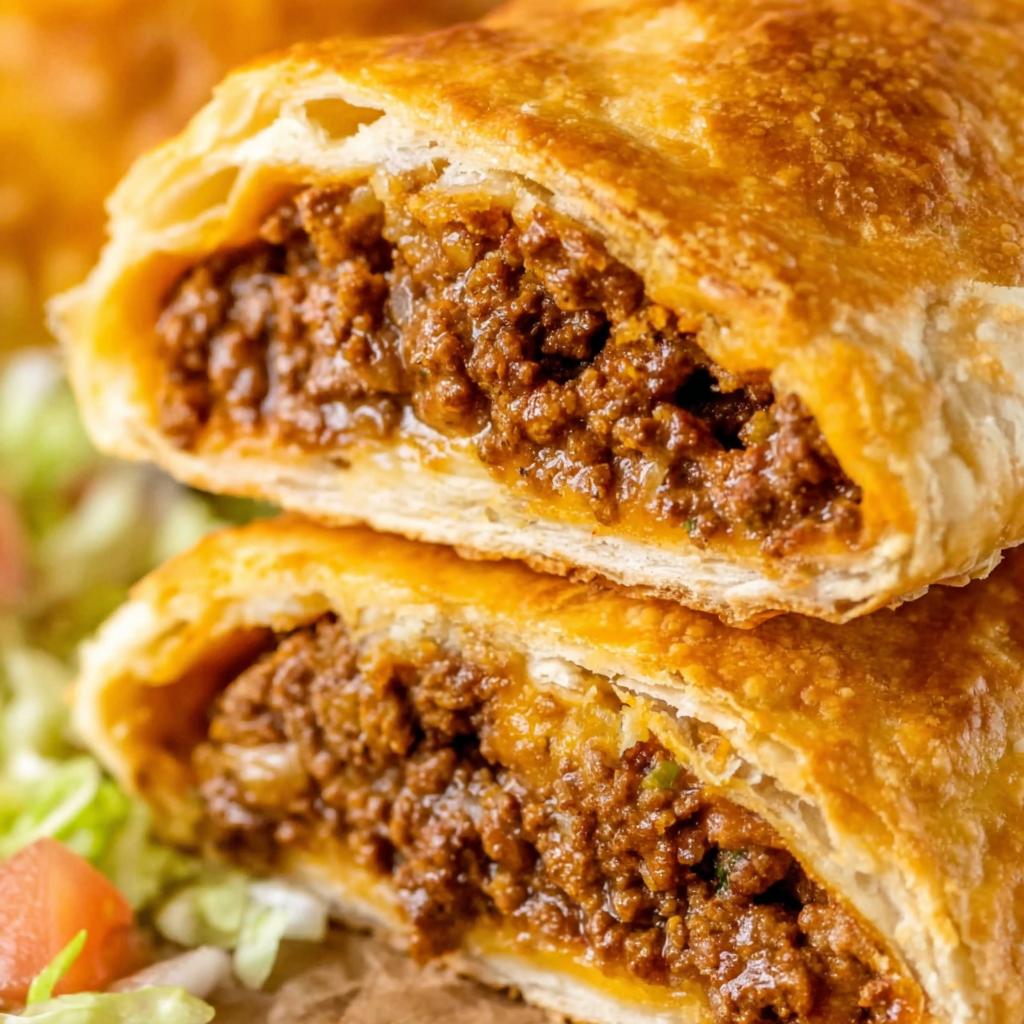
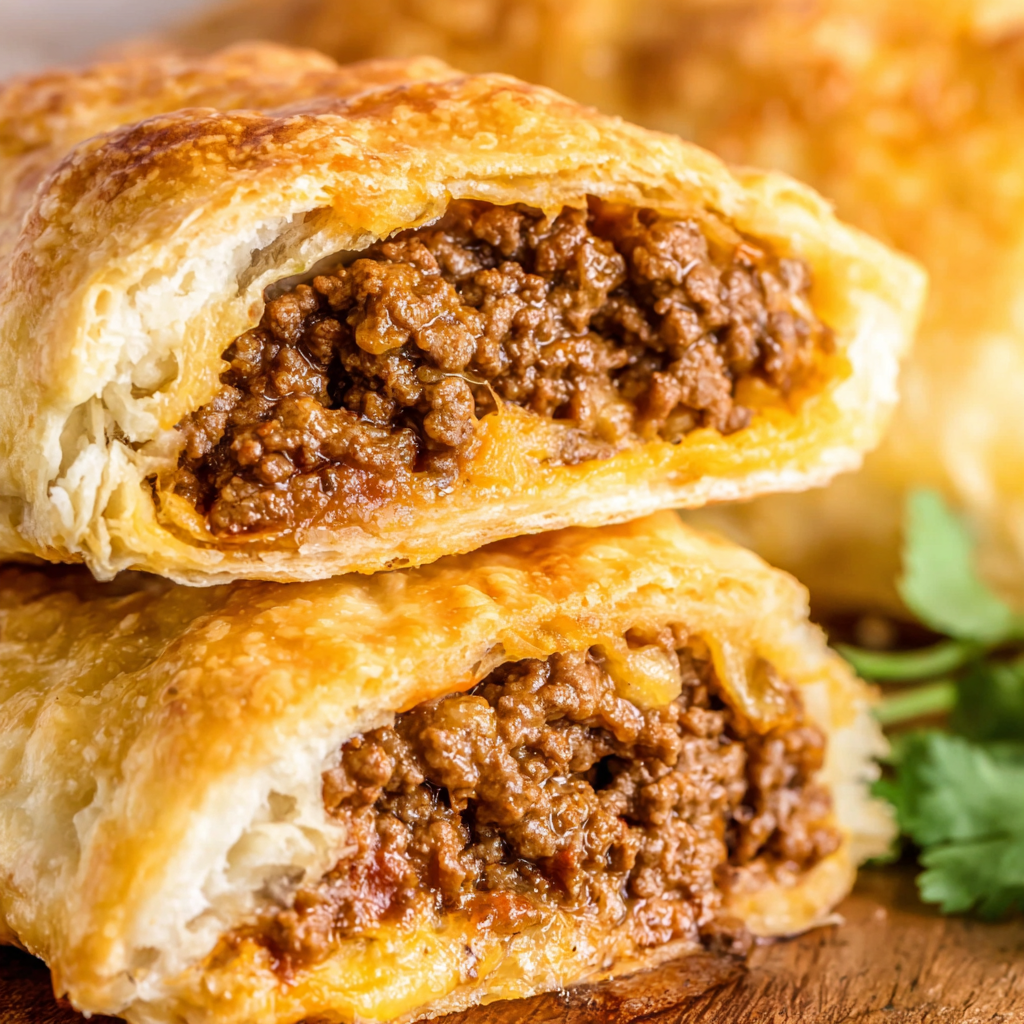
Handheld taco pockets stuffed with seasoned beef and melty Monterey Jack, wrapped in flaky biscuit dough for a golden, crowd-pleasing weeknight win.
Weeknights call for something comforting, fast, and unfussy, and these taco pockets tick every box. I first made them on a busy school night when tacos were on the plan but I needed something less messy for eating on the go. The solution was simple and so satisfying: tuck the seasoned beef and cheese into biscuit dough, seal it like a handheld pie, and bake until the tops shine and the centers ooze with melty Monterey Jack. They quickly became a family favorite, especially with a big bowl of salsa for dipping.
What I love most is the balance of textures. The biscuit dough bakes up flaky and golden, crisp at the edges but soft inside, and the taco filling packs just enough saucy heat to keep things interesting. A little egg wash adds that glossy finish, and a handful of fresh toppings turns them into a complete meal. I still remember the first time I served these to friends after a Saturday hike; everyone grabbed a pocket, dunked it into guacamole, and the entire tray vanished in minutes. Simple, hearty, and delightfully nostalgic.
When I first tried this method, my kids begged me to “make the taco pies again.” The name stuck, and now I batch-bake them on Sundays, wrapping extras for grab-and-go lunches. The combination of spicy beef and buttery dough always feels a little special, even on a hectic weeknight.

My favorite part is that first bite when the flaky edge gives way to melty cheese and savory beef. I have a tradition of setting out a topping board with everyone’s favorites, and it turns an ordinary Tuesday into a build your own taco night, just in pocket form. It is the easiest way I know to feed a mix of picky and adventurous eaters while keeping cleanup simple.
Allow taco pockets to cool to room temperature before storing, about 20 minutes. Refrigerate in a shallow, airtight container lined with paper towels for up to 4 days; the towel absorbs steam so the bottoms stay firmer. To freeze, wrap each cooled pocket tightly in plastic wrap, place in a freezer bag, and freeze up to 3 months. Reheat from chilled at 350°F for 10 to 12 minutes, or from frozen for 18 to 22 minutes, until hot and crisp. Avoid microwaving for long periods, which softens the crust; if you use a microwave, finish briefly in a hot skillet or air fryer for texture.
Ground turkey or chicken works in place of beef; use the same 1 pound amount and add 1 tablespoon oil when browning to prevent dryness. Swap Monterey Jack for cheddar or pepper jack. If you prefer homemade seasoning, combine 1 tablespoon chili powder, 1 teaspoon ground cumin, 1 teaspoon smoked paprika, 1/2 teaspoon garlic powder, 1/2 teaspoon onion powder, and 1/2 teaspoon kosher salt. For a milder bite, use mild salsa and reduce seasoning by 1 teaspoon. Refrigerated pizza dough can stand in for biscuits; cut into 8 pieces, roll to 6 inches, and add 2 to 3 minutes to the bake time for a chewier finish.
Serve with a fresh side to balance the richness. I like a crunchy chopped salad with lime vinaigrette or corn and black bean salad. Arrange pockets on a platter with small bowls of salsa, sour cream, guacamole, pickled jalapenos, and shredded lettuce so everyone can customize. For game day, keep a warm tray in a 200°F oven and set out napkins for easy grazing. Garnish with chopped cilantro and a squeeze of lime just before serving to brighten each bite.
These pockets borrow the spirit of classic American convenience foods while nodding to the flavors of Tex Mex tacos. Encasing a savory filling in dough has roots around the world, from empanadas to hand pies. In American home kitchens, refrigerated biscuits became a shortcut staple in the mid twentieth century, making bakes like this accessible any night of the week. The seasoning profile brings taco night familiarity, while the portable form celebrates the grab and go practicality many families rely on.
In summer, fold in a handful of corn kernels and finish the pockets with fresh pico de gallo. In fall, add sautéed bell peppers and onions to the filling for a fajita style twist. During the holidays, mini versions made with smaller biscuits are perfect for appetizers. For a cozy winter spin, serve with warm queso for dipping and a side of charred scallion rice. Spring calls for a crisp slaw tossed with lime and cilantro to cut through the richness.
Cook the beef filling up to 3 days ahead and keep chilled. On baking day, roll the biscuits, fill, seal, and bake as directed. For packable lunches, cool completely, then wrap individually and refrigerate or freeze. Reheat in a toaster oven or air fryer at 350°F for 6 to 8 minutes from chilled, or 10 to 12 minutes from frozen. If you plan to freeze, underbake by 1 minute; the reheat finishes the cook without drying the dough.
Whether you serve these on a weeknight or for a casual party, taco pockets bring comfort and fun to the table. Make a batch, set out the toppings, and let everyone build their perfect bite.
Seal the edges twice pinch, then crimp for the best leak protection.
Shred cheese from a block for better melt and less grease seepage.
Let the filling cool 5 minutes before assembling; a cooler filling is easier to seal.
Do not overfill; 1/3 cup per pocket keeps seams intact.
Rotate the baking sheet halfway through for even browning.
This nourishing cheesy beef taco pockets recipe is sure to be a staple in your kitchen. Enjoy every moist, high protein slice — it is perfect for breakfast or as a wholesome snack any time.
Yes. Bake, cool completely, wrap individually, and freeze up to 3 months. Reheat at 350°F until hot and crisp, about 18 to 22 minutes from frozen.
Use a 1 ounce packet labeled gluten free and swap the biscuits for a certified gluten free dough alternative. Always verify labels for cross contact.
Brown 1 pound of ground turkey with 1 tablespoon oil, then season and simmer as directed. Add an extra pinch of salt if needed.
Leftovers keep up to 4 days refrigerated. Reheat in a 350°F oven for 10 to 12 minutes or in an air fryer for 6 to 8 minutes.
This Cheesy Beef Taco Pockets recipe makes perfectly juicy, tender, and flavorful steak every time! Serve with potatoes and a side salad for an unforgettable dinner in under 30 minutes.
Preheat oven to 375°F. Line a large baking sheet with parchment paper or lightly grease with nonstick spray to prevent sticking and encourage even browning.
In a large skillet over medium-high heat, cook and crumble 1 pound ground beef until no pink remains, 5 to 7 minutes. Drain excess fat and return beef to the skillet.
Stir in 1 ounce taco seasoning, 2/3 cup water, and 1/2 cup salsa. Simmer, stirring, until thickened and saucy, 3 to 5 minutes. Remove from heat to cool slightly.
Flatten each biscuit into a 6 inch round on a lightly floured surface by pressing or rolling. If dough retracts, rest 2 minutes, then roll again.
Place about 1/3 cup beef mixture in the center of each round. Top with a small handful of Monterey Jack. Fold in half, pinch edges, and crimp with a fork to seal.
Arrange pockets on the baking sheet. Brush with beaten egg. Bake 12 to 15 minutes until puffed and golden with set seams. Rotate pan once for even color.
Cool 5 minutes before serving. Offer salsa, sour cream, guacamole, and shredded lettuce for topping or dipping.
Last Step: Please leave a rating and comment letting us know how you liked this recipe! This helps our business to thrive and continue providing free, high-quality recipes for you.
Leave a comment & rating below or tag
@platemint on social media!

Saucy, cheesy baked ziti with ricotta and basil tastes like lasagna in half the effort, perfect for weeknights or crowds.

Quick, crowd-pleasing cheeseburger sliders baked golden with melty cheddar and savory beef. Ready in 30 minutes, great for parties and easy meal prep.

Crispy air fryer sweet potato fries with tender centers, fast-food flavor without deep frying. Ready in minutes and irresistibly snackable.
Leave a comment & rating below or tag @platemint on social media!
Enjoyed this recipe? Share it with friends and family, and don't forget to leave a review!
This recipe looks amazing! Can't wait to try it.
Comments are stored locally in your browser. Server comments are displayed alongside your local comments.

Join to receive our email series which contains a round-up of some of our quick and easy family favorite recipes.
