
>>

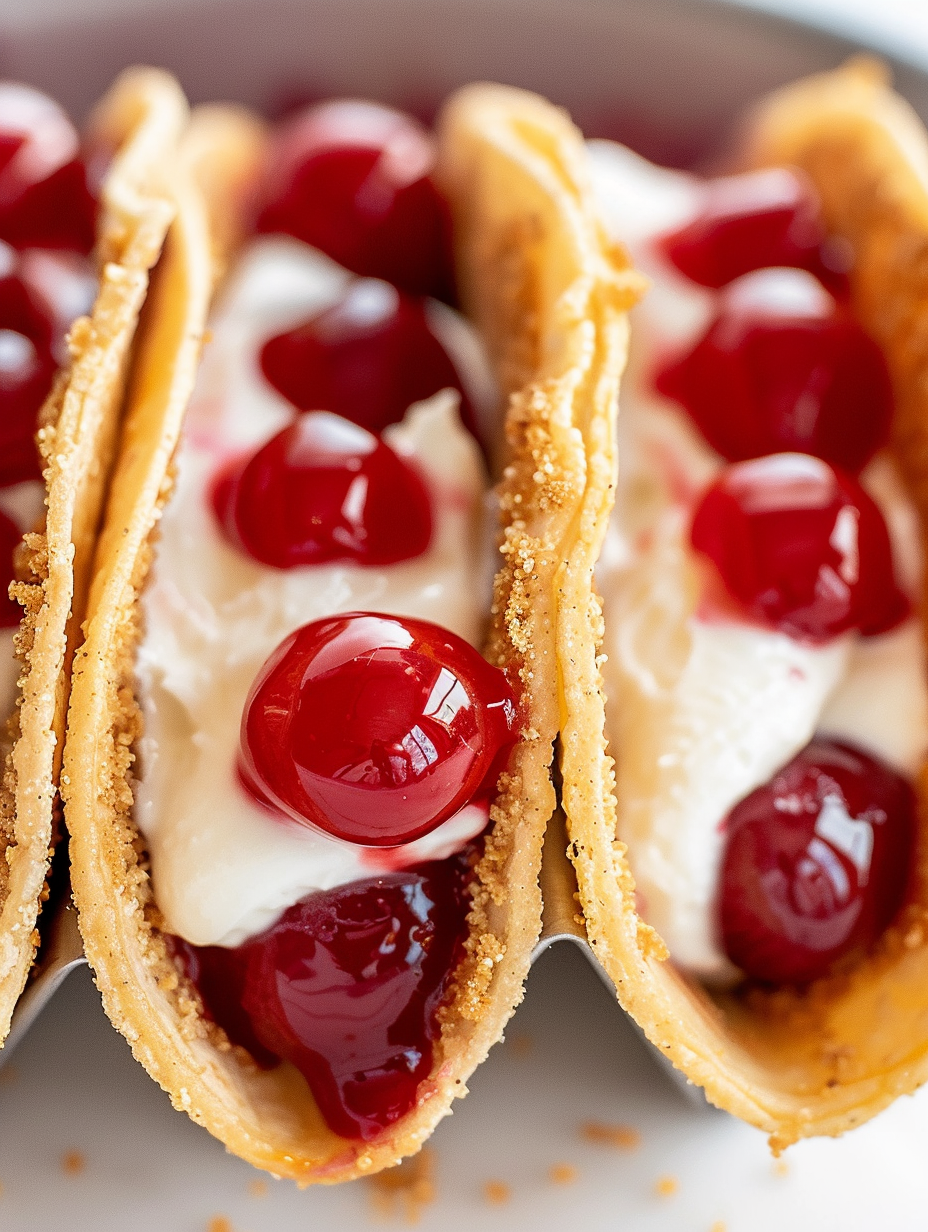
Crunchy graham-coated tortillas filled with a fluffy cheesecake mixture and topped with sweet cherry pie filling—an easy, crowd-pleasing dessert taco.
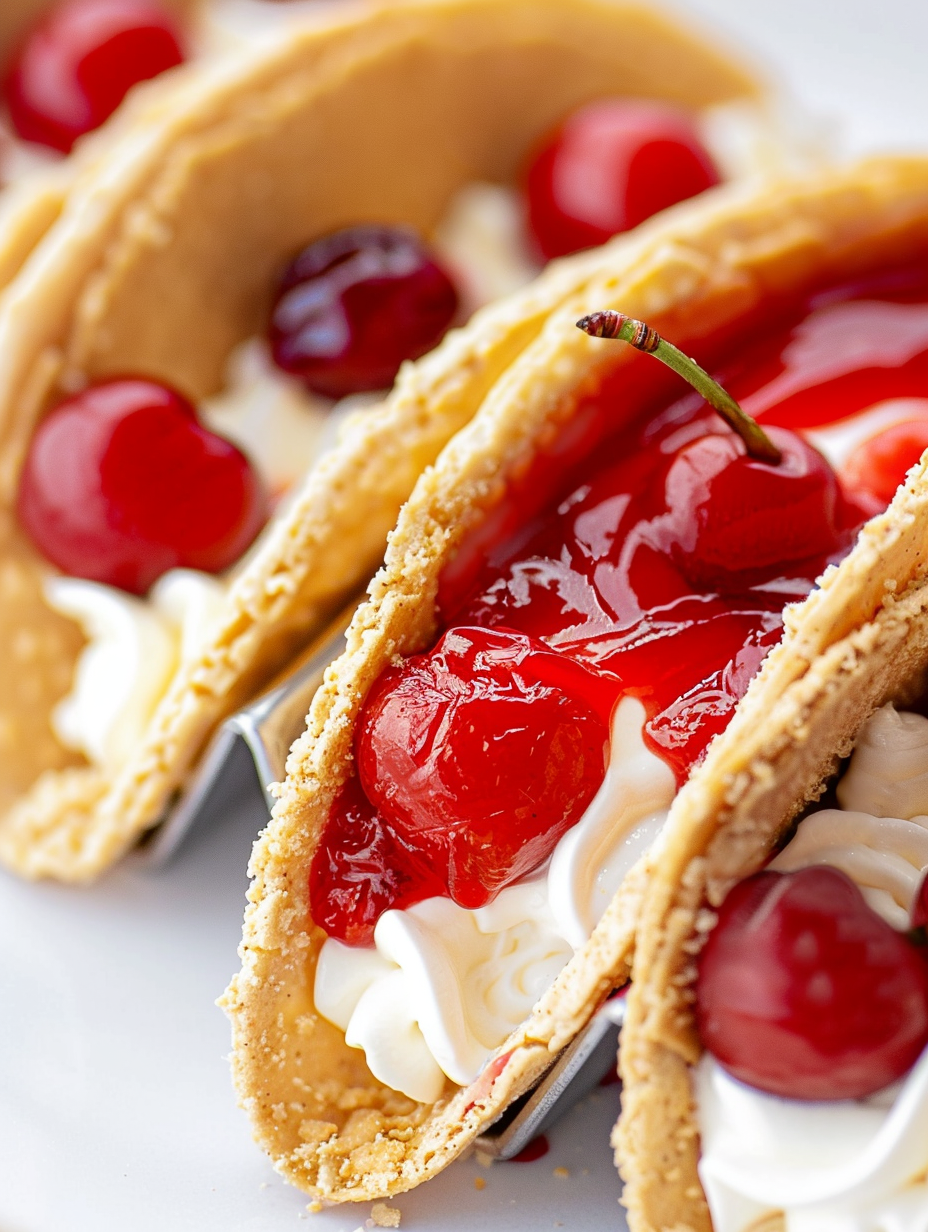
This dessert is exactly the kind of sweet, playful treat that brightens any gathering. Cheesecake Tacos blend the creamy tang of a classic cheesecake filling with the crunch of graham-coated, baked flour tortillas and a glossy spoonful of cherry pie filling on top. I first made these for a backyard potluck when I wanted something portable, unexpected, and simple to assemble. They disappeared within minutes, and people kept asking for the recipe—some even insisting they were the perfect handheld dessert.
They are particularly special because they capture the contrast of textures and flavors in a single bite: a buttery, crisp shell layered with a smooth, lightly sweetened cream cheese center and finished with bright, slightly tart cherries suspended in syrup. The shells are coated in graham crumbs so each bite echoes traditional cheesecake flavors, while the small street-taco-size format makes them ideal for parties, snack tables, or after-school treats. I love making a batch in under 30 minutes of active time and letting guests top them themselves if we’re feeding a crowd—it's fun and low-stress.
I remember serving these at a family reunion and watching cousins compete for the last few tacos; someone even declared them better than traditional cheesecake because they were easier to eat. Over the years I've tweaked the sweetening and the thickness of the filling so it pipes beautifully without being too runny—small adjustments that make a big difference when you want neat, pretty servings.
My favorite thing about this preparation is how forgiving it is: the shells come out golden even if you vary the oven a bit, and the filling can be brightened or relaxed depending on whether you use more or less powdered sugar. Family members love to mix up the toppings; one guest prefers extra cherry syrup while another insists on a dusting of extra graham crumbs on top for contrast.
Store filled tacos in a single layer in an airtight container in the refrigerator for up to 24 hours to preserve shell crunch. If you need to store unfilled shells, stack them with parchment between layers and keep in an airtight container at room temperature for 2–3 days or freeze for up to 3 months. To refresh a limp shell, reheat in a 300 degrees F oven for 3–5 minutes until crisp; avoid microwave reheating as it softens them quickly. For transport, pack shells and filling separately and assemble on-site to maintain texture.
Swap cherry pie filling for blueberry or strawberry pie filling using the same volume for a seasonal twist. For a slightly tangier filling, substitute half the whipped topping with full-fat Greek yogurt (same volume) and reduce powdered sugar by a tablespoon. If you need gluten-free shells, use certified gluten-free small tortillas and gluten-free graham crackers; texture will be close but check brands for stability under heat. For a richer filling, fold in 2–3 tablespoons of mascarpone cheese.
Serve as a dessert on a tiered platter for parties—top each taco with a mint sprig for color. Pair with coffee, espresso, or a light dessert wine. For a summer BBQ, offer a topping bar with cherries, mixed berry compote, toasted nuts, and a drizzle of chocolate or caramel sauce so guests can customize. These also make a playful addition to a dessert charcuterie board alongside cookies and brownies.
In spring swap cherries for a strawberry-rhubarb compote for a bright, tangy topping. In fall, substitute the cherry with warm pumpkin butter mixed with a touch of maple for a spiced version—add a pinch of cinnamon to the filling. For winter holidays use cranberry-orange compote for a fresh, festive flavor. Small adjustments in topping and spice let the concept carry through the year.
Make the shells and filling on different days: shells up to 3 days ahead and filling up to 48 hours chilled. Keep cherries in their can until serving to preserve shine and prevent the shells from getting soggy. For quick assembly at events, transfer filling to a large piping bag and fill shells directly from the bag—this speeds service and keeps portions neat. Label containers with the fill-by date when prepping multiple components.
I brought these to a neighborhood bake sale and they became the top seller; people told me they loved that they could taste cheesecake without committing to a slice. Once a friend adapted the recipe to mini tortilla rounds and served them as petite desserts at a bridal shower—guests raved about the novelty. My go-to memory is watching my kids carefully pipe the filling into shells and then erupt in giggles when a cherry rolled off into their palm—simple joys that make this recipe a keeper.
These tacos are small, joyous bites that invite creativity and sharing. Whether you’re making them for kids, parties, or a holiday dessert table, they’re easy to adapt and always fun to serve. Try them once and you’ll likely find, as I did, that they become a requested addition to any celebration.
Soften cream cheese to room temperature to ensure a perfectly smooth filling and avoid lumps.
Pierce tortillas with a fork before baking to prevent large air bubbles from forming in the shells.
Chill the filling for at least 30 minutes so it firms enough to pipe neatly into shells.
Coat shells lightly in graham crumbs—too thick a layer can peel off; a thin, even coat is best.
This nourishing cheesecake tacos recipe is sure to be a staple in your kitchen. Enjoy every moist, high protein slice — it is perfect for breakfast or as a wholesome snack any time.
Make the shells up to 3 days ahead and store in an airtight container; keep the filling refrigerated until 48 hours and assemble just before serving for best texture.
If shells soften, re-crisp them in a 300 degrees F oven for 3–5 minutes. Avoid microwaving as it will make them chewy.
This Cheesecake Tacos recipe makes perfectly juicy, tender, and flavorful steak every time! Serve with potatoes and a side salad for an unforgettable dinner in under 30 minutes.
Preheat oven to 400 degrees F. Place a cupcake pan upside down on a baking sheet to use the inverted cups for shaping tortillas.
Combine 1 cup graham cracker crumbs with 2 tablespoons granulated sugar in a shallow bowl and set aside.
Stab each tortilla 6–7 times with a fork to prevent air bubbles. Brush both sides with melted butter, then press into the graham mixture to coat both sides evenly.
Fold tortillas in half and place between the inverted cupcake cups on the pan. Bake for 10–11 minutes until golden brown, watching closely at the end for rapid browning.
Allow shells to cool completely in the pan for 10–15 minutes so they crisp up and hold their shape before filling.
Beat 8 ounces softened cream cheese with 1/3 cup powdered sugar and 2 teaspoons vanilla until smooth. Fold in 8 ounces thawed whipped topping until fluffy.
Chill the filling for at least 30 minutes to firm. Transfer to a piping bag or zip-top bag with a corner snipped and pipe into cooled shells.
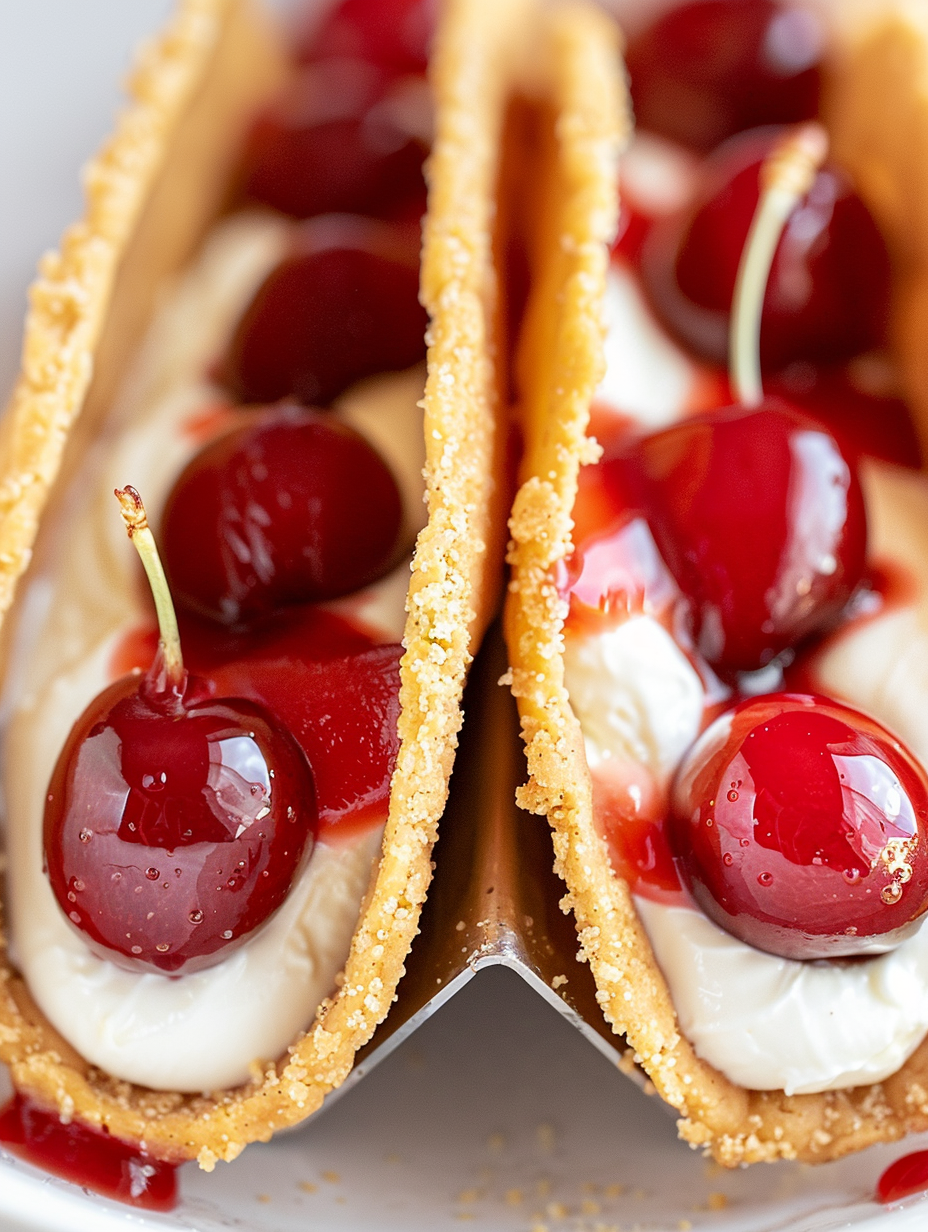
Top each filled shell with 3–4 cherries and some syrup from the 21-ounce can of cherry pie filling. Serve immediately for best texture.
Last Step: Please leave a rating and comment letting us know how you liked this recipe! This helps our business to thrive and continue providing free, high-quality recipes for you.
Leave a comment & rating below or tag
@platemint on social media!

Saucy, cheesy baked ziti with ricotta and basil tastes like lasagna in half the effort, perfect for weeknights or crowds.

Quick, crowd-pleasing cheeseburger sliders baked golden with melty cheddar and savory beef. Ready in 30 minutes, great for parties and easy meal prep.

Crispy air fryer sweet potato fries with tender centers, fast-food flavor without deep frying. Ready in minutes and irresistibly snackable.
Leave a comment & rating below or tag @platemint on social media!
Enjoyed this recipe? Share it with friends and family, and don't forget to leave a review!
This recipe looks amazing! Can't wait to try it.
Comments are stored locally in your browser. Server comments are displayed alongside your local comments.

Join to receive our email series which contains a round-up of some of our quick and easy family favorite recipes.
