
>>

For the serious caramel lover: soft, chewy oatmeal bars layered with molten caramel and melty chocolate. One-bowl, no-mixer method that yields irresistible squares.
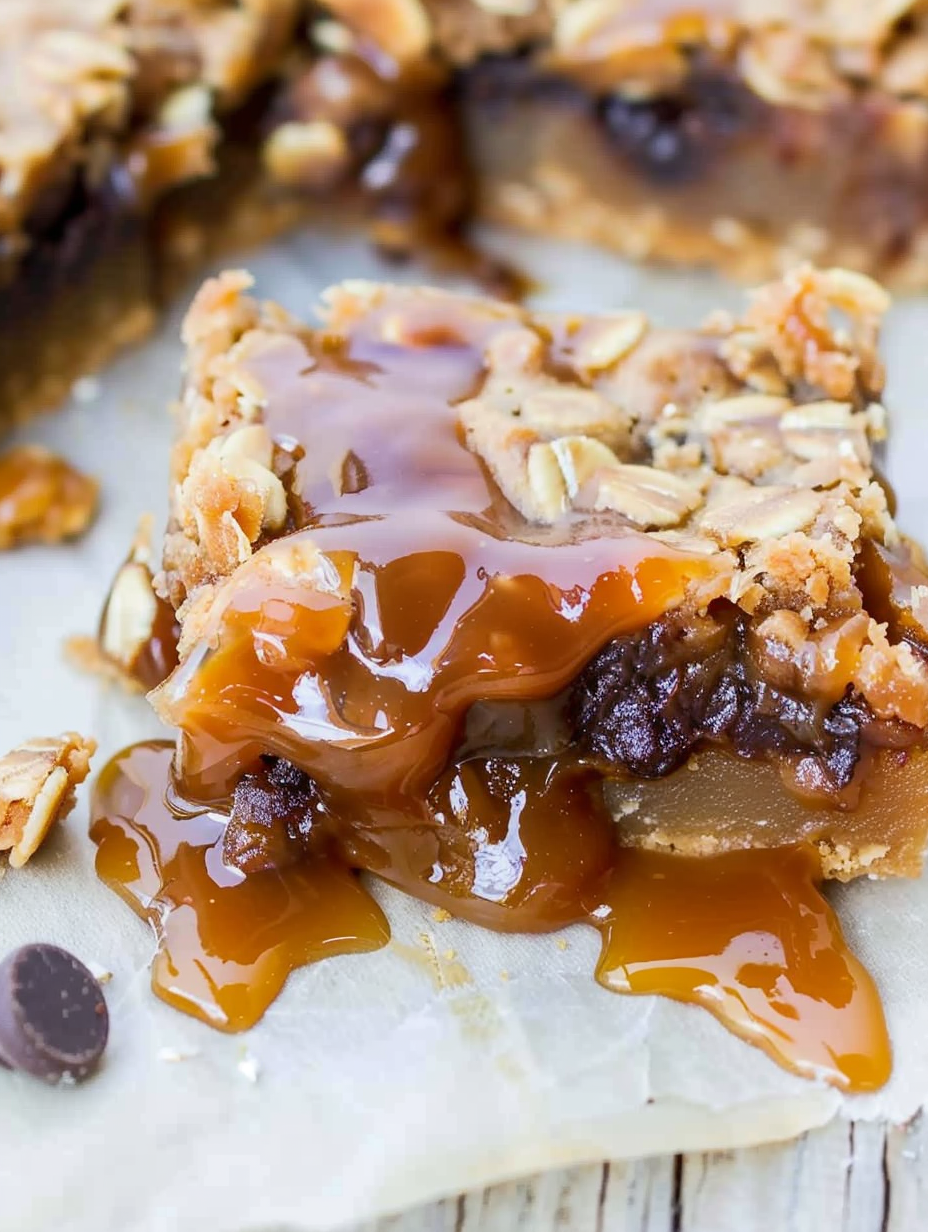
This recipe is for the serious caramel lover. I first encountered these gooey, chewy bars during a holiday cookie swap years ago and immediately scribbled notes into my baking notebook. The combination of a buttery oat base, a molten layer of caramel, and a scattering of chocolate is pure nostalgia—each bite offers a tender chew, a ribbon of sticky caramel, and a chocolate kiss that cools into a slightly firm layer. I tend to make these when I want something impressive but uncomplicated: they’re an easy, one-bowl method that requires no mixer and rewards patience at the cooling stage.
I discovered my favorite proportions one winter afternoon when I had a bag of soft caramels left over from another project. After a few small adjustments—adding a touch more cream to the caramel layer and baking the base briefly before adding the filling—I had a bar that cut cleanly after cooling and kept well for days. These have become my go-to for potlucks and last-minute gifts; friends love that they’re sticky and indulgent without feeling heavy. The texture is what sells them: a tender oat cookie on top and bottom, with a chewy, buttery caramel center and pockets of molten chocolate.
My family’s reaction the first time I brought these to a gathering was immediate: forks abandoned, napkins grabbed, and requests for the recipe. On a chilly afternoon these bars fill the kitchen with a warm, buttery aroma that always brings people to the counter. They’re a showstopper with little fuss.
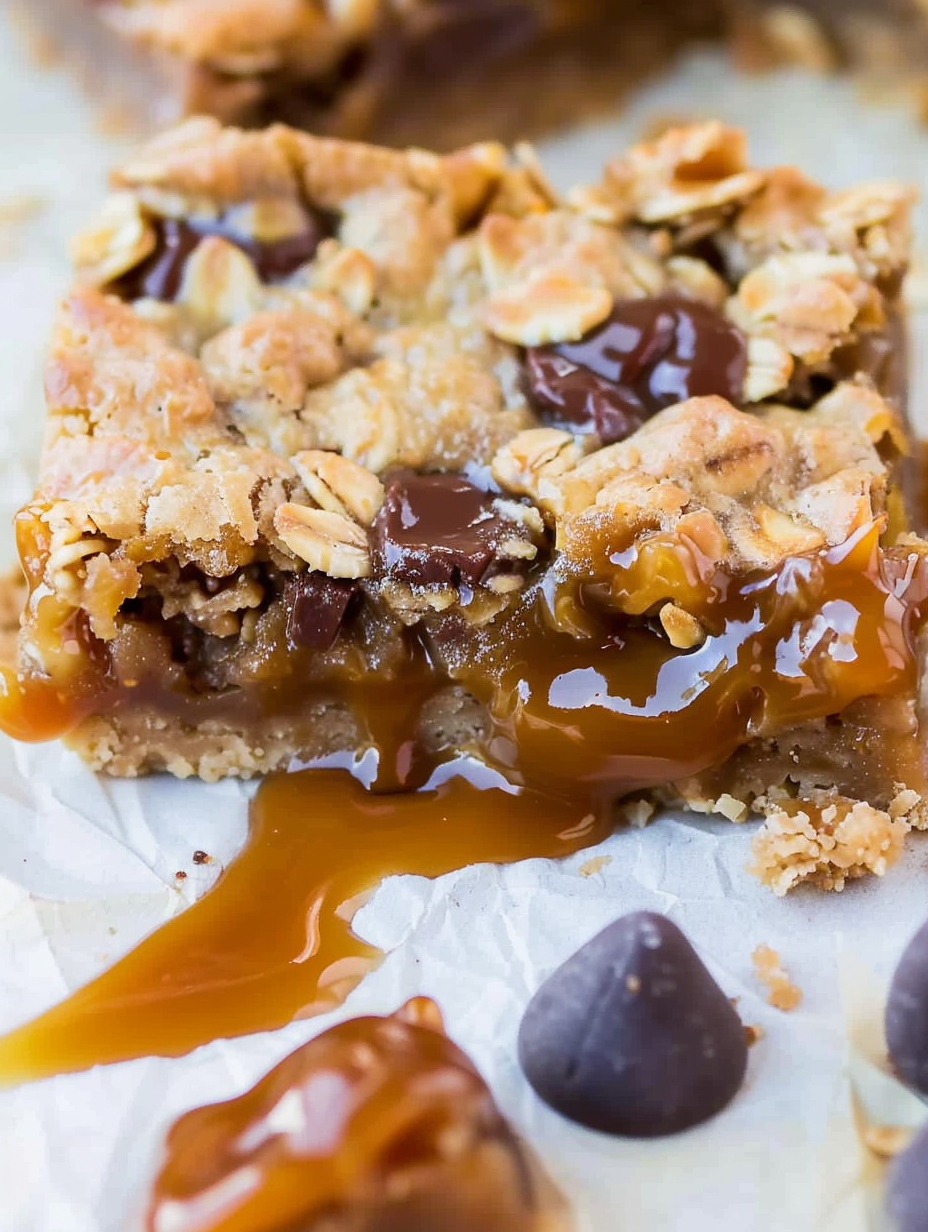
My favorite part is the ritual of waiting: the scent of butter and caramel fills the house while the bars cool, and when you finally slice through, the contrast between the chewy oat layers and the silky caramel is worth the patience. Friends always comment that the texture is what makes these stand out—chewy, not cakey, with a gooey heart.
Store bars in an airtight container at room temperature for up to one week. If stacking, separate layers with parchment or wax paper to prevent sticking. For longer storage, wrap the entire cooled pan tightly in plastic wrap and foil, then place in the freezer for up to four months. To serve from frozen, unwrap and let sit at room temperature for 30–60 minutes, or warm gently at 300°F for 5–7 minutes to revive chewiness. Avoid leaving them in the fridge uncovered, as the caramel can pick up odors.
If you’re avoiding dairy, try dairy-free butter and canned full-fat coconut milk instead of heavy cream; note that coconut flavor will be noticeable. For a gluten-free option, substitute a certified gluten-free all-purpose flour and use gluten-free rolled oats—make sure the oats are labeled gluten-free. Swap semi-sweet chocolate for dark chocolate if you prefer less sweetness. If you only have caramel bits, add an extra tablespoon of cream to ensure a smooth pourable consistency.
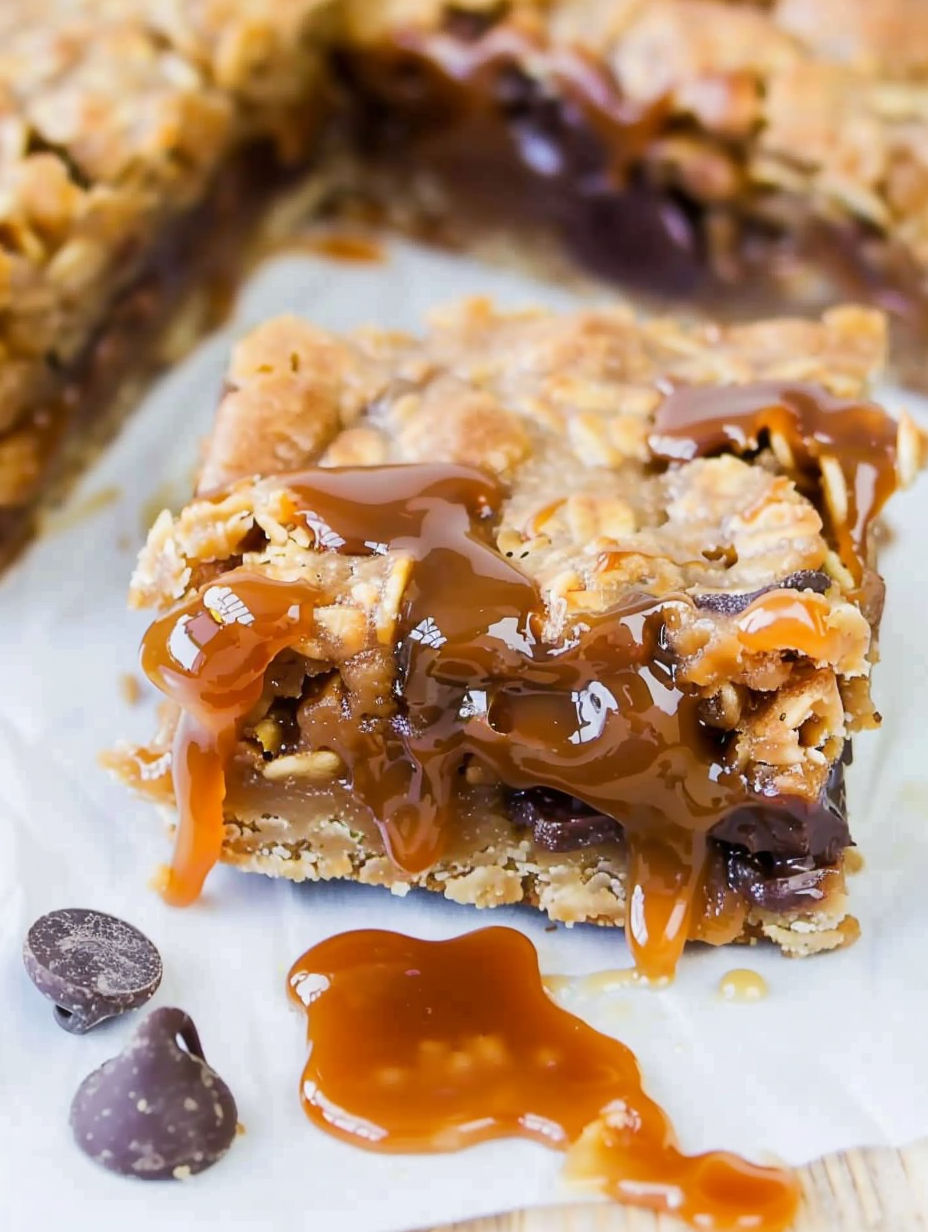
Serve squares slightly warmed with a small dollop of whipped cream or a sprinkling of flaky sea salt for contrast. These pair beautifully with strong coffee or a bold black tea. For parties, cut into smaller bite-sized pieces and arrange on a platter with parchment; they also make charming gifts when wrapped in wax paper and placed in a decorative tin.
These caramel-oat bars are part of a long American tradition of layered cookie bars—think of variations like seven-layer bars or blondies. The combination of oats and caramel evokes mid-20th-century baking where convenience items like wrapped caramels and chocolate chips became pantry staples, giving rise to quick tray bakes that are portable, sharable, and adaptable.
In autumn, stir in 1 teaspoon of ground cinnamon and a pinch of nutmeg to the oat mixture and consider chopped toasted pecans on top. For the holidays, add a sprinkle of crushed peppermint after baking for a festive touch, or stir chopped toasted hazelnuts into the caramel for winter warmth. In summer, serve chilled bites with fresh berries for a bright counterpoint to the sweet caramel.
Make the oat base and freeze it in the lined pan until solid, then pour warm caramel and finish the bake—this can be helpful if you want to break the process into two days. Alternatively, bake entirely, cool, and slice; store individual squares in single-serve containers for grab-and-go treats. Use parchment-lined sections to portion before freezing so you can easily remove single servings later.
These bars are a celebration of caramel in its most lovable form: sticky, chewy, and indulgent. Share them with friends, tuck a few into a gift box, and enjoy the cozy nostalgia they bring. I hope these become one of your favorite easy, impressive sweets to have on hand.
Line the pan with foil and spray lightly for easy removal and cleaner cuts.
Pre-bake the base for 10 minutes so it supports the caramel layer without becoming soggy.
Cool fully before slicing; refrigerate to speed cooling but expect a firmer caramel.
Use a sharp knife warmed under hot water and wiped dry between cuts for cleaner slices.
This nourishing carmelitas — chewy oatmeal caramel bars recipe is sure to be a staple in your kitchen. Enjoy every moist, high protein slice — it is perfect for breakfast or as a wholesome snack any time.
Allow bars to cool completely at room temperature (3–4 hours) or chill in the refrigerator to speed up setting. Cutting while warm will be messy due to molten caramel.
Use soft caramels or caramel bits with extra cream. Microwave in short bursts and stir thoroughly to avoid scorching. Stovetop melting over low heat is a reliable alternative.
This Carmelitas — Chewy Oatmeal Caramel Bars recipe makes perfectly juicy, tender, and flavorful steak every time! Serve with potatoes and a side salad for an unforgettable dinner in under 30 minutes.
Preheat oven to 350°F. Line an 8x8-inch pan with aluminum foil and spray lightly with cooking spray. Set aside.
In a large microwave-safe bowl, melt the butter. Whisk in brown sugar and vanilla. Stir in flour, oats, baking soda, and salt until combined. The mixture will be thick.
Press half of the oat mixture into the prepared pan to create an even layer and bake for 10 minutes to set the base.
Combine unwrapped caramels and heavy cream in a microwave-safe bowl; heat in 60-second bursts, stirring between each, until smooth. Alternatively, melt over low heat in a saucepan, stirring constantly.
Remove par-baked base from oven, sprinkle chocolate evenly over it, then slowly pour warm caramel sauce over the chocolate. Crumble reserved oat mixture over the top.
Bake for 15–18 minutes until edges are lightly browned and center bubbles. Cool completely in the pan for 3–4 hours or overnight before slicing.
Last Step: Please leave a rating and comment letting us know how you liked this recipe! This helps our business to thrive and continue providing free, high-quality recipes for you.
Leave a comment & rating below or tag
@platemint on social media!

Saucy, cheesy baked ziti with ricotta and basil tastes like lasagna in half the effort, perfect for weeknights or crowds.

Quick, crowd-pleasing cheeseburger sliders baked golden with melty cheddar and savory beef. Ready in 30 minutes, great for parties and easy meal prep.

Crispy air fryer sweet potato fries with tender centers, fast-food flavor without deep frying. Ready in minutes and irresistibly snackable.
Leave a comment & rating below or tag @platemint on social media!
Enjoyed this recipe? Share it with friends and family, and don't forget to leave a review!
This recipe looks amazing! Can't wait to try it.
Comments are stored locally in your browser. Server comments are displayed alongside your local comments.

Join to receive our email series which contains a round-up of some of our quick and easy family favorite recipes.
