
Caramel Marshmallow Rice Krispie Balls

Sweet, crunchy marshmallow balls coated in caramel and rolled in Rice Krispies — an easy, no-bake treat perfect for gifting and holiday parties.
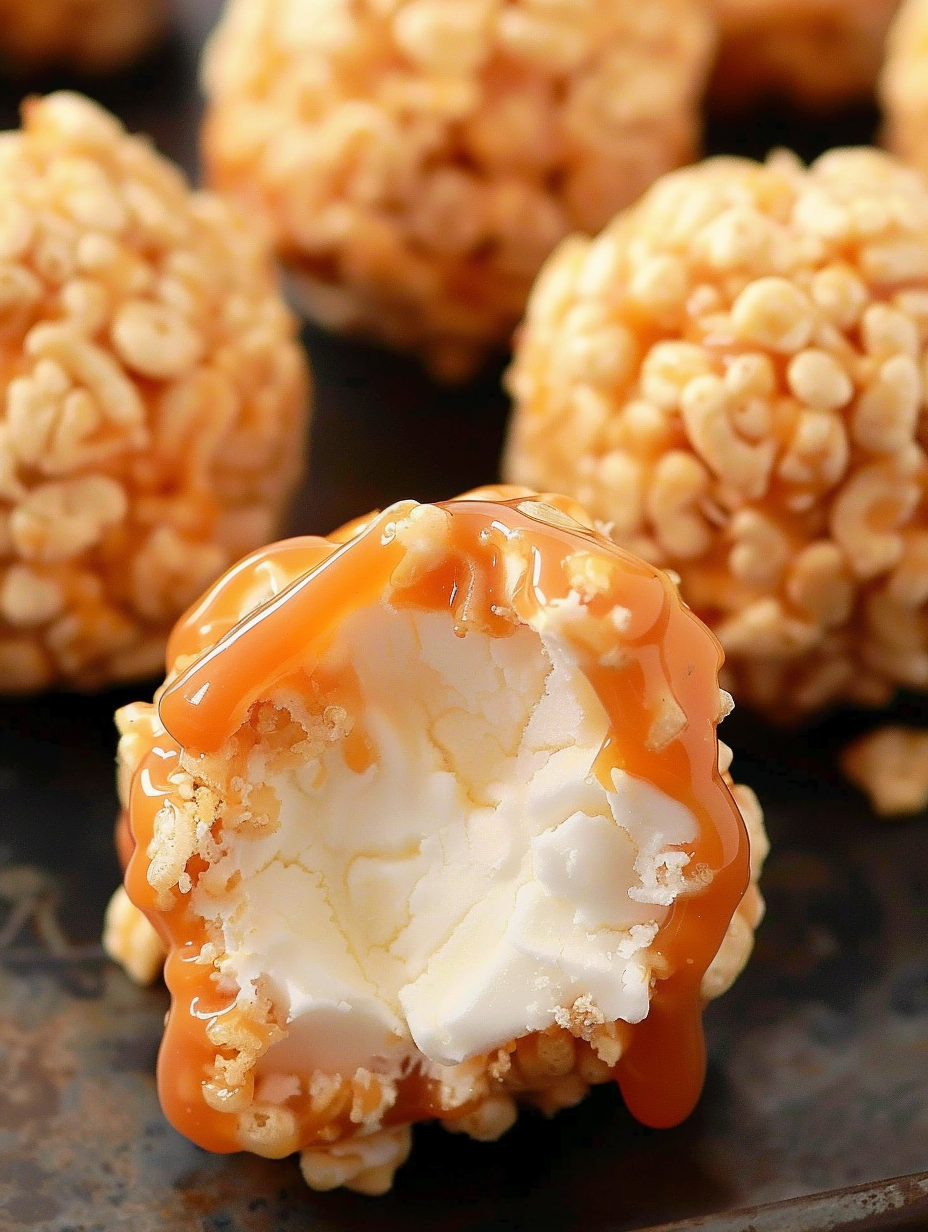
This recipe began as a simple attempt to dress up store-bought marshmallows for a holiday party and turned into one of my family's most-requested treats. I discovered the combination of chewy caramel and pillowy marshmallow one winter when I had a bag of jumbo marshmallows and a box of Rice Krispies left over after a baking weekend. The result was bright, nostalgic, and undeniably fun to make — and perfect for involving kids in the kitchen. From the first sticky, shiny dip of a marshmallow into warm caramel to the satisfying crackle of Rice Krispies on the outside, every bite delivers texture and sweet comfort.
What makes these balls memorable is the contrast: a smooth caramel shell that sets to a tender chew and a crisp, cereal exterior that gives each bite a little snap. They’re straightforward to prepare, require minimal equipment, and don’t need an oven — ideal for last-minute gifting or a quick family project on a rainy afternoon. I first shared them at a cookie exchange and discovered guests loved that they were different from classic cookies but just as shareable. They store well in the refrigerator and travel beautifully, which is why they became my go-to for teacher gifts and neighbor baskets.
Why You'll Love This Recipe
- Because it’s no-bake and straightforward: ready in about 50 minutes from start to finish, with only 10 minutes of active heat on the stove, these are perfect when you need a fast homemade treat.
- Uses pantry staples and easily found store items — wrapped caramels, condensed milk, jumbo marshmallows, and Rice Krispies — so there’s little prep or specialty shopping required.
- Kid-friendly assembly: dipping with toothpicks or skewers makes it a fun activity for little hands while teaching about temperature and texture safely.
- Great for gifting and make-ahead: they chill well in an airtight container and hold their shape for days, making them convenient for holiday trays or care packages.
- Customizable surface: once rolled in cereal you can add sprinkles, chopped nuts, or a drizzle of melted chocolate to suit dietary preferences and presentation needs.
- Balanced textures — gooey interior, slightly firm caramel layer, and crisp cereal exterior — that keep each bite interesting without being overly sweet.
I remember bringing a batch to a neighborhood potluck and watching a group of adults and children form an assembly line: one person dipped, one rolled, and another popped the toothpick out — the happiest production line I’ve ever seen. My sister still jokes that these are the only sweets she allows into her freezer for easy late-night treats.
Ingredients
- Caramels (14 ounces): Use wrapped Kraft-style caramels or a comparable brand. These melt evenly and pair perfectly with sweetened condensed milk to form a glossy dip. If using homemade caramels, cut into small pieces for quicker melting.
- Sweetened condensed milk (14 ounces): Adds silkiness and keeps the caramel pourable at a lower temperature. Look for a 14-ounce can (Evaporated condensed milk differs, so check the label).
- Butter (2 tablespoons): A small amount of unsalted butter smooths the caramel and adds a round mouthfeel. Salted works in a pinch but reduce any added salt elsewhere.
- Marshmallows (12 ounces, large): Jumbo marshmallows work best for size and handleability; standard large marshmallows are sold in 12-ounce bags. If you prefer mini marshmallows, plan for a larger quantity by volume.
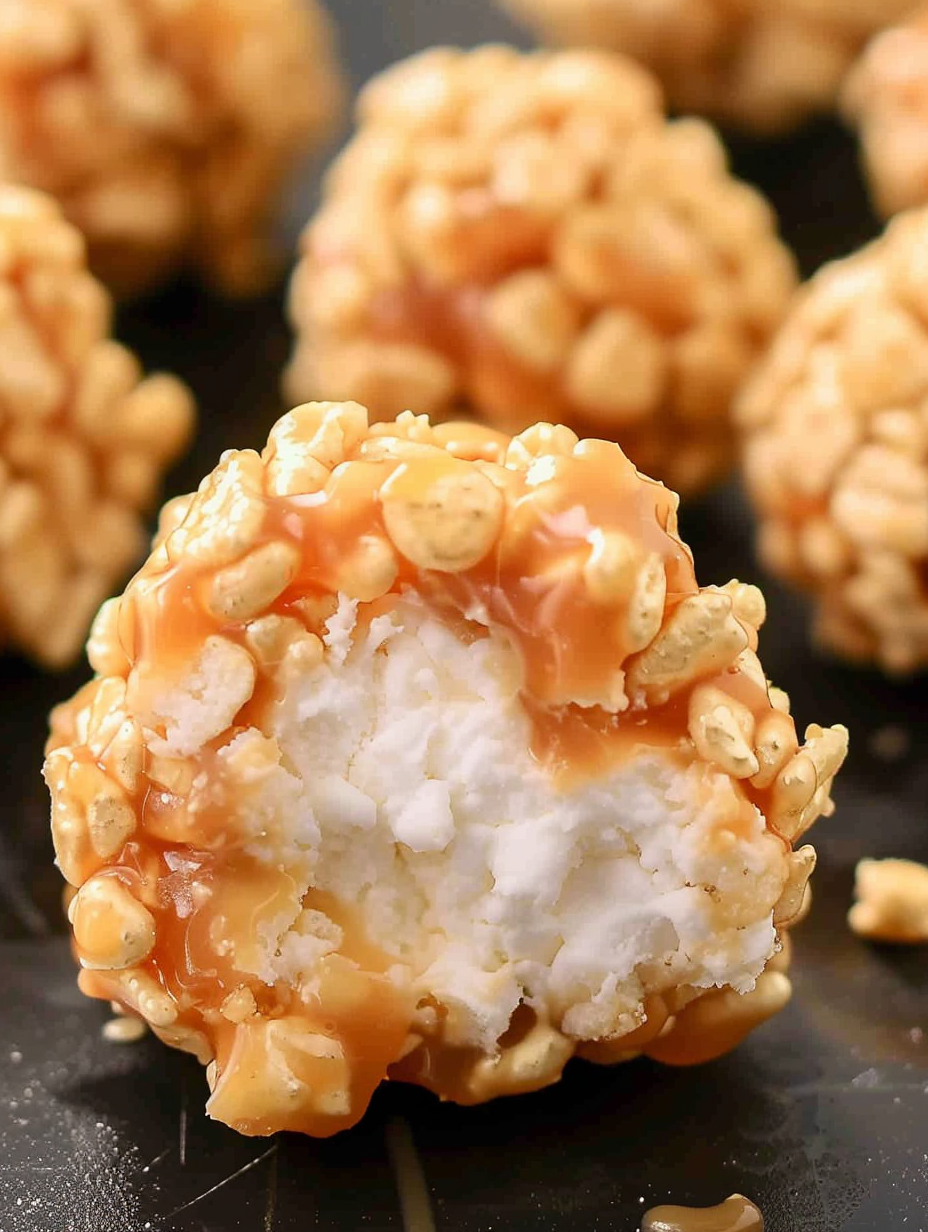
- Rice Krispies cereal (7 cups): Provides the crisp exterior. Use the original Rice Krispies for that nostalgic snap; if you need gluten-free, substitute with certified gluten-free puffed rice cereal and adjust for texture.
Instructions
Prepare your work station: Line a cookie sheet with parchment paper and open the caramels so assembly can move quickly. Measure out the cereal in a large mixing bowl so there’s one steady rolling station. Have a jar of toothpicks or wooden skewers handy for dipping. This organization prevents the caramel from setting before you finish assembly. Melt the caramel mixture: Unwrap all 14 ounces (about 50) caramels and place them into a medium saucepan with the 14-ounce can of sweetened condensed milk and 2 tablespoons of butter. Over medium heat stir constantly with a silicone spatula until the mixture becomes smooth and glossy — about 6–8 minutes. Keep the heat moderate; high heat can separate the caramel or scorch the bottom. The ideal visual cue is a uniform, slightly thickened sauce that coats the spatula. Dip the marshmallows: Using a toothpick or skewer, spear a large marshmallow through the top, then dip it fully into the caramel mixture. Allow excess caramel to drip back into the pan for a few seconds. If the caramel firms up during assembly, gently rewarm over the lowest heat and stir to restore fluidity. Coat with cereal: Pour 7 cups of Rice Krispies into a large bowl and gently roll each caramel-covered marshmallow in the cereal until well-coated. Use your other hand to steady the marshmallow and rotate to cover all sides. The cereal adheres best while the caramel is still warm but not so hot that it melts the cereal. Set and remove toothpicks: Place the cereal-coated marshmallow on the prepared parchment-lined cookie sheet. Carefully pull the toothpick or skewer straight out; the caramel will seal the hole and hold shape. Repeat until all marshmallows are coated. Let them set at room temperature for about 30 minutes to firm up. Final chill and serve: Transfer the cookie sheet to the refrigerator and chill in an airtight container or covered sheet for at least 1 hour before serving if you want the center slightly firmer. For gifting, layer in an airtight container between pieces of parchment and store in the fridge until ready to deliver.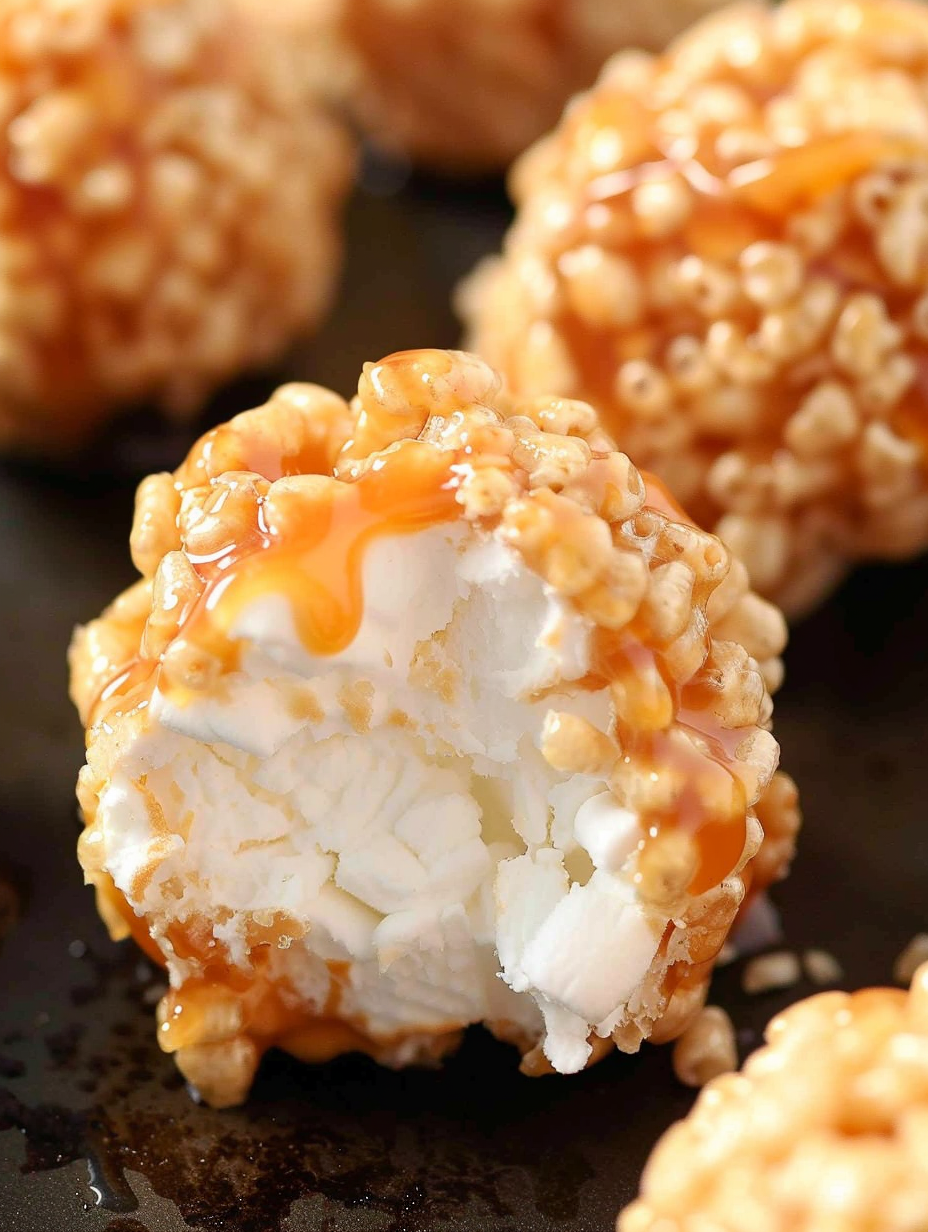
You Must Know
- These hold well refrigerated for up to 5 days in an airtight container; they can also be frozen up to 3 months — thaw in the fridge overnight before serving.
- Calories: about 116 kcal per piece; higher if you add chocolate or nuts — portion control is easy with individually sized balls.
- Texture depends on caramel temperature: too hot and it will melt the cereal; too cool and it won’t adhere properly — aim for warm and glossy.
- Rice Krispies are not gluten-free in the original formulation because of barley malt; use certified gluten-free puffed rice for dietary needs.
What I love most is how these transform common store-bought items into something special. When my neighbor received a tin of these, she told me it brought back childhood memories of holiday treats — and that’s exactly the kind of warm response these inspire. Watching little ones line up to create their own is another highlight; it’s an activity as much as a treat.
Storage Tips
Store finished pieces in a single layer in an airtight container with parchment separators to prevent sticking. Refrigerate for best texture and to keep the caramel firm; at room temperature the caramel will soften and the cereal may lose snap after a day. For longer storage, freeze in a sealed container for up to three months — thaw in the refrigerator before serving. Avoid storing near strong-smelling foods, as condensed milk and caramel can absorb odors. If you plan to transport them, pack in a cool thermal bag to prevent sticking and condensation.
Ingredient Substitutions
If you need a gluten-free option, replace Rice Krispies with certified gluten-free puffed rice cereal using the same 7-cup volume. For a nutty twist, substitute half the cereal with finely chopped toasted almonds or pecans for additional crunch (expect calorie and texture changes). If you prefer a less sweet coating, mix in a tablespoon of fine sea salt with the melted caramel for a salted-caramel profile. For vegan adaptations, use vegan caramels and marshmallows (check labels) and a dairy-free condensed milk alternative; results will differ slightly in chew and set time.
Serving Suggestions
Serve on a tiered cookie tray for parties or in small kraft boxes tied with ribbon for gifts. They pair beautifully with hot cocoa, coffee, or a lightly sweetened tea to balance the richness. Garnish with a light drizzle of dark chocolate or a sprinkle of flaky sea salt for an elevated presentation. For a festive look, roll a few in colored sprinkles or crushed candy canes during the holidays — they add crunch and visual appeal.
Cultural Background
These treats are a playful riff on American cereal bars and classic marshmallow confections. Combining caramel and marshmallow draws on century-old candy-making traditions where sugar syrups and dairy are cooked to achieve chew. The Rice Krispies coating adds the mid-20th-century nostalgia of cereal-based sweets. Such no-bake creations became especially popular for community bake sales and home kitchens because they require minimal equipment and deliver maximum comfort.
Seasonal Adaptations
Adjust the coating to match seasons: roll in crushed peppermint for winter holidays, toasted coconut and chopped macadamia for summer luau themes, or cinnamon-sugar for autumn gatherings. Swap the caramel for flavored caramels — pumpkin spice or maple — to lean into seasonal flavors. For fall, adding a teaspoon of ground cinnamon to the caramel adds warmth without changing the technique.
Meal Prep Tips
To batch-make for events, double the caramel mixture and enlist helpers for a swift assembly line: one dips, one rolls, and one places on parchment. Chill the finished pieces on sheet pans in single layers, then transfer to containers. For individual portions, place one or two in small clear cellophane bags with a ribbon; these freeze and thaw well for distribution. Label containers with date and any allergen notes to keep guests informed.
These little rounds of joy are easy to customize and even easier to share. Whether you’re packing them for a party or making them with kids, they’re versatile, portable, and comfortingly simple. Give them a try, and don’t be surprised if they become a new staple for your celebrations.
Pro Tips
Warm the caramel gently; keep heat moderate to avoid scorching and separation.
Work quickly while the caramel is warm to ensure the cereal adheres properly.
Chill finished pieces for at least an hour for a firmer center and easier handling.
This nourishing caramel marshmallow rice krispie balls recipe is sure to be a staple in your kitchen. Enjoy every moist, high protein slice — it is perfect for breakfast or as a wholesome snack any time.
Tags
Caramel Marshmallow Rice Krispie Balls
This Caramel Marshmallow Rice Krispie Balls recipe makes perfectly juicy, tender, and flavorful steak every time! Serve with potatoes and a side salad for an unforgettable dinner in under 30 minutes.
Ingredients
Main
Instructions
Organize work station
Line a cookie sheet with parchment paper, pour 7 cups of Rice Krispies into a large bowl, and have toothpicks or skewers and tools ready so assembly is efficient.
Unwrap caramels and combine
Unwrap all caramels and place in a medium saucepan with the 14-ounce can of sweetened condensed milk and 2 tablespoons butter. Heat over medium, stirring constantly.
Melt to glossy consistency
Continue stirring for about 6–8 minutes until the mixture is smooth, shiny, and slightly thickened. Keep heat moderate to avoid scorching or separating the caramel.
Dip marshmallows
Skewer each large marshmallow with a toothpick, dip fully into the warm caramel, and allow excess to drip back into the pan for a few seconds.
Roll in cereal
Gently roll the caramel-covered marshmallow in the bowl of Rice Krispies until fully coated, then transfer to the parchment-lined sheet.
Remove skewer and set
Carefully pull out the toothpick and let the coated pieces set at room temperature for about 30 minutes; chill for at least 1 hour before serving for a firmer center.
Last Step: Please leave a rating and comment letting us know how you liked this recipe! This helps our business to thrive and continue providing free, high-quality recipes for you.
Nutrition
Did You Make This?
Leave a comment & rating below or tag
@platemint on social media!
Categories:
You might also like...

Cheesy Baked Ziti Casserole
Saucy, cheesy baked ziti with ricotta and basil tastes like lasagna in half the effort, perfect for weeknights or crowds.

Juicy Cheeseburger Sliders Bake
Quick, crowd-pleasing cheeseburger sliders baked golden with melty cheddar and savory beef. Ready in 30 minutes, great for parties and easy meal prep.

Air Fryer Sweet Potato Fries
Crispy air fryer sweet potato fries with tender centers, fast-food flavor without deep frying. Ready in minutes and irresistibly snackable.
Did You Make This?
Leave a comment & rating below or tag @platemint on social media!
Rate This Recipe
Share This Recipe
Enjoyed this recipe? Share it with friends and family, and don't forget to leave a review!
Comments (1)
This recipe looks amazing! Can't wait to try it.
Comments are stored locally in your browser. Server comments are displayed alongside your local comments.

Hi, I'm Wendie!
What's Popular

30-Minute Meals!
Join to receive our email series which contains a round-up of some of our quick and easy family favorite recipes.