
Caramel Cheesecake Bites

Mini caramel cheesecake bites with creamy cheesecake centers wrapped in a rich salted caramel coating — an easy, crowd-pleasing no-bake sweet treat.
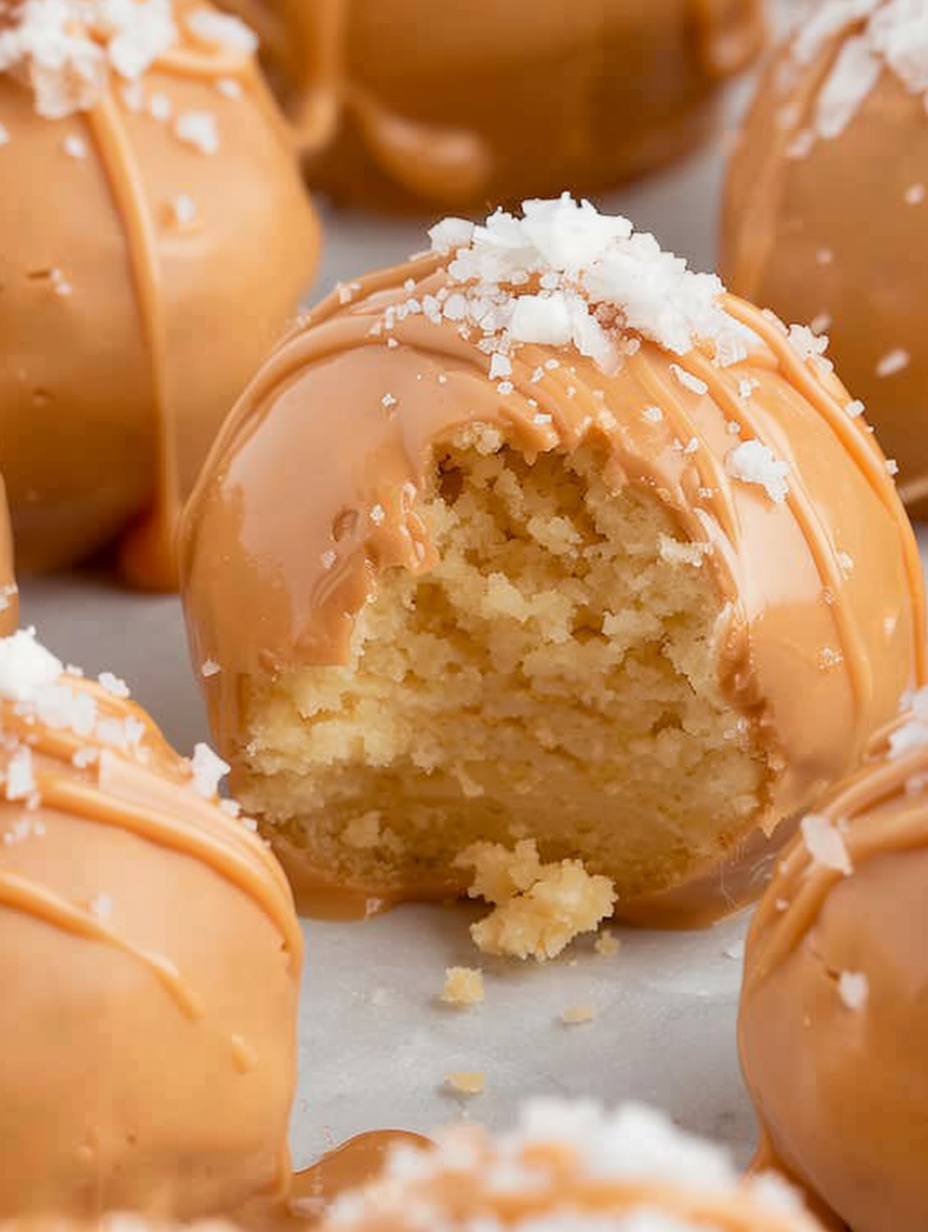
This recipe for mini caramel cheesecake bites is one of those discoveries that turned an ordinary afternoon into a celebration. These little sweets combine a tangy, creamy cheesecake center with the unmistakable, buttery sweetness of salted caramel. I first made them when I needed a simple, make-ahead dessert for a neighborhood potluck; the recipe was born out of pantry inspiration and a craving for something portable and elegant. The result was addictive: smooth cream cheese mixed with dry cake mix to create a stable, scoopable dough, then dipped in molten salted caramel coating for a glossy finish. They are small but intensely flavored, with a contrast between the soft center and the slightly firmer candy shell.
Because they are no-bake and require only chilling and melting, these bites are perfect for busy days when you want to serve something impressive with minimal active time. The salted caramel candy coating adds a professional-looking shine and a pop of salt that balances the sweetness. My daughter called them "little caramel clouds," which stuck as a nickname the first day we made them. Whether you are making them for a party, a lunchbox surprise, or a cozy night in, these treats travel well and invite second helpings.
Why You'll Love This Recipe
- Ready with only about 10 minutes of active prep time and two hours of chilling, these bites are mostly hands-off and perfect for planning ahead.
- Uses simple pantry items: yellow cake mix and cream cheese form a reliable base without eggs or an oven, ideal for hot-weather baking-free desserts.
- The salted caramel coating gives a bakery-quality finish and a great sweet-salty contrast that appeals to broad tastes.
- Make-ahead friendly: dough can be chilled and shaped later; finished bites keep well for several days if refrigerated.
- Great for crowds — the recipe yields about 28 small pieces, so it’s easy to double for a larger gathering.
- Minimal equipment required: a handheld mixer, a tablespoon scoop, and a microwave-safe bowl are all you need.
On the first try, my neighbors loved them so much that I brought them again the following weekend. They are perfect for holiday cookie swaps, after-dinner sweet bites, or packing into small treat bags. I learned that chilling the dough longer gives cleaner coating results, and small adjustments in scoop size let you scale the yield easily.
Ingredients
- Yellow cake mix (15.25 ounces): A boxed mix forms the dry structure and sweetness for the centers; use any reliable brand such as Duncan Hines or Betty Crocker. Make sure it is the dry mix only, not a prepared cake.
- Cream cheese (8 ounces), softened: Full-fat cream cheese yields the creamiest texture and best stability; allow it to sit at room temperature for 30 minutes so it blends smoothly.
- Caramel flavoring (2 teaspoons): Adds concentrated caramel aroma and depth; if you prefer a milder taste use 1 teaspoon, or swap for a splash of vanilla for a different profile.
- Salted caramel candy melts (12 ounces): These form the coating; choose high-quality candy melts or wafers for a smooth, glossy finish. If you cannot find salted variety, use regular caramel-colored melts and sprinkle a light pinch of flaky sea salt on top.
Instructions
Heat-treat the cake mix: Place the dry cake mix in a heat-safe medium bowl. Microwave in two 30-second intervals, stirring after each interval. The gentle heating helps reduce any potential bacteria in dry mixes and changes the texture so it blends seamlessly with the cream cheese. Allow to cool completely before using; this prevents melting the cream cheese. Beat the cream cheese and flavoring: In a medium bowl, use a handheld mixer on medium-high speed to beat the softened cream cheese with the caramel flavoring for 1 1/2 to 2 minutes. Stop and scrape the sides to ensure there are no lumps; the mixture should be very smooth and slightly airy so the centers stay tender. Combine the cooled cake mix: Sprinkle the completely cooled, dry cake mix over the whipped cream cheese. Fold gently until just incorporated; overmixing will make the dough tough. The mixture should be scoopable but hold its shape when rolled into a ball. Chill the dough: Tightly cover the bowl and refrigerate for 2 hours. Chilling firms the dough for clean scooping and improves the mouthfeel once coated. If you’re short on time, 90 minutes may work but expect stickier handling. Scoop and shape: Line a baking sheet with parchment paper. Use a 1-tablespoon cookie scoop to portion the dough; roll each portion quickly between your palms into a smooth ball. Place each ball on the prepared sheet about 1/2 inch apart. If dough sticks to your hands, lightly dust with a tiny bit of reserved dry mix or wet your hands briefly. Melt the candy coating: Use a microwave-safe bowl to melt the salted caramel candy melts in 30-second intervals, stirring between intervals until completely smooth. Keep the temperature moderate to avoid seizing; if the coating becomes too thick, stir in a few drops of neutral oil to loosen it. Coat and set: Roll each cheesecake ball in the melted candy melt using a fork to support it, tapping gently to remove excess coating. Use a spoon to cover any bare spots. Transfer back to the parchment-lined sheet using a toothpick to nudge the coated bite. Allow to harden at room temperature or refrigerate briefly to speed setting. Once firm, the bites are ready to serve.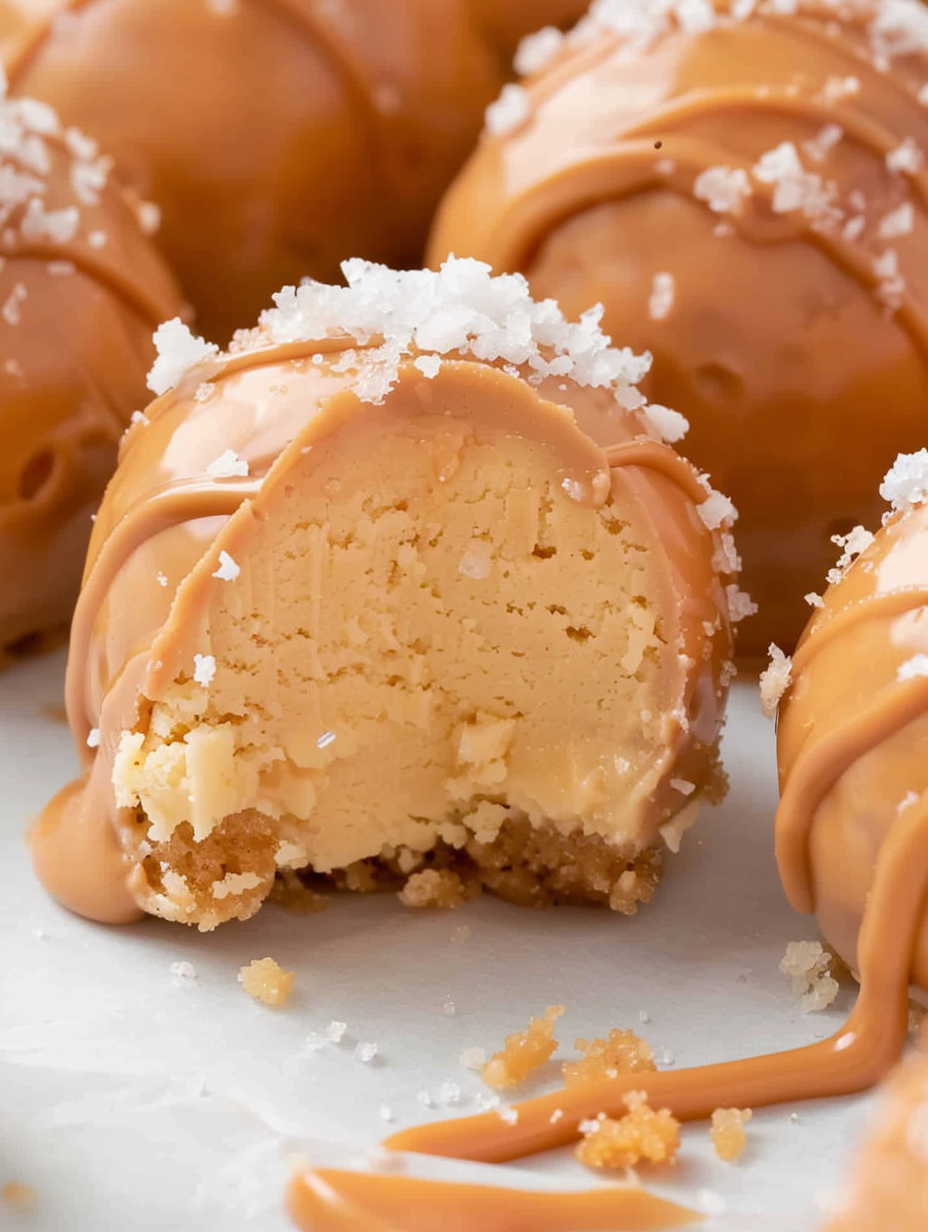
You Must Know
- These bites are best stored refrigerated and will keep fresh for up to 5 days in an airtight container on parchment to prevent sticking.
- They freeze well for up to 3 months. Freeze in a single layer first, then transfer to a sealed container with parchment between layers.
- Nutrition per bite is approximately 132 calories with about 23 grams of carbohydrate and 4 grams of fat; they are a sweet treat rather than a health snack.
- Because the centers are no-bake, heat-treatment of the dry mix is recommended to improve food safety and texture.
- Use a small scoop for uniform sizes; uniformity helps coatings set evenly and looks more professional when arranged on a platter.
My favorite aspect is how the salted caramel coating transforms the simple cheesecake bite into something elegant. At family gatherings people often ask what bakery made them; the secret is the candy melts and patience while the centers chill. A small change such as adding a tiny pinch of sea salt immediately after coating lifts the flavor to the next level.
Storage Tips
Store finished bites in a single layer or staggered layers separated by parchment in an airtight container in the refrigerator for up to 5 days. For longer storage, freeze on a baking sheet until solid, then transfer to a freezer-safe container; they will keep up to 3 months. To thaw, place in the refrigerator for a few hours to avoid condensation on the coating. If condensation appears, wipe gently with a paper towel before serving. Avoid keeping at room temperature for extended periods, as the cream cheese centers will soften and the coating may sweat.
Ingredient Substitutions
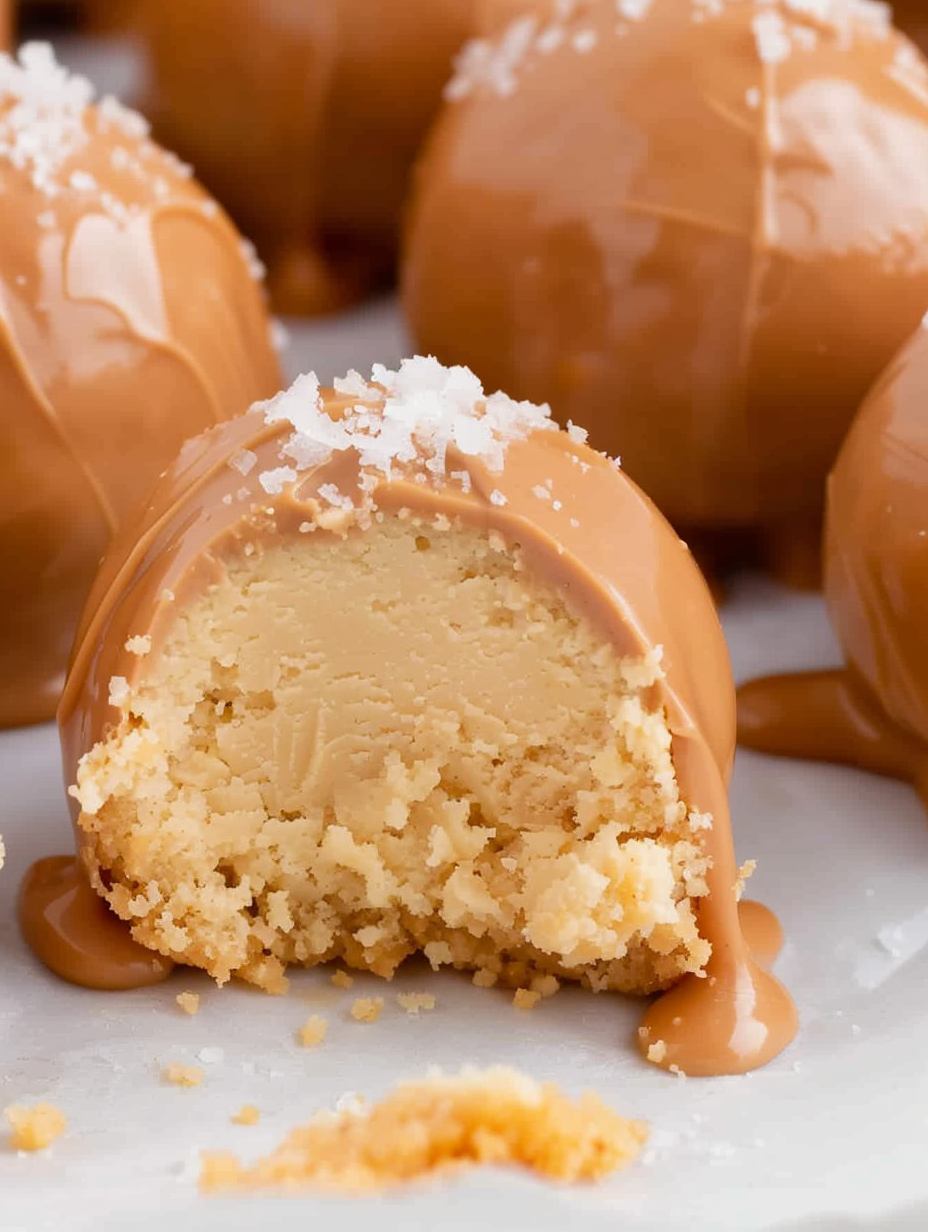
If you do not have yellow cake mix, a vanilla or white cake mix will work similarly, though flavors will vary slightly. For a gluten-free option, use a certified gluten-free cake mix and ensure candy melts are gluten-free. To reduce sugar, try sugar-free flavored melts but be aware texture and mouthfeel may change. If you cannot find salted caramel melts, use plain caramel-colored coating and sprinkle flaky sea salt immediately after coating to recreate the sweet-salty balance.
Serving Suggestions
Serve these bites on a decorative platter with a light dusting of cocoa or a scattering of flaky sea salt. They pair beautifully with strong coffee, espresso, or a simple black tea. For a party, present them in mini paper liners and garnish each with a tiny drizzle of dark chocolate or a single toasted pecan half. They also work well as after-dinner petits fours alongside fresh berries to cut the richness.
Cultural Background
These small treats are an American-style, no-bake adaptation that blends classic cream cheese desserts with the modern convenience of candy melts. They draw from cheesecake tradition — dense, tangy, and creamy — and from confectionery techniques where centers are dipped for a polished finish. Variations of filled, coated confections have been made for decades, evolving with the availability of pre-made coatings and boxed mixes that make at-home confectionery accessible to home cooks.
Seasonal Adaptations
Adapt the flavor profile by swapping the caramel flavoring for pumpkin spice in fall, peppermint extract at winter holidays, or a touch of lemon zest for spring. Top with seasonal accents: candied orange peel in winter, crushed pistachios in spring, or cinnamon sugar for autumn. For summer gatherings, keep them chilled and serve with a mint sprig for freshness. Small changes in extract and topping turn the base into a seasonal signature bite.
Meal Prep Tips
To streamline prep, complete the dough the night before and chill it overnight; scoop and coat the following day for fresh-looking bites. Use a labeled container for dough in the fridge for up to 3 days. When coating many pieces, keep the melted candy at a consistent temperature by microwaving short bursts and stirring in between. Work in batches to avoid re-melting the entire bowl excessively. Use parchment-lined trays and handle coated pieces with a fork to reduce fingerprints and ensure a smooth finish.
These mini caramel cheesecake bites are a simple, satisfying way to end a meal or create a memorable giveaway for guests. The balance of creamy center and glossy, salted coating makes them a consistently requested favorite in my house; I hope they become a staple for you too.
Pro Tips
Chill the mixture for the full two hours to make scooping and coating much easier.
Heat-treat the dry cake mix in short microwave bursts and allow it to cool completely before combining with cream cheese.
Use a 1-tablespoon cookie scoop for uniform bites that set evenly under the coating.
If the candy melts thicken, stir in a teaspoon of neutral oil to loosen and regain a glossy texture.
Sprinkle flaky sea salt immediately after coating to enhance the caramel flavor.
This nourishing caramel cheesecake bites recipe is sure to be a staple in your kitchen. Enjoy every moist, high protein slice — it is perfect for breakfast or as a wholesome snack any time.
Tags
Caramel Cheesecake Bites
This Caramel Cheesecake Bites recipe makes perfectly juicy, tender, and flavorful steak every time! Serve with potatoes and a side salad for an unforgettable dinner in under 30 minutes.
Ingredients
Base
Coating
Instructions
Heat-treat the dry cake mix
Place the dry yellow cake mix in a heat-safe medium bowl and microwave in two 30-second intervals, stirring after each. Allow to cool completely before combining with cream cheese.
Beat cream cheese and flavoring
Beat 8 ounces softened cream cheese with 2 teaspoons caramel flavoring on medium-high speed for 1 1/2 to 2 minutes until very smooth, scraping the bowl as needed.
Combine cake mix with cream cheese
Sprinkle the cooled, heat-treated dry mix over the whipped cream cheese and fold until just incorporated to form a scoopable dough.
Chill the dough
Tightly cover and refrigerate the dough for 2 hours to firm it for easy scooping and shaping.
Scoop and shape
Line a baking sheet with parchment. Use a 1-tablespoon scoop to portion, then roll each portion into a smooth ball and place on the sheet.
Melt the coating
Melt 12 ounces salted caramel candy melts in a microwave-safe bowl in 30-second intervals, stirring between intervals until smooth and glossy.
Coat and set
Dip each chilled ball into the melted coating using a fork, tap off excess, and set on parchment. Use a toothpick to transfer and allow the coating to harden completely before serving.
Last Step: Please leave a rating and comment letting us know how you liked this recipe! This helps our business to thrive and continue providing free, high-quality recipes for you.
Nutrition
Did You Make This?
Leave a comment & rating below or tag
@platemint on social media!
Categories:
You might also like...
Cheesy Baked Ziti Casserole
Saucy, cheesy baked ziti with ricotta and basil tastes like lasagna in half the effort, perfect for weeknights or crowds.

Juicy Cheeseburger Sliders Bake
Quick, crowd-pleasing cheeseburger sliders baked golden with melty cheddar and savory beef. Ready in 30 minutes, great for parties and easy meal prep.

Air Fryer Sweet Potato Fries
Crispy air fryer sweet potato fries with tender centers, fast-food flavor without deep frying. Ready in minutes and irresistibly snackable.
Did You Make This?
Leave a comment & rating below or tag @platemint on social media!
Rate This Recipe
Share This Recipe
Enjoyed this recipe? Share it with friends and family, and don't forget to leave a review!
Comments (1)
This recipe looks amazing! Can't wait to try it.
Comments are stored locally in your browser. Server comments are displayed alongside your local comments.

Hi, I'm Wendie!
What's Popular
30-Minute Meals!
Join to receive our email series which contains a round-up of some of our quick and easy family favorite recipes.