
>>

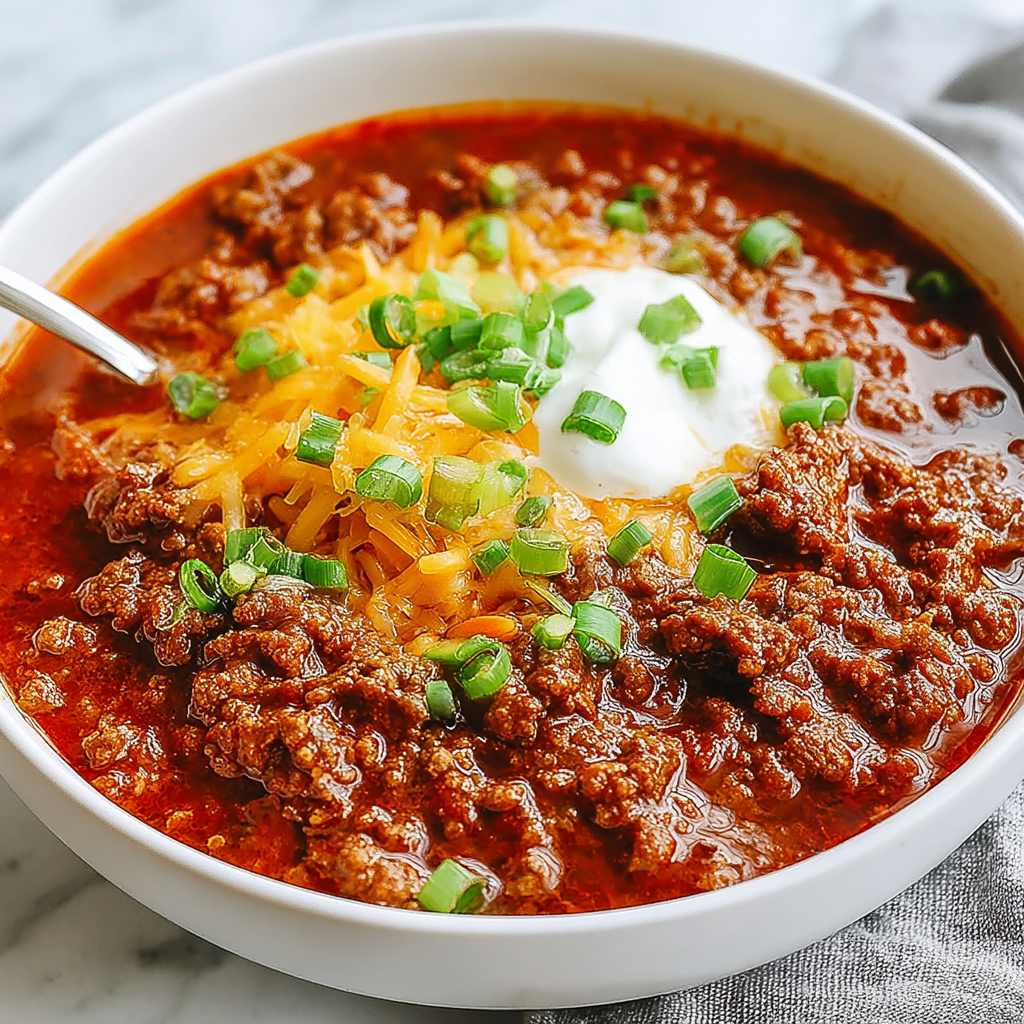
Deep, pepper-forward Texas chili with tender beef and no beans or tomatoes, slow-simmered for bold, smoky, truly authentic flavor.
Every time I serve this, someone asks for the recipe and another person asks for seconds. The aroma draws people into the kitchen, and the first spoonful always delivers that balanced hit of warmth, smoke, and savory depth. It has become our chilly-weekend signature, something I love making when I can let the pot work its magic.
My favorite moment is lifting the lid after a few hours and seeing the sauce go from brick red to a deep mahogany sheen. The beef relaxes, the chilies round out, and a small splash of vinegar pulls everything into focus. It is the kind of comfort that reminds me of slow weekends, a pot on the back burner, and the promise of a crowd-pleasing dinner.
Cool leftovers to room temperature within 1 hour, then refrigerate in airtight containers for up to 4 days. For freezing, portion into quart-size freezer bags or lidded containers, leaving a little headspace, and freeze for up to 3 months. Thaw overnight in the refrigerator or gently in a bowl of cold water. Reheat on the stovetop over medium-low, stirring occasionally, with a splash of broth or water if the chili is very thick. The chili should be glossy and smooth; if oil pools heavily on top, skim lightly and continue to heat so it emulsifies back into the sauce.
If you cannot find the exact chilies, substitute additional ancho for guajillo or pasilla to keep the flavor mellow and slightly sweet. For more heat, add 1 to 2 dried arbol chilies or a pinch of cayenne. If you only have preground cumin, use 2 teaspoons instead of 1 tablespoon seeds. Apple cider vinegar can be swapped with red wine vinegar in equal measure. Skip cocoa if you prefer a brighter finish. Chuck is ideal, but trimmed boneless beef short ribs or beef brisket flat work well; aim for well-marbled cuts and keep cubes around 1 inch for even cooking.
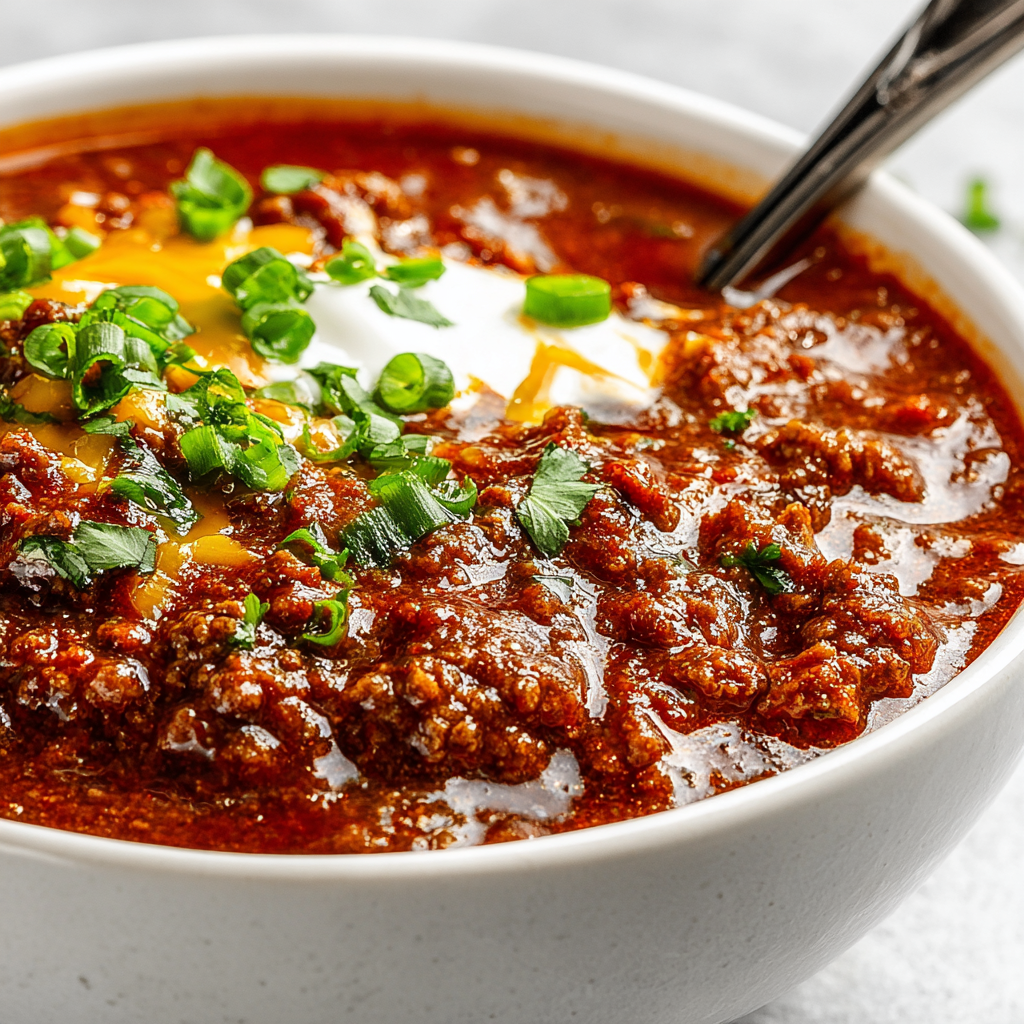
Serve in warm bowls with minimalist garnishes so the pepper sauce shines. I like a sprinkle of finely chopped white onion, a squeeze of lime, and a few leaves of cilantro. Warm flour or corn tortillas on the side make perfect scoops. For a Texas-inspired spread, pair with skillet cornbread, a crisp cabbage slaw, or buttered rice. If you want a topping bar, offer diced onions, pickled jalapeños, lime wedges, and shredded cheddar on the side, letting guests customize without overshadowing the chili itself.
Texas chili, often called chili con carne in the region, evolved from a frontier stew built on dried chili peppers and beef. Its identity is fiercely protected: no beans, no tomatoes. The emphasis is on the quality of the meat, the careful toasting of chilies, and a long simmer that builds body and depth. Different cooks champion specific pepper blends and subtle tweaks, from a splash of vinegar to coffee or a pinch of masa harina. What unites them is the conviction that the chilies and beef should be the clear, dominant voices.

In cooler months, keep the chili cozy and rich with the optional cocoa and a touch more smoked paprika. In summer, lighten the profile by skipping cocoa and adding extra guajillo for brightness. For holidays, serve chili smaller, appetizer-style in tiny bowls or ladled over roasted sweet potato halves. If you like a hint of heat, add 1 dried arbol chili in winter; for warmer-weather gatherings, keep the heat moderate and pair with bright sides like cucumber salad or grilled corn.
Cook the chili fully on a Sunday, cool, and divide into 6 single-serve containers. Refrigerate for up to 4 days or freeze for longer storage. Reheat portions in a small saucepan over medium-low with 1 to 2 tablespoons of water or broth to loosen. For packed lunches, warm in the morning and transfer to an insulated food jar to keep hot until midday. You can also prep components: cube and portion beef, pre-toast chilies, and measure spices so the active cooking day is streamlined to sear, blend, and simmer.
There is something special about a pot of Texas chili gently bubbling away, promising warmth and simple pleasure. Make it once and you will see how the chilies and beef create a harmony that never needs beans or tomatoes. I hope it finds a spot in your rotation, just like it did in mine.
Toast dried chilies until fragrant, not smoky, to avoid bitterness.
Blend the chili paste until completely smooth for a silky sauce.
Brown beef in batches for a deep, savory base.
Use low-sodium beef broth to control seasoning.
Rest the chili 30 minutes off heat to let flavors meld and thicken.
This nourishing authentic texas chili recipe is sure to be a staple in your kitchen. Enjoy every moist, high protein slice — it is perfect for breakfast or as a wholesome snack any time.
Use an extra ancho or add 1 to 2 dried arbol chilies for more heat, or reduce guajillo and omit arbol for milder flavor.
Simmer gently for 2.5 to 3 hours and let it rest 30 minutes. If still tough, continue simmering in 20-minute increments until a spoon slides through the beef easily.
Yes. Refrigerate overnight, then reheat gently with a splash of broth. The flavor improves after a rest, so it is a great make-ahead option.
Use well-marbled chuck and sear thoroughly in batches. Avoid boiling; a slow, steady simmer keeps the meat juicy and the sauce glossy.
Typically no thickener is needed. If you prefer a thicker body, simmer uncovered for the last 20 minutes or add 1 teaspoon masa harina and cook 5 minutes.
This Authentic Texas Chili recipe makes perfectly juicy, tender, and flavorful steak every time! Serve with potatoes and a side salad for an unforgettable dinner in under 30 minutes.
Remove stems and seeds from dried ancho, guajillo, and pasilla. Toast in a dry skillet over medium heat for 1 to 2 minutes until fragrant, then soak in hot water for 20 minutes until pliable.
Drain chilies and blend with 1 cup beef broth, cumin seeds, smoked paprika, dried oregano, cocoa powder (optional), and minced garlic until perfectly smooth.
Pat beef dry and season lightly. Heat oil in a Dutch oven over medium-high. Sear beef in batches until deeply browned on all sides, 2 to 3 minutes per side. Transfer to a plate.
Reduce heat to medium. Add onion and cook until soft and translucent, scraping up browned bits. If needed, add a splash of broth to deglaze.
Return beef to pot with accumulated juices. Stir in chili paste, remaining 2 cups broth, vinegar, salt, and pepper. Bring to a boil, then reduce to low, cover, and simmer gently for 2.5 to 3 hours, stirring occasionally.
Taste and adjust salt, pepper, and vinegar. Let chili rest uncovered 30 minutes to thicken and meld before serving.
Last Step: Please leave a rating and comment letting us know how you liked this recipe! This helps our business to thrive and continue providing free, high-quality recipes for you.
Leave a comment & rating below or tag
@platemint on social media!

Saucy, cheesy baked ziti with ricotta and basil tastes like lasagna in half the effort, perfect for weeknights or crowds.

Quick, crowd-pleasing cheeseburger sliders baked golden with melty cheddar and savory beef. Ready in 30 minutes, great for parties and easy meal prep.

Crispy air fryer sweet potato fries with tender centers, fast-food flavor without deep frying. Ready in minutes and irresistibly snackable.
Leave a comment & rating below or tag @platemint on social media!
Enjoyed this recipe? Share it with friends and family, and don't forget to leave a review!
This recipe looks amazing! Can't wait to try it.
Comments are stored locally in your browser. Server comments are displayed alongside your local comments.

Join to receive our email series which contains a round-up of some of our quick and easy family favorite recipes.
