
>>

Soft, chewy cookies crowned with melted Andes Mints — a simple, crowd-pleasing chocolate-mint treat that’s perfect for holidays, bake sales, and make-ahead dessert trays.
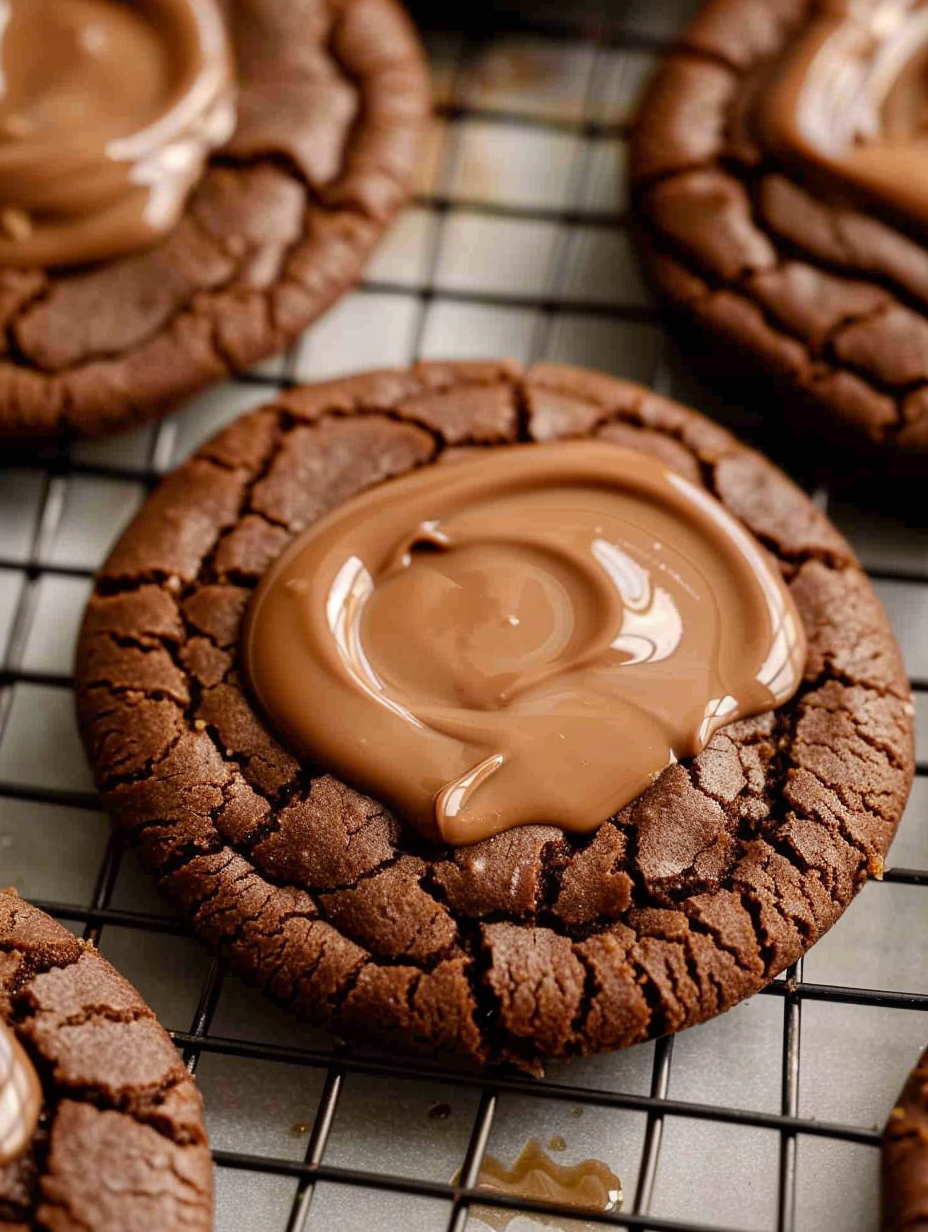
Andes Mint Cookies have quickly become my go-to when I want a simple cookie that still feels special. I first made this version during a busy holiday season when I wanted something festive but fast — pantry cake mix, a couple of basic ingredients, and a stack of Andes Mints on top. The first tray I pulled from the oven disappeared in minutes; the combination of chewy, slightly cake-like cookie and a glossy pool of minty chocolate on top felt like holiday nostalgia and a little bit of bakery magic in one bite.
What makes these cookies so unforgettable is the way the mint melts into a silky frosting while the cookie remains tender and slightly chewy beneath. They’re forgiving, fast, and oddly elegant: you don’t need to pipe anything or temper chocolate, just press a candy on while the cookie is piping hot and smooth it out. I love making them for casual get-togethers because they travel well and can be enjoyed warm or straight from the fridge. Over the years, they’ve become a requested addition to cookie swaps and weeknight dessert rotations; I often get asked for the recipe after someone takes a bite.
In my experience these cookies vanish fastest when served slightly chilled; family members love the contrast of chewy cookie and cool mint topping. I discovered the trick of smoothing the melted mint with the back of a spoon the first time I made them — it turns the candy into a glossy, even topping that looks like frosting. Whenever I bring a pan to gatherings, people always ask if I made frosting from scratch, and I’ve happily kept this simple secret to myself.


My favorite part is how approachable this method is: you get a professional-looking mint-topped cookie with almost no fuss. Family members often prefer these chilled — the mint firms up slightly and the texture becomes refreshingly cool against the soft cookie. They’re especially popular at potlucks because they’re portable and keep their shape.
Store cooled cookies in a single layer in an airtight container at room temperature for 2–3 days. For longer storage, refrigerate up to one week; the mint topping will firm up and the cookies are delightful cold. To freeze, arrange cookies in a single layer on a sheet pan until firm, then transfer to a freezer-safe container with parchment between layers; they keep for up to three months. Reheat frozen cookies briefly (10–15 seconds) in the microwave if you want the mint glossy again, or serve chilled for a firmer bite.
If you prefer a lighter texture, substitute half the oil with ¼ cup unsweetened applesauce (reduces fat and adds moisture). For a dairy-free option, choose dairy-free mint chocolates — check labels for cross-contamination — and ensure the cake mix is dairy-free. To make these gluten-free, buy a 15.25-ounce gluten-free chocolate cake mix; note that timing may change slightly, so reduce bake time by a minute or two and watch for the set edges.
Serve warm for a gooey mint center or chilled for a cool contrast. Present on a parchment-lined tray and garnish with a light dusting of powdered sugar for holiday displays. Pair with strong coffee, hot chocolate, or a minty tea to echo the flavor. For a party, arrange on a tiered platter alongside plain chocolate cookies and shortbread for variety.
These cookies are a modern American variation inspired by the classic candy-and-cookie combination often seen in bake sales and holiday platters. The practice of pressing a candy into a warm cookie dates back decades — it’s a quick way to add visual appeal and a burst of complementary flavor without tempering chocolate. Andes Mints, originally introduced in the 1950s, became popular as an after-dinner mint and transitioned naturally into baking as an easy topping that melts evenly.
For winter holidays, use peppermint-flavored Andes or replace the mints with red-and-green candy melts for festive colors. In spring, try lemon or white chocolate candies to brighten the flavor. You can also add ½ cup chopped nuts to the dough for autumn gatherings or fold in ½ cup mini chocolate chips for added texture year-round.
To batch-prep, mix the dough and roll into 1-inch balls, then freeze them on a sheet pan until solid. Transfer to a freezer bag and bake directly from frozen — add 1–2 minutes to the bake time. This saves active time and allows you to bake fresh cookies on demand. For transport, stack in layers separated by parchment and keep chilled to preserve the glossy mint topping.
These cookies bring out the best of quick baking — minimal fuss, maximum reward. Whether you need a last-minute hostess gift, a school bake sale entry, or a tray to take to a party, they’re reliably delicious and surprisingly refined. Give them a try and make them your own with the small variations that suit your pantry and season.
Use a 1-tablespoon scoop or roll 1-inch balls for uniform cookies and consistent bake times.
Warm the back of the spoon in hot water to keep the melted mint glossy while smoothing.
Unwrap all candies before you begin baking to save time and prevent steam from building under wrappers.
This nourishing andes mint cookies recipe is sure to be a staple in your kitchen. Enjoy every moist, high protein slice — it is perfect for breakfast or as a wholesome snack any time.
Yes — you can freeze baked cookies for up to 3 months. Freeze on a sheet pan first, then transfer to an airtight container with parchment between layers.
If the mint sets too fast, return the pan to the warm oven for 10–20 seconds, then smooth the topping. Warming a spoon helps keep the topping glossy.
This Andes Mint Cookies recipe makes perfectly juicy, tender, and flavorful steak every time! Serve with potatoes and a side salad for an unforgettable dinner in under 30 minutes.
Preheat oven to 350°F and line a quarter-sheet pan with parchment paper or a silicone mat. Allow the oven to stabilize at temperature for at least 10 minutes.
In a large bowl combine the 15.25-ounce Devil's Food cake mix, 1/2 cup vegetable oil, and 2 large eggs. Stir until a smooth, slightly sticky dough forms. If too dry, add water 1 teaspoon at a time.
Roll dough into 1-inch balls or use a 1-tablespoon scoop. Place balls 2 inches apart on the prepared baking sheet to allow for minimal spread.
Bake for 6–9 minutes at 350°F. Look for set edges and slightly soft centers; remove from oven when edges are matte and middles are still puffed.
Immediately press one unwrapped Andes Mint into the center of each hot cookie. Let cool on the pan about 5 minutes until the candy melts into a glossy pool.
After about 5 minutes, use the back of a spoon (warmed if needed) to smooth the melted mint into an even topping. If it has set, return to the warm oven 10–20 seconds to soften.
Last Step: Please leave a rating and comment letting us know how you liked this recipe! This helps our business to thrive and continue providing free, high-quality recipes for you.
Leave a comment & rating below or tag
@platemint on social media!

Saucy, cheesy baked ziti with ricotta and basil tastes like lasagna in half the effort, perfect for weeknights or crowds.

Quick, crowd-pleasing cheeseburger sliders baked golden with melty cheddar and savory beef. Ready in 30 minutes, great for parties and easy meal prep.

Crispy air fryer sweet potato fries with tender centers, fast-food flavor without deep frying. Ready in minutes and irresistibly snackable.
Leave a comment & rating below or tag @platemint on social media!
Enjoyed this recipe? Share it with friends and family, and don't forget to leave a review!
This recipe looks amazing! Can't wait to try it.
Comments are stored locally in your browser. Server comments are displayed alongside your local comments.

Join to receive our email series which contains a round-up of some of our quick and easy family favorite recipes.
