
>>

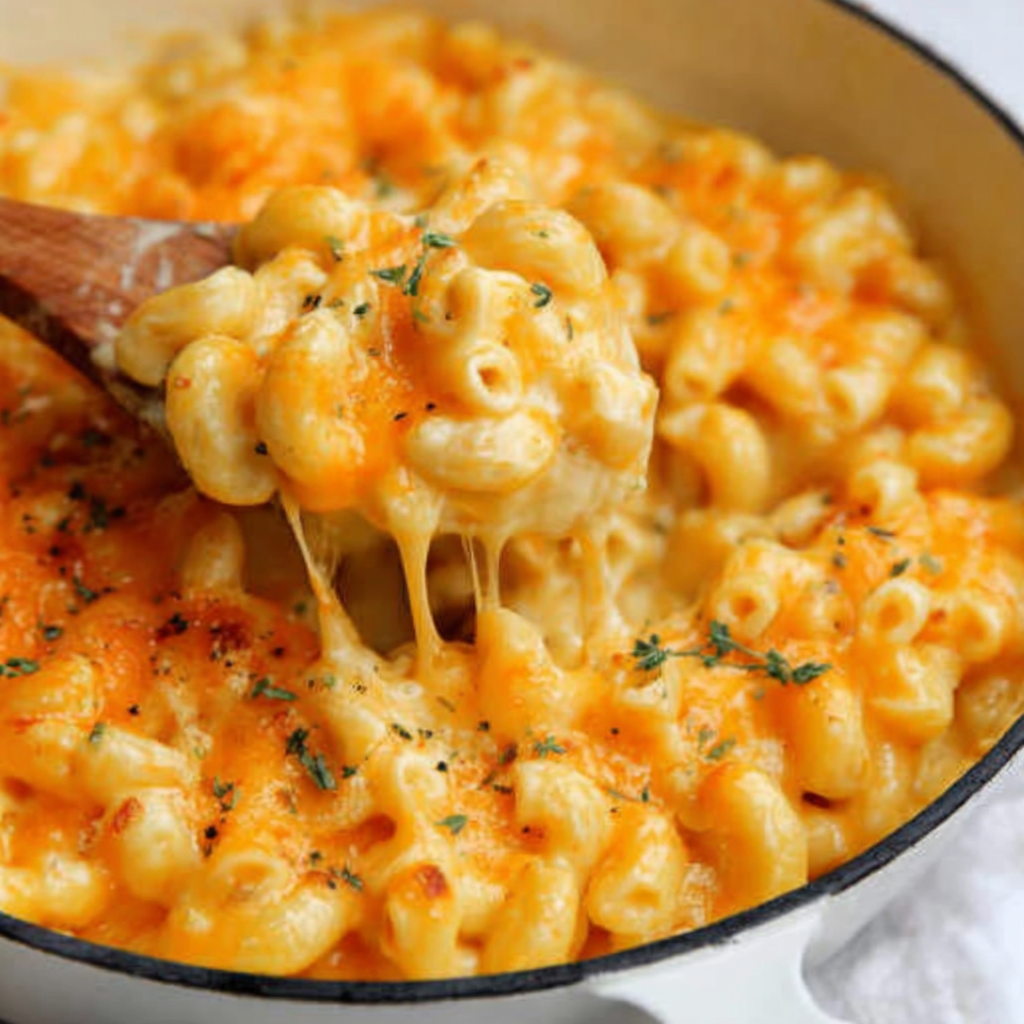
Ultra-creamy baked cavatappi swirled in a silky three-cheese sauce and crowned with a bubbly cheddar top. Crowd-pleasing comfort that never leaves leftovers.

Every time I make this, someone asks for the leftovers for lunch, and there is rarely enough to share. The sauce is the real magic here: smooth, glossy, and clinging to every corkscrew. It reheats beautifully, too, which makes it a reliable option for meal prep and next-day comfort.
My favorite part is that first spoonful from the corner where the sauce pools under a crisp cheddar lid. I have served this at birthdays, after-soccer dinners, and cozy Sundays, and it always brings the same happy silence as everyone digs in. It is simple, nostalgic, and absolutely indulgent in the best way.
Cool leftovers until just warm, then transfer to airtight containers and refrigerate for up to 4 days. For the best texture, reheat individual servings in the microwave at 50 to 70 percent power, stirring every 45 seconds until steamy. On the stovetop, add a splash of milk and warm over low heat, stirring, until creamy again. You can freeze cooked portions for up to 2 months, though the sauce may be slightly less silky after thawing. Freeze in flat, labeled freezer bags or lidded containers, then thaw overnight in the refrigerator before reheating gently with a little milk.
No Gruyere on hand? Use Swiss or even Monterey Jack for easy melting. For a stronger bite, swap half the cheddar with extra-sharp cheddar or white cheddar. If you prefer a lighter sauce, use 2 cups milk and 1 cup half-and-half instead of the listed blend; the texture will be slightly less rich but still creamy. Gluten-free diners can replace the flour with a 1:1 gluten-free all-purpose blend and bake with certified gluten-free pasta. For more onion presence, add 1 finely minced garlic clove with the onion or stir in 1/4 teaspoon onion powder with the spices. A pinch of ground mustard can sharpen the cheese flavor without tasting mustardy.
Serve family-style straight from the baking dish with a fresh green salad and a tangy vinaigrette to cut through the richness. Roasted broccoli, garlicky green beans, or a platter of cherry tomatoes with balsamic drizzle make colorful sides. For a main course upgrade, top bowls with crispy bacon crumbles, toasted buttered breadcrumbs, or a scatter of chives. If you are feeding a crowd, pair this with grilled chicken, pulled pork, or simple roasted sausages and let the cavatappi play the comfort-forward anchor of the table.
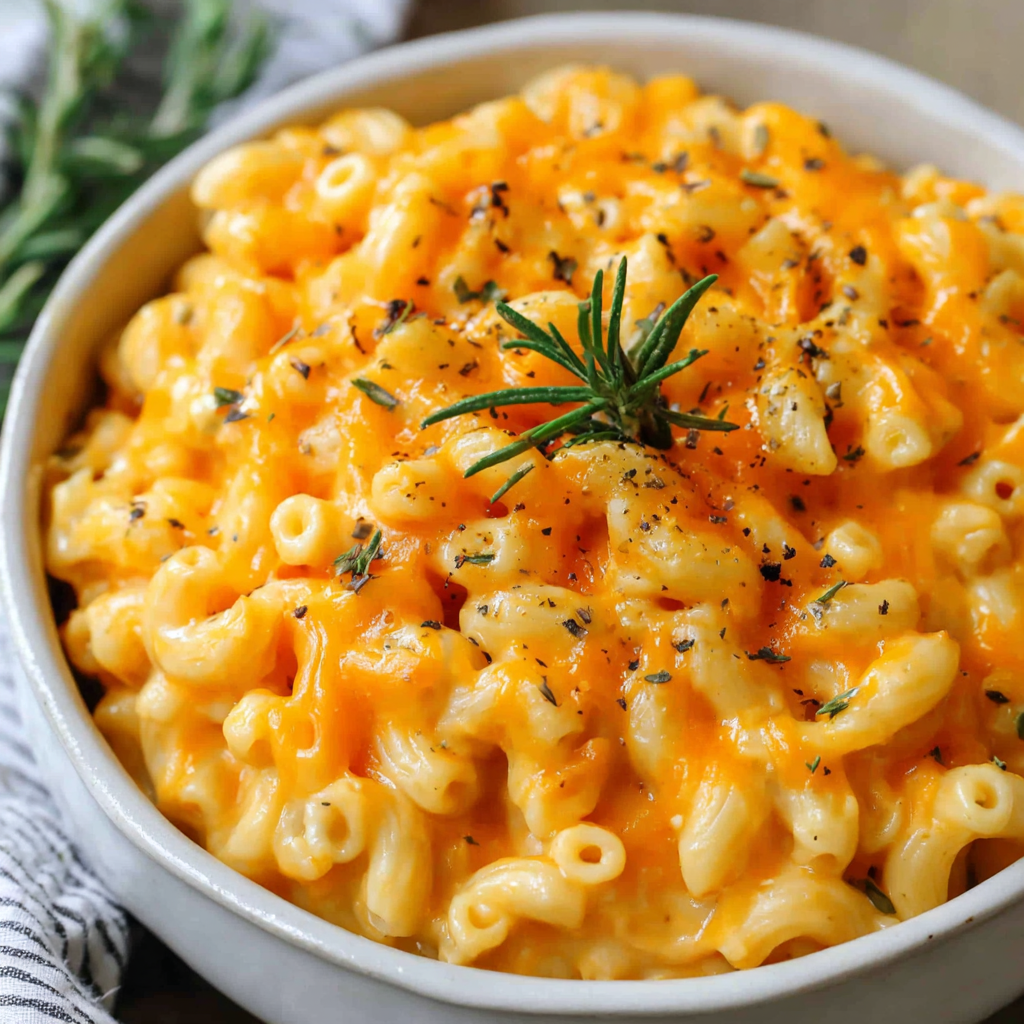
Cavatappi, meaning corkscrews, is beloved for its ability to hold sauce in every groove. While mac and cheese is a classic American comfort, the technique of building a béchamel and melting in cheese nods to French mother sauces and Italian pasta al forno traditions. This version tilts American in flavor with a cheddar backbone, while Gruyere and Parmesan bring European nuance. Baked pasta dishes like this have long been a way to stretch cheese and pantry staples into a celebratory, shareable meal.
In spring, fold in blanched asparagus tips or peas before baking. Summer loves add-ins like diced roasted tomatoes or sweet corn, which add pops of freshness. For fall, sautéed mushrooms and a hint of thyme deepen the savory notes; in winter, stir in roasted butternut squash cubes and a pinch of nutmeg. Holiday spreads benefit from a crunchy topping of buttered panko or crushed buttery crackers for extra texture. No matter the season, keep the base proportions the same to maintain that signature, glossy creaminess.
Cook the pasta and make the sauce up to one day ahead, tossing them together and spreading in the baking dish. Cool, cover tightly, and refrigerate. When ready to bake, sprinkle on the cheddar topping and bake at 400°F. If baking straight from the fridge, add 5 to 10 extra minutes and cover loosely with foil for the first 10 minutes so the center warms before the top browns. For portioned lunches, divide into single-serve containers after baking and cooling; reheat gently with a splash of milk to revive the creaminess.
There is a special kind of joy in pulling a bubbling pan of cheesy pasta from the oven and watching everyone gather without being called. Make this your own, tweak the cheeses to your taste, and let those spirals carry comfort to every plate.
Salt your pasta water generously; it is the only chance to season the noodles themselves.
Whisk the roux for a full 2 minutes to avoid any raw flour taste and ensure a smooth sauce.
Add dairy gradually and whisk thoroughly between additions to prevent lumps and keep the sauce silky.
Remove the pot from heat before adding cheese to prevent curdling and graininess.
Let the baked pasta rest 5 minutes so the sauce sets and clings to the cavatappi.
This nourishing 3 cheese cavatappi recipe is sure to be a staple in your kitchen. Enjoy every moist, high protein slice — it is perfect for breakfast or as a wholesome snack any time.
Yes. Assemble the pasta and sauce in the baking dish, cool, cover, and refrigerate up to 24 hours. Top with cheddar just before baking. Add 5 to 10 minutes to the bake time if starting cold.
Shredding your own cheese prevents clumping and gritty textures because pre-shredded cheese contains anti-caking starches. Use block cheddar, Gruyere, and Parmesan for the smoothest melt.
Yes. Replace the all-purpose flour with a 1:1 gluten-free flour and use certified gluten-free pasta. The sauce thickening and texture remain similar.
This 3 Cheese Cavatappi recipe makes perfectly juicy, tender, and flavorful steak every time! Serve with potatoes and a side salad for an unforgettable dinner in under 30 minutes.
Preheat oven to 400°F. Lightly grease a 9 by 13 inch baking dish with cooking spray or butter and set aside.
Boil cavatappi in salted water until al dente according to package directions. Drain well to remove excess water and set aside.
Melt butter in a large saucepan over medium heat. Add diced onion and cook until tender, 4 to 5 minutes. Whisk in flour and cook 2 minutes, whisking constantly.
Gradually whisk in milk and light cream, a little at a time, whisking smooth after each addition. Stir in seasoned salt, garlic powder, and black pepper. Bring to a gentle boil and cook 1 minute until thickened and glossy.
Remove saucepan from heat. Whisk in cheddar, Gruyere or Swiss, and Parmesan until fully melted and smooth.
Toss cheese sauce with cooked cavatappi and spread evenly in the prepared baking dish. Top with remaining cheddar. Bake 22 to 27 minutes, until bubbly and lightly browned. Rest 5 minutes before serving.
Last Step: Please leave a rating and comment letting us know how you liked this recipe! This helps our business to thrive and continue providing free, high-quality recipes for you.
Leave a comment & rating below or tag
@platemint on social media!

Saucy, cheesy baked ziti with ricotta and basil tastes like lasagna in half the effort, perfect for weeknights or crowds.

Quick, crowd-pleasing cheeseburger sliders baked golden with melty cheddar and savory beef. Ready in 30 minutes, great for parties and easy meal prep.

Crispy air fryer sweet potato fries with tender centers, fast-food flavor without deep frying. Ready in minutes and irresistibly snackable.
Leave a comment & rating below or tag @platemint on social media!
Enjoyed this recipe? Share it with friends and family, and don't forget to leave a review!
This recipe looks amazing! Can't wait to try it.
Comments are stored locally in your browser. Server comments are displayed alongside your local comments.

Join to receive our email series which contains a round-up of some of our quick and easy family favorite recipes.
